I’m starting to love each holiday more and more because it gives me an excuse to make unique cards and gifts with my Cricut. I love receiving gifts that are one-of-a-kind and the thing I love more is giving gifts that are one-of-a-kind. I created this Mother’s Day card to give to my mother as well as some of the other mothers and mother figures in my life. Haven’t had a chance to get your mom or mother figure a card? Don’t worry, here is a link to this project in Cricut Design Space. You can make it in time for Mother’s Day and what mom doesn’t love a handmade with love card from their children? Need a machine to get started? Click here to buy and let them know The Diva Inc. Magazine sent you.
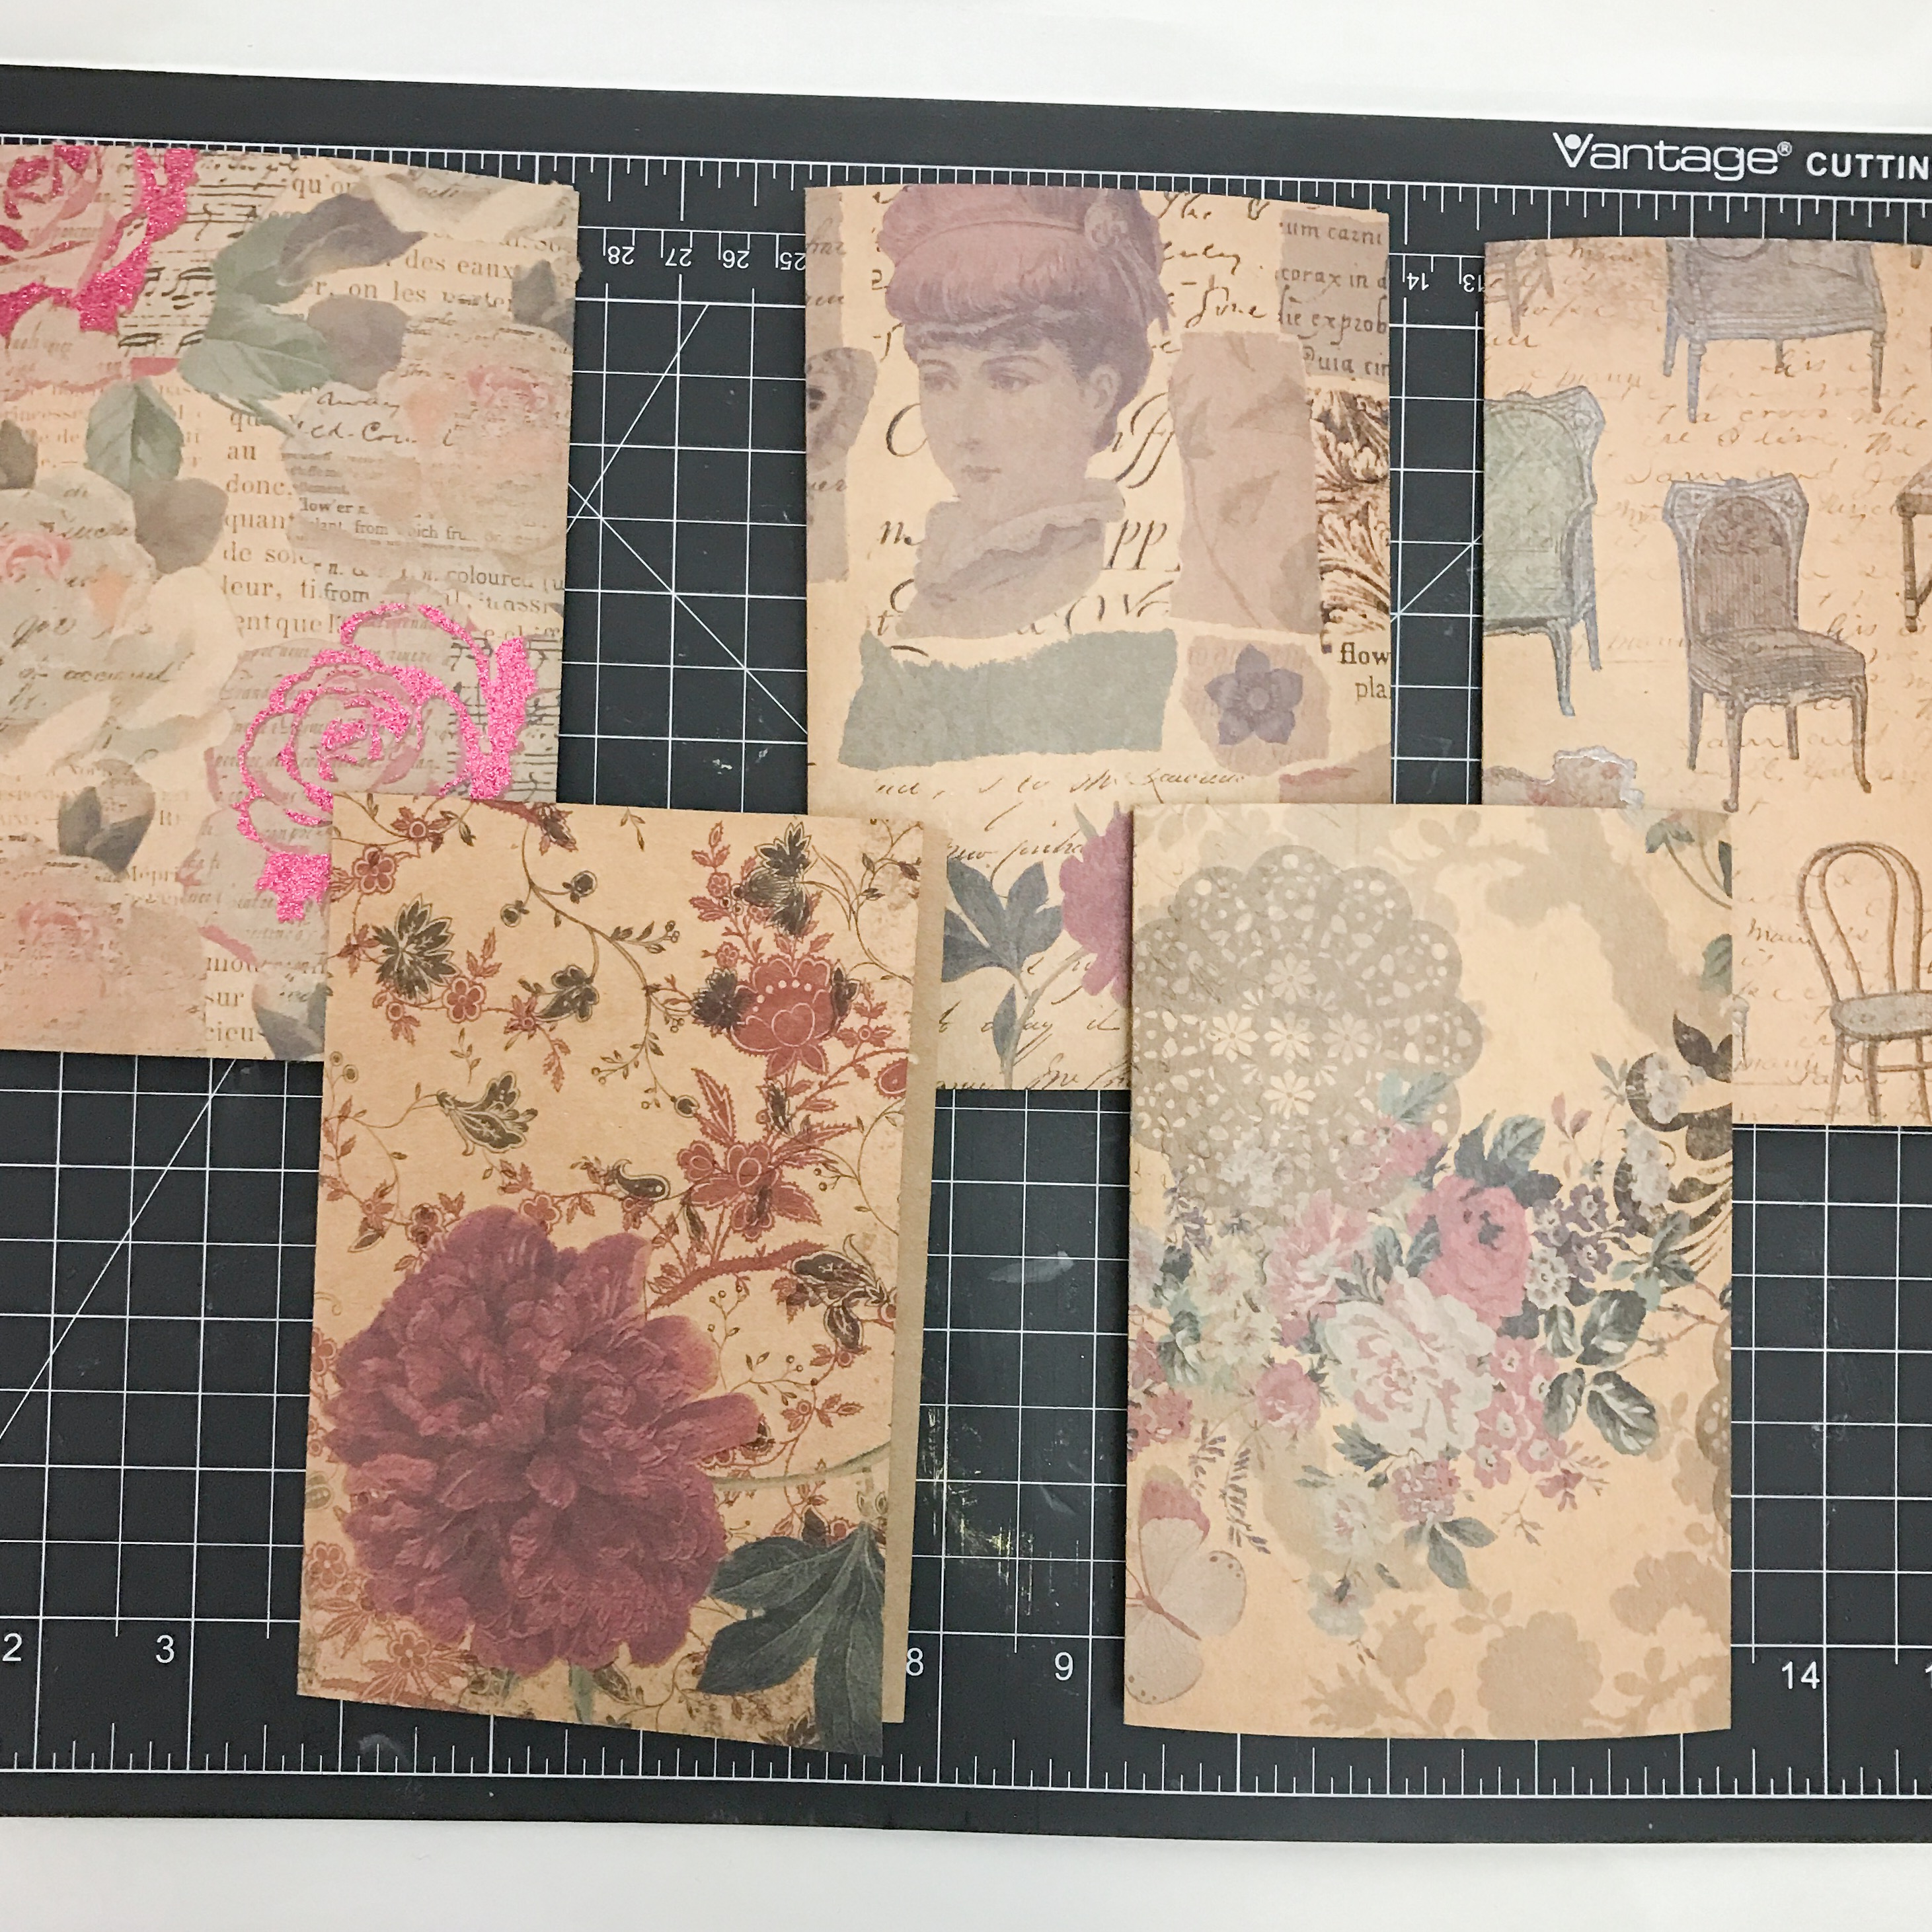
Making this project unique is especially determined by the paper you choose. I recently celebrated my birthday at Tyme for Tea (read about it here) and this Mother’s Day card was inspired by their ambiance. They had a very shabby-chic appeal and each piece of their serving utensils and tea sets were different. Nothing matched yet everything matched. It was the way that they curated each piece that was on the table that made the tea even more special. I wanted to bring that feeling to this project. The paper that I chose for the folded part of the card and the paper for the squares to be cut out was picked up at Hobby Lobby. I chose a country style paper pad because it had that shabby-chic look that I wanted.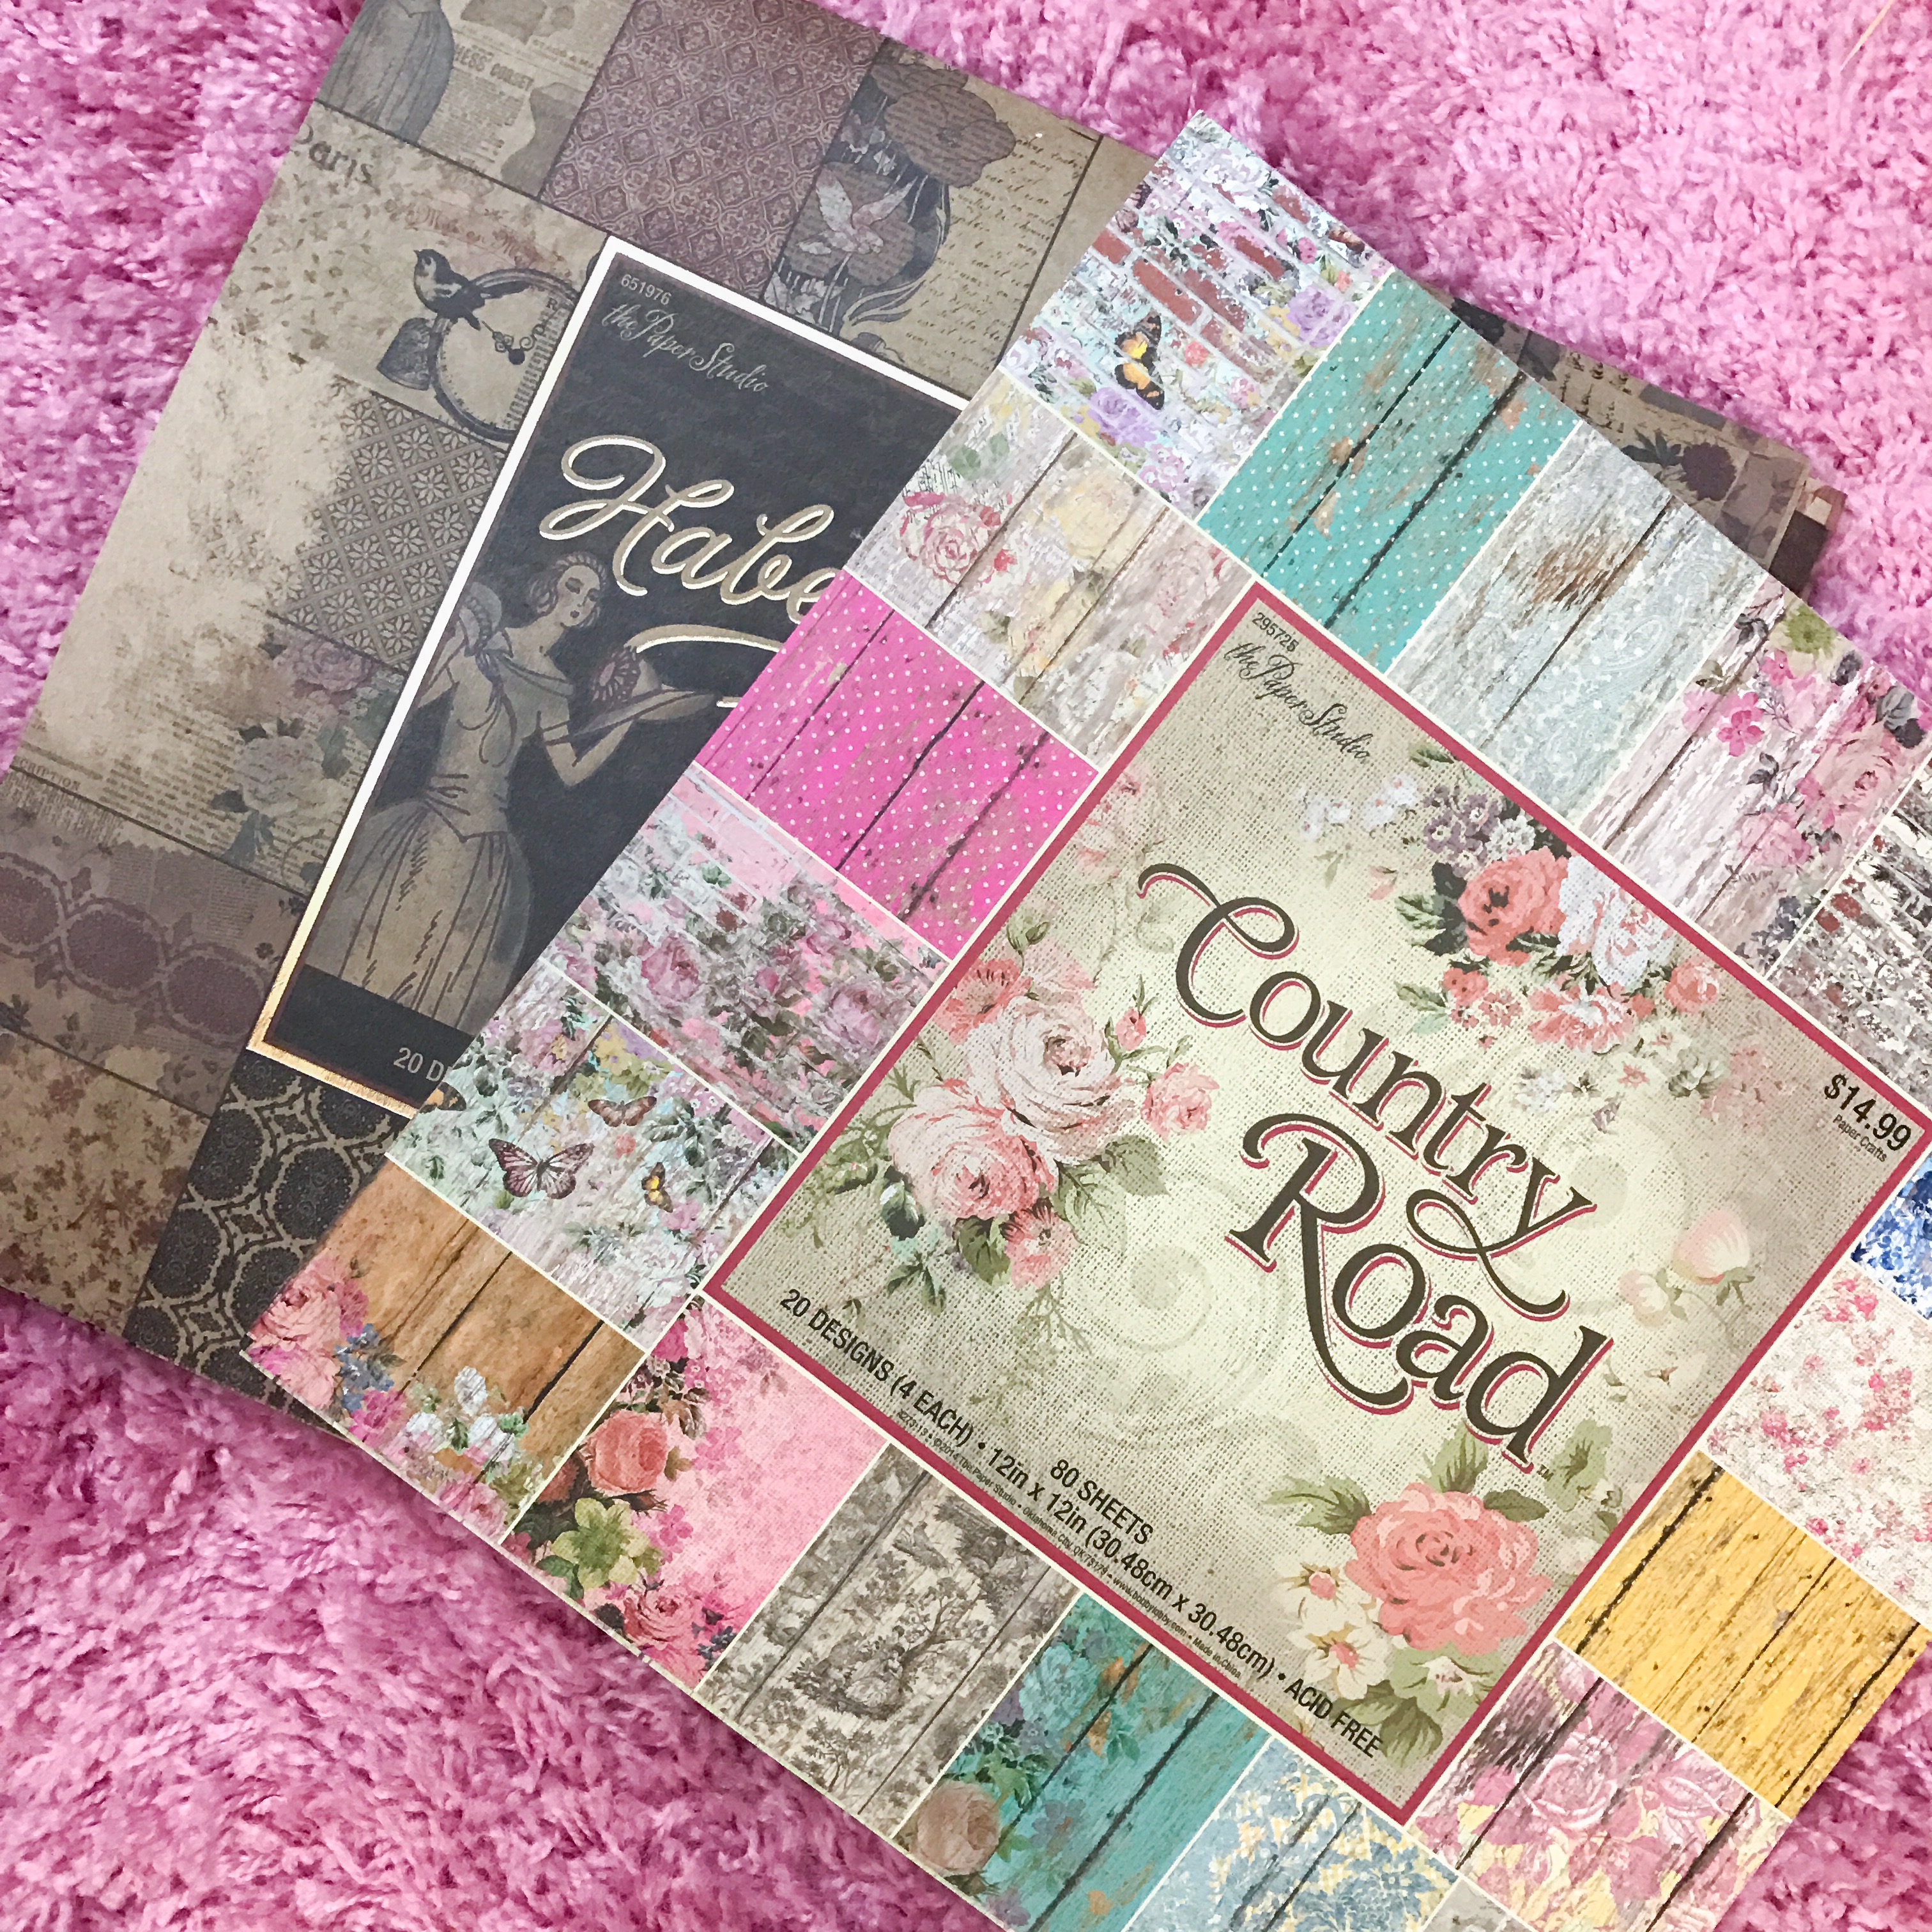 Once you have found the paper you want to use, you can set up the Cricut to begin cutting. Since the project is already set up for you, all you will have to do is tap the “Go” button and adjust the quantity you want to make. For this project I made five. The first thing that will be cut is the folded part of the card. I absolutely love the country style paper that I picked out. So yummy!

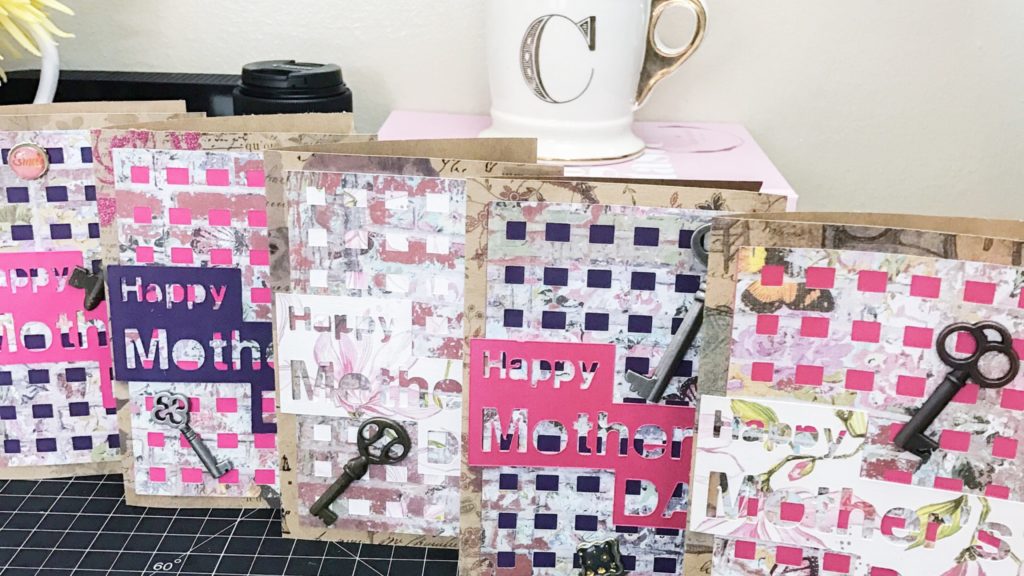
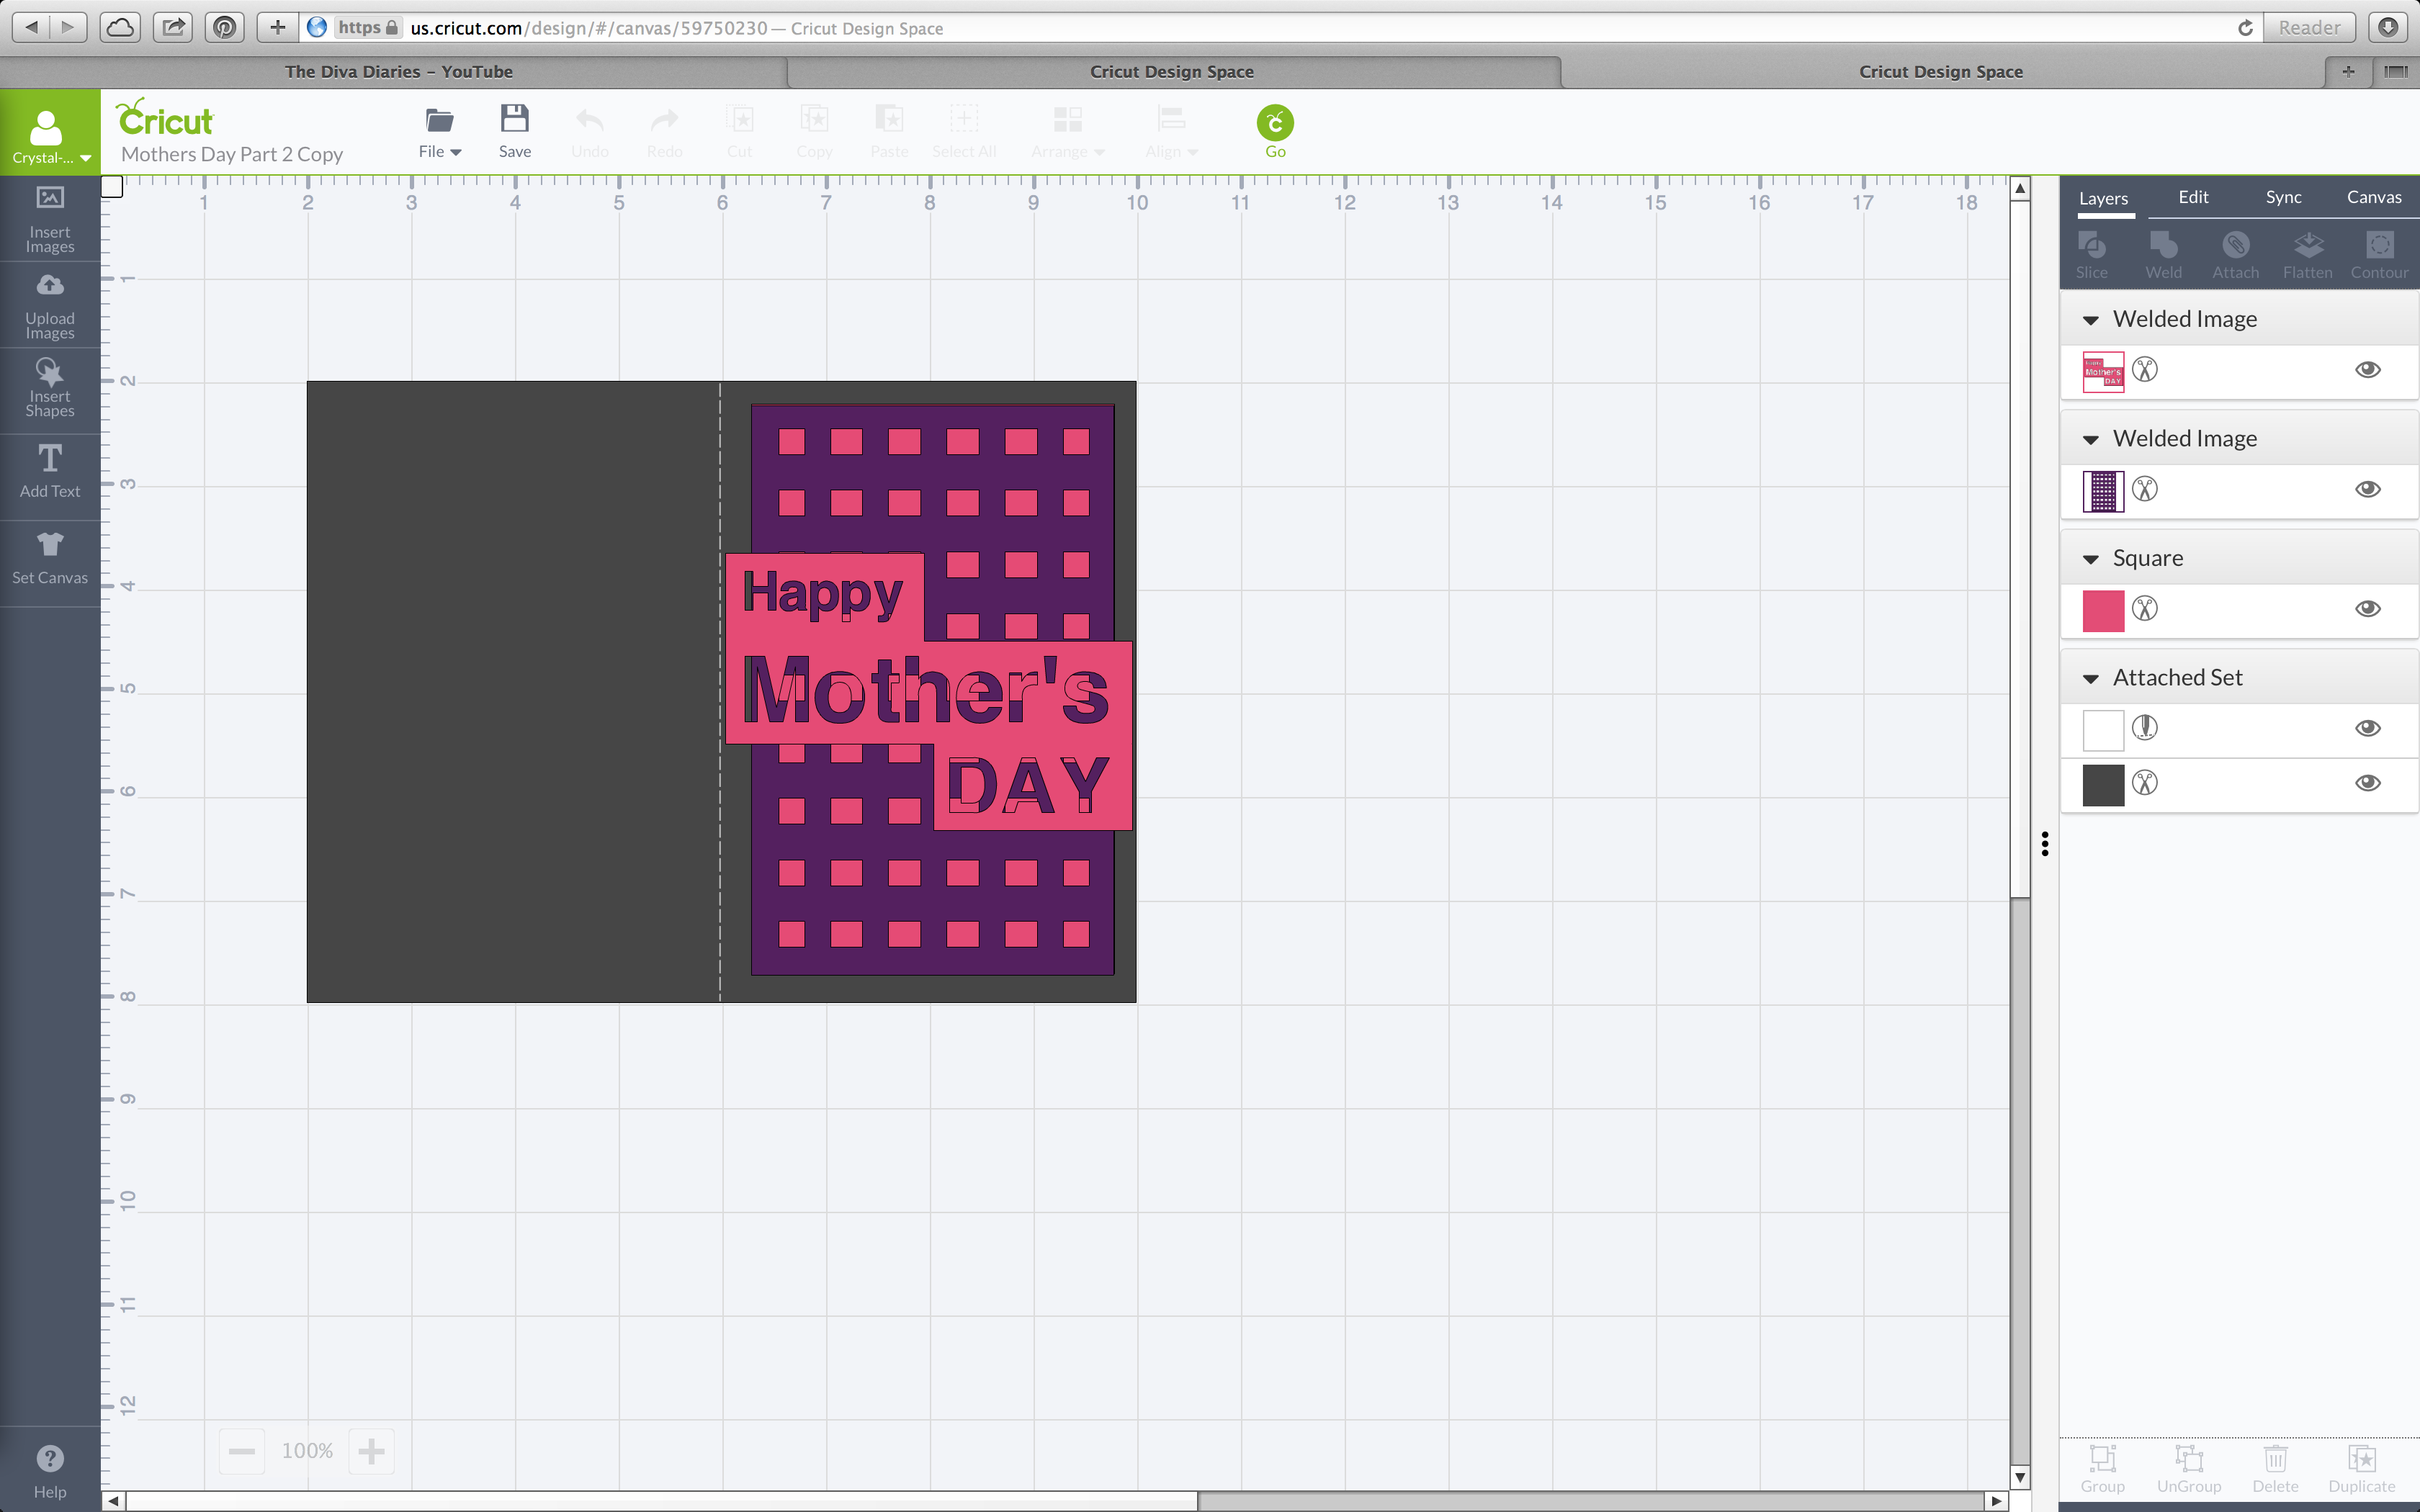
The next layer to be cut is the square cut out piece. For this I used a thinner paper as it will be glued onto card stock. This paper is from the Country Road 12×12 paper pad from Hobby Lobby. Once all of your cutting for layer two and three are complete you will glue the square cut out paper (shown below) on top of the card stock. I chose pink, purple, and a floral card stock to go behind the square cut out.
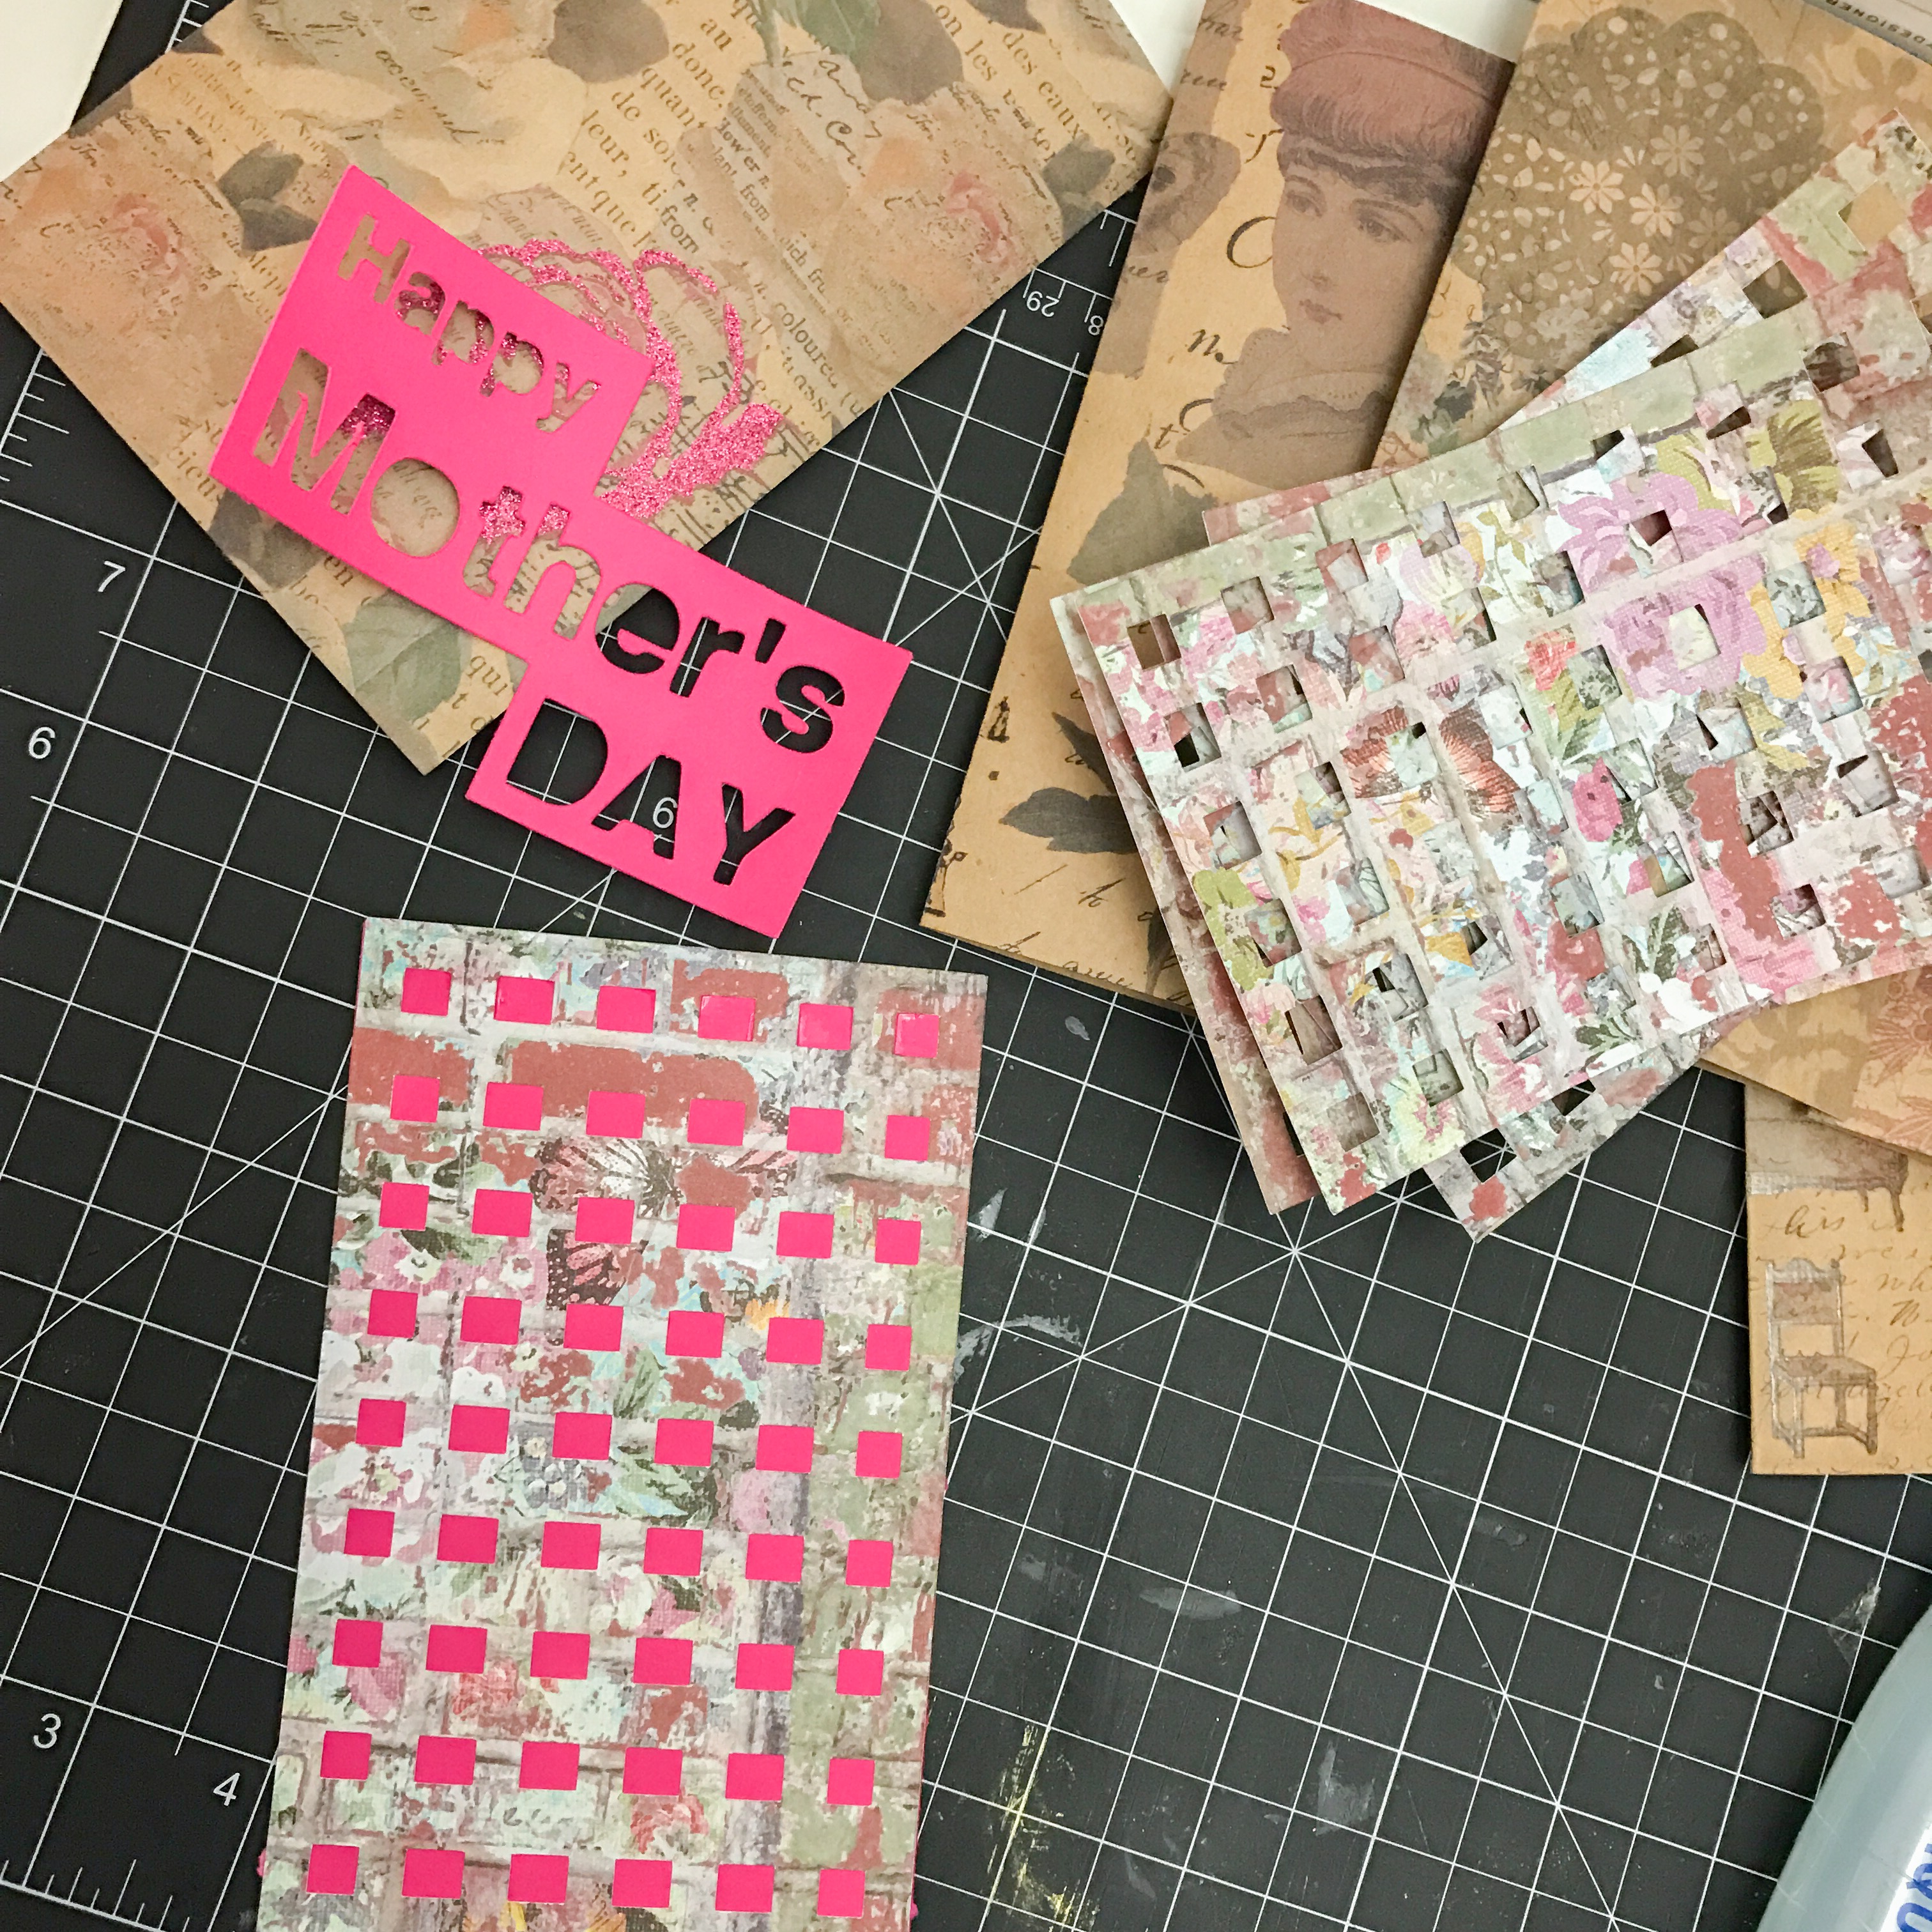
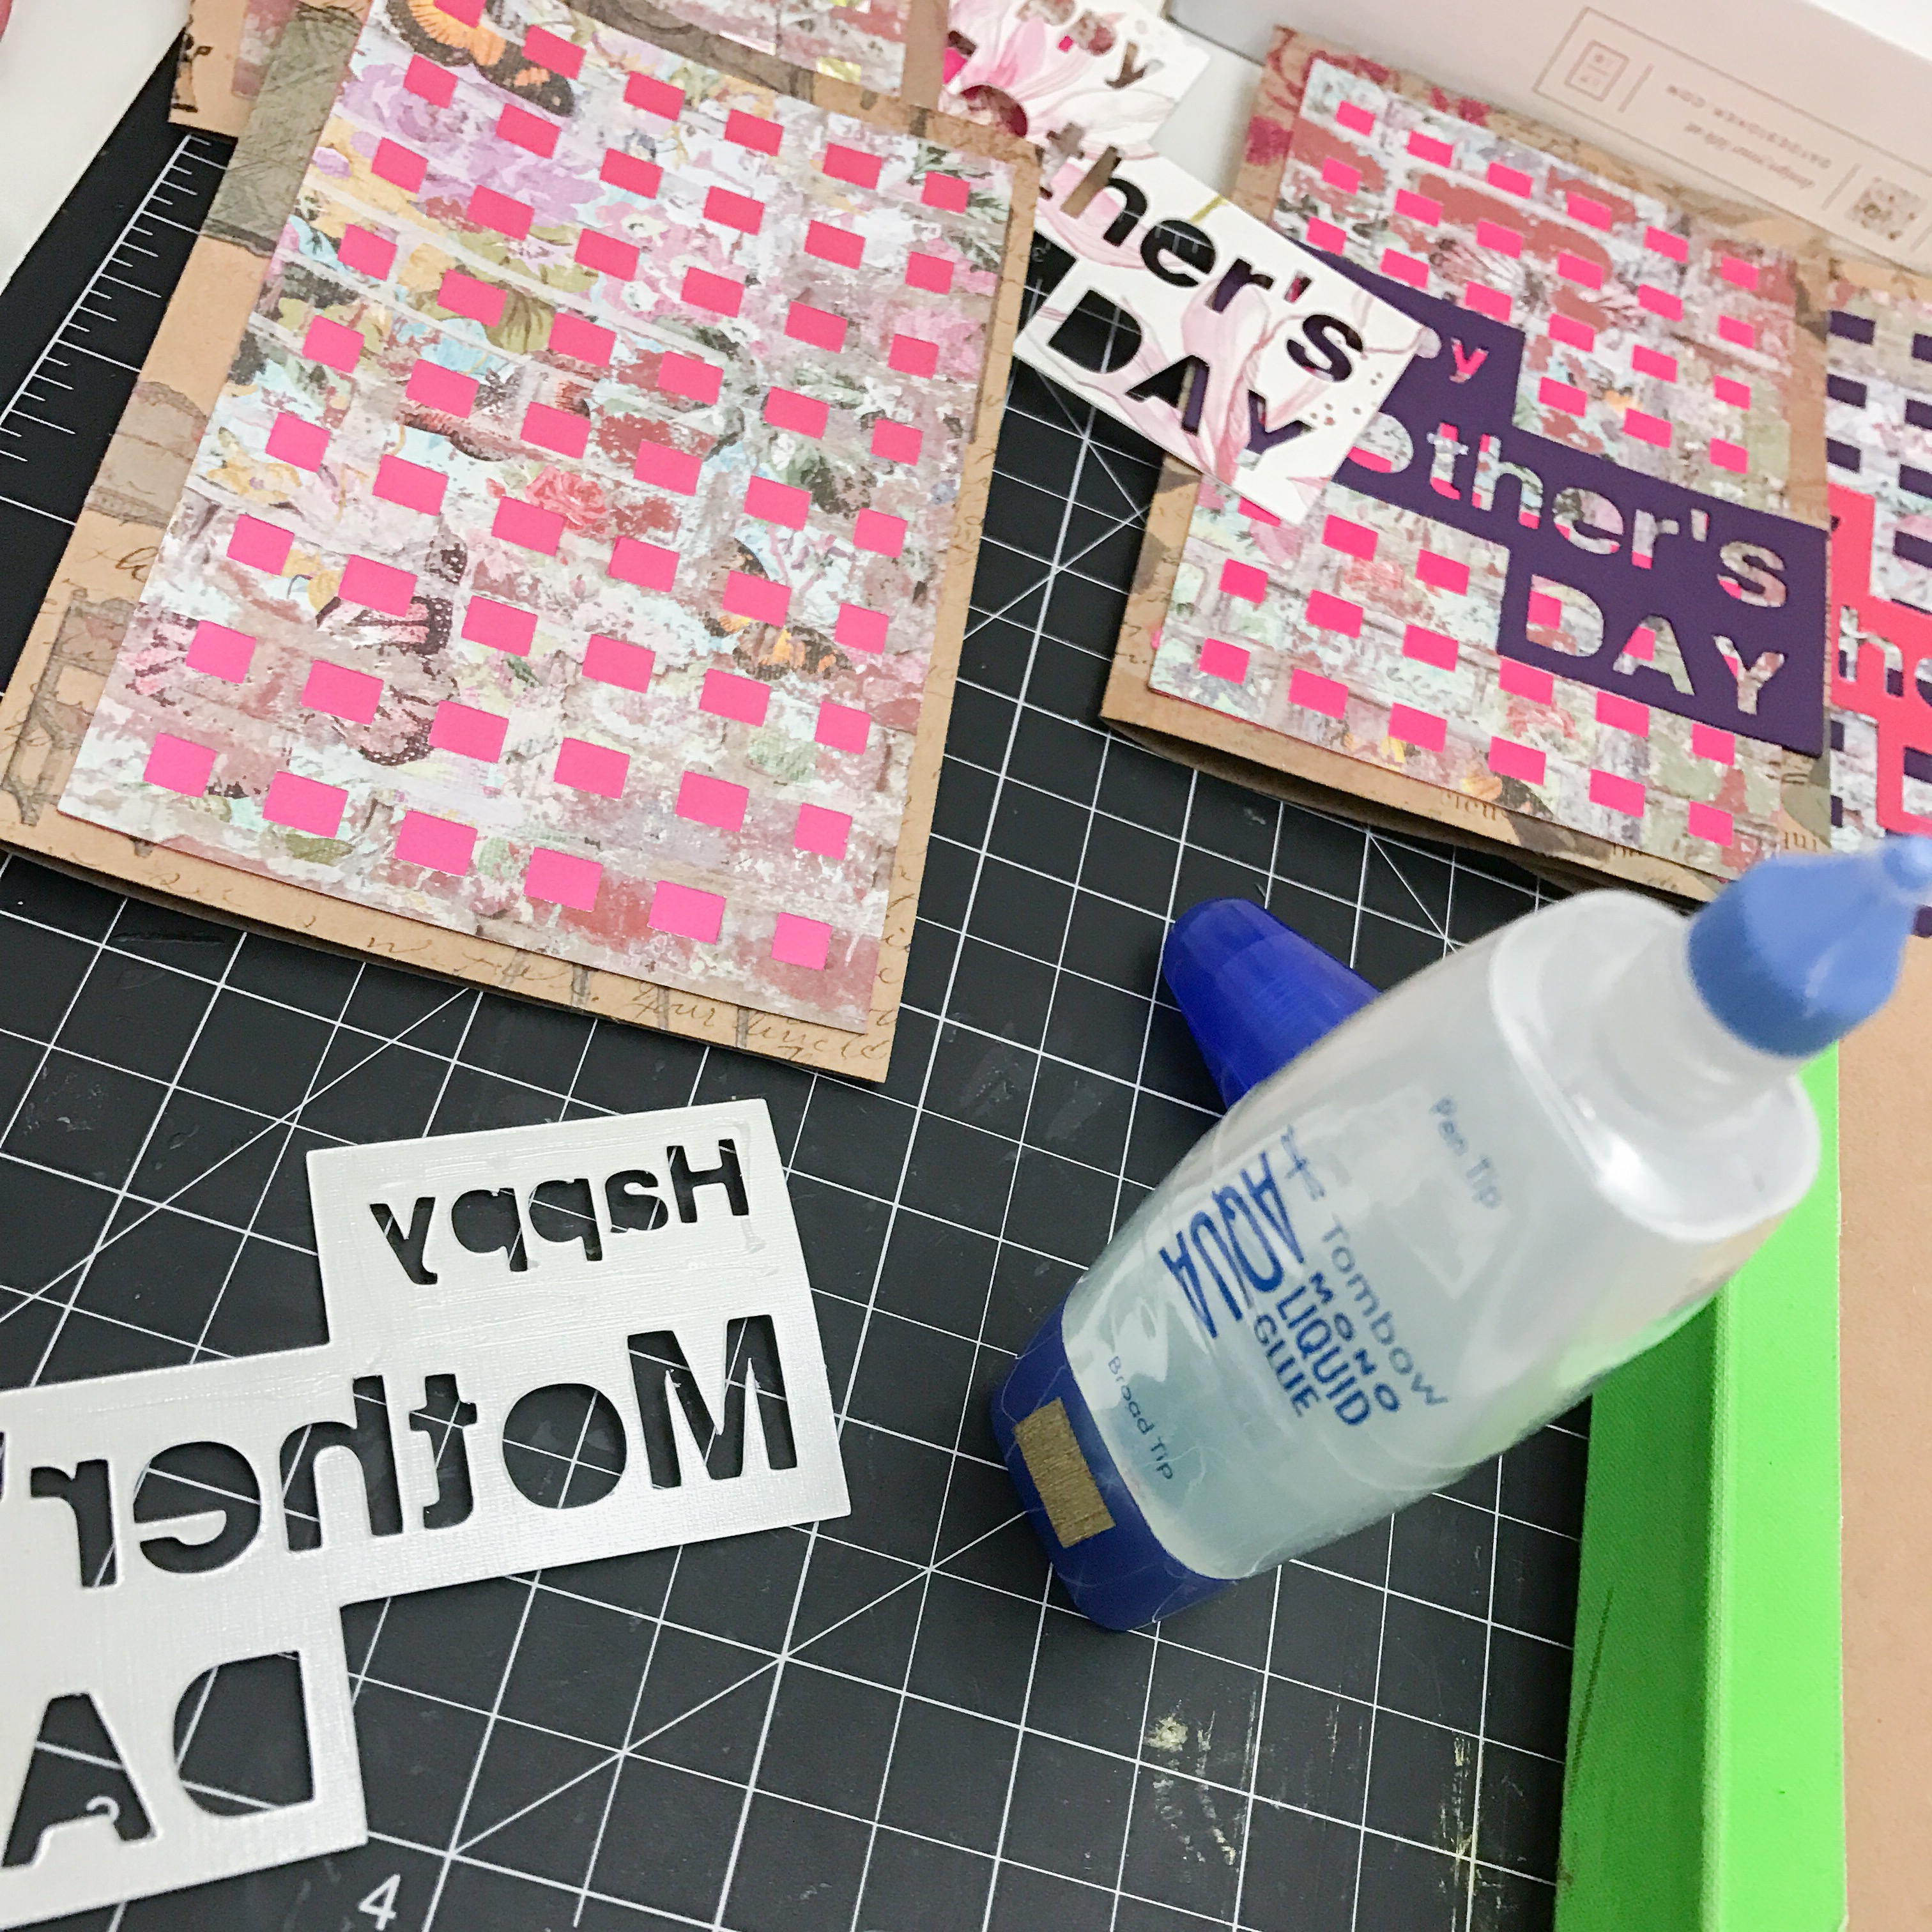
Once you have glued the square cut out onto the card stock and then the card stock onto the folded card, it will be time to glue the “Happy Mother’s Day” cut out on top of the square cut out. *Tip: In between gluing each layer I sit the card underneath something heavy (a book) so that it can properly adhere.
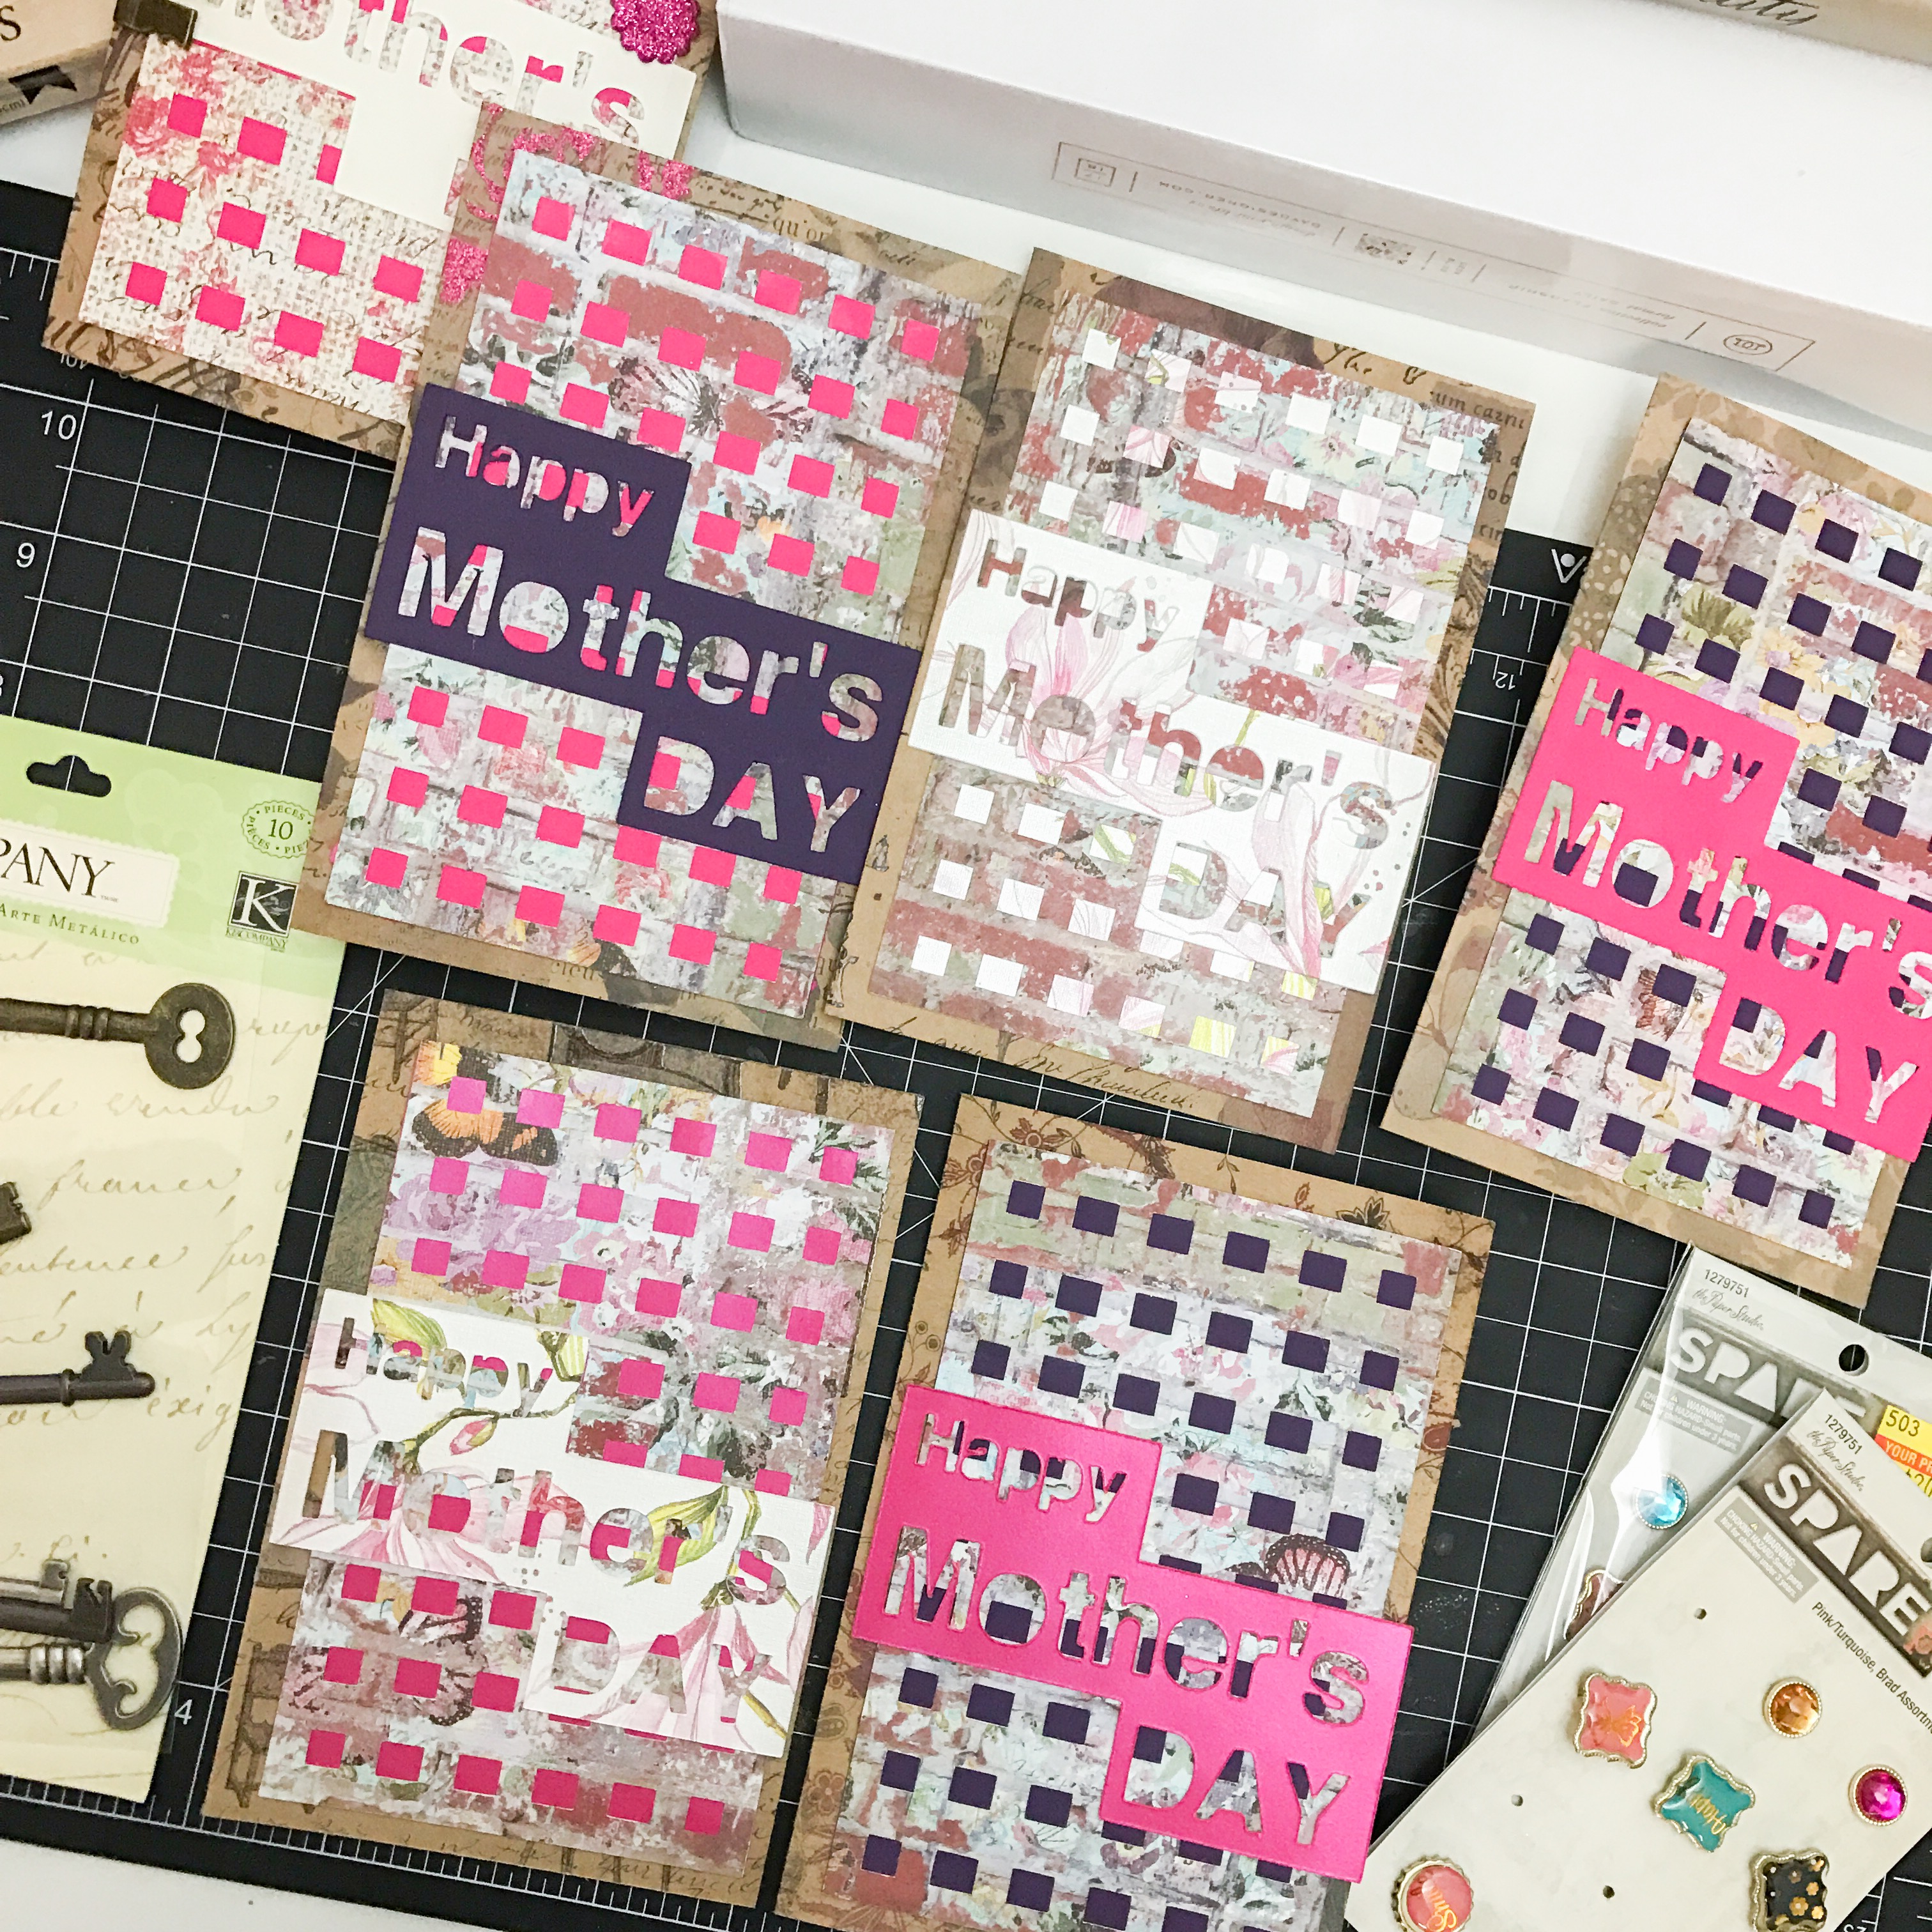 Now it is time to add your embellishments. I picked up some cute brads (shown above – bottom right) that were on sale at Hobby Lobby. I also had some leftover keys (shown above – bottom left) from a previous project that I knew would go really well with the style of card that I had in mind for this project. Once you have your embellishments added, it is time to sign the inside and send off to your mom, mother-in-law, or mother figure.

Love this tutorial? Want to see more? Send your suggestions to info@thedivainc.com and let us know what you would like to see next.
This is a sponsored conversation written by me on behalf of Cricut. The opinions and text are all mine. Some links may be affiliate links and I will be compensated if you click on the and/or purchase. Thank you in advance!