I keep asking myself, “What can the Cricut brand do to make themselves better?” Before I can think of something, they come out with new goodies that inspire me to let my creative juices flow. Cricut recently announced two additional types of iron-on they are adding to their repertoire: SportFlex Iron-On and Patterned Iron-On. For this article, I will be showcasing the new Patterned Iron-On. Spoiler alert! You are going to LOVE it!
Cricut launched this new product with nine different sampler packs. Run don’t walk to the Cricut website (see links below) so that you can grab your favorite patterns before they sell out. I have a feeling that we will be seeing “sold out” quite often.
For the look and feel of this project, I chose to use the Cricut Nature Walk Basics Patterned Iron-on Sampler. This sampler, like the others, comes with three 12″x17″ sheets and is black and white with various patterns. So you will definitely find something that fits your creative style.
Before we get started with the tutorial, let’s take a look at the recommended settings for the Cricut EasyPress Mat. We will be using and referring to this later in our tutorial.
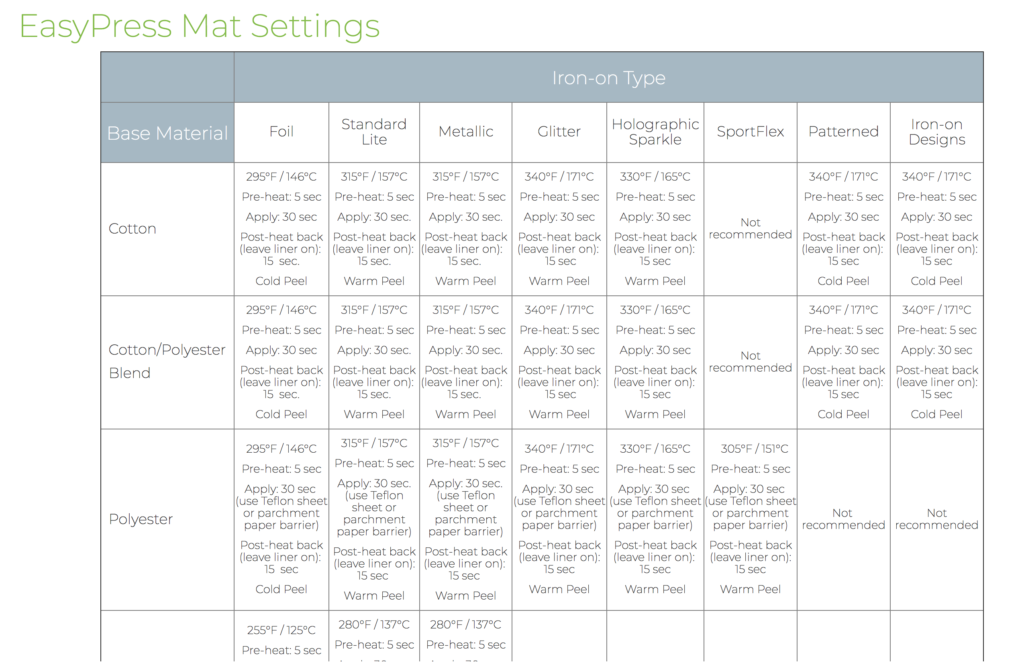
I bought the tee we are using for this tutorial from Target. I used the Cotton/Polyester settings, as noted above, for the Patterned iron-on. If you want to follow along during this tutorial, access the project in Cricut Design Space – Wakanda Tee – Patterned Iron-on.
Materials Needed:
- Cricut Access Fonts
- Cricut Explore Air
- Cricut Nature Walk Basics Patterned Iron-on Sampler
- Cricut EasyPress
- Cricut EasyPress Mat
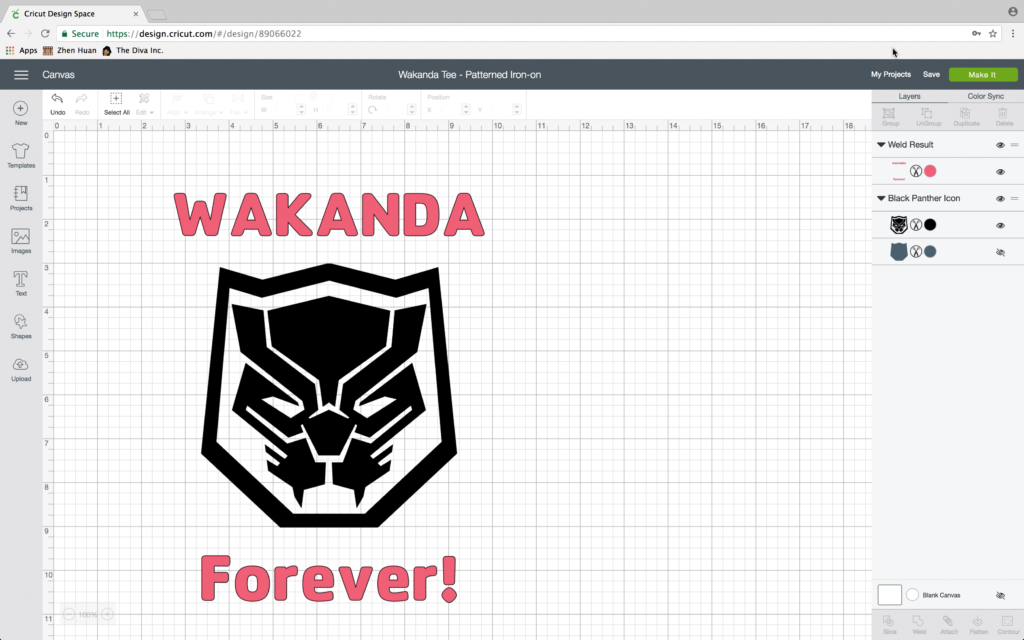
This project is all set up for you to begin. The words “Wakanda” and “Forever” are welded together to ensure smooth placement. When you are ready to begin click the “Make It” button at the top right of the screen. Cricut will guide you through the project using on screen prompts. Make sure to click the mirror button before cutting. Set your dial to “Custom” and find Patterned Iron-On in the drop down menu.
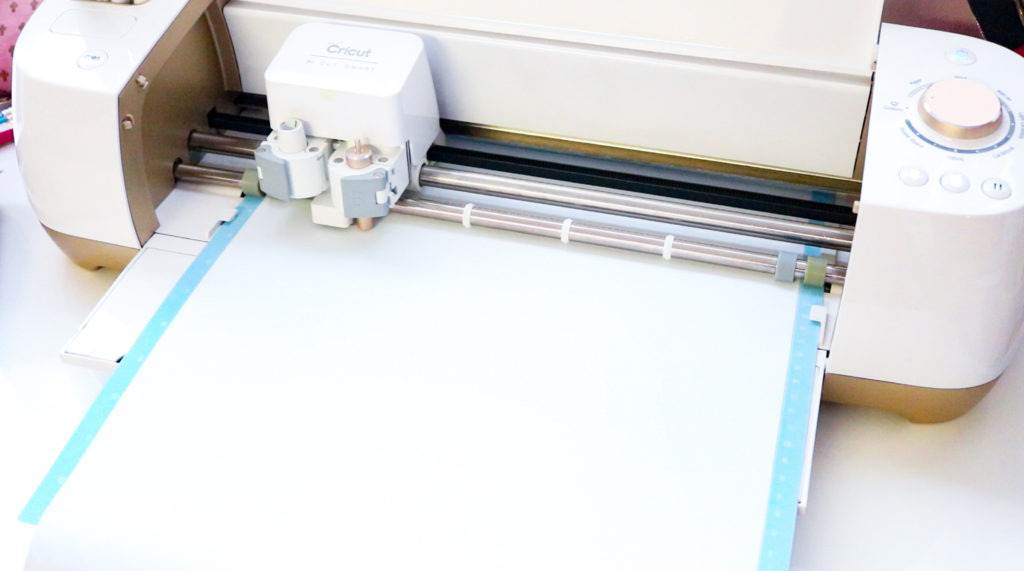
Cricut Patterned Iron-On is to be placed pattern side down on the mat. Here I am using the Cricut LightGrip Cutting Mat.
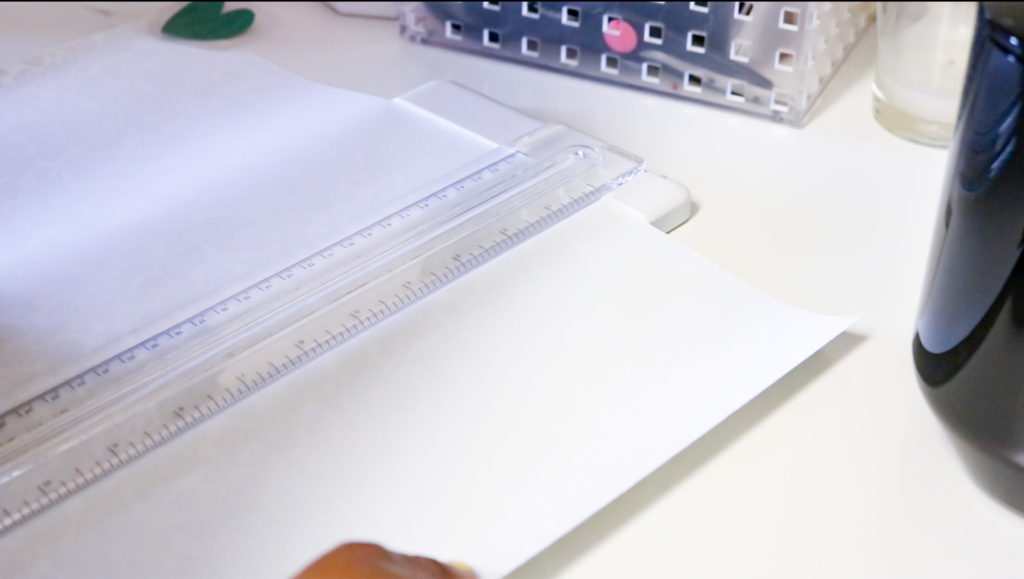
Once the Cricut is finished cutting the images and text, you can use scissors or a cutter to trim the excess material before weeding. Crafty girl tip: Save the scraps as you can use it for more projects.
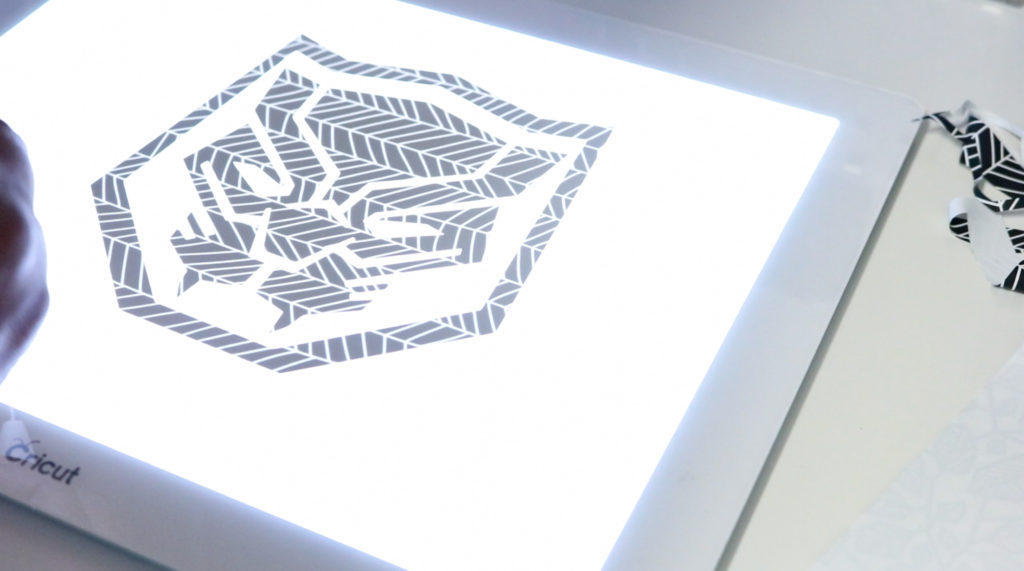
After trimming the excess material, it is time to begin the weeding process. As I’ve said a million-gazillion times, I absolutely LOVE my Cricut BrightPad for weeding. It makes seeing the lines of the image sooooo much easier. Oh!, did I mention that this image can be found in Cricut Design Space?!! That’s right! You don’t have to create an image from scratch if you don’t want to. Cricut has thousands of images and they are all sooo cool!
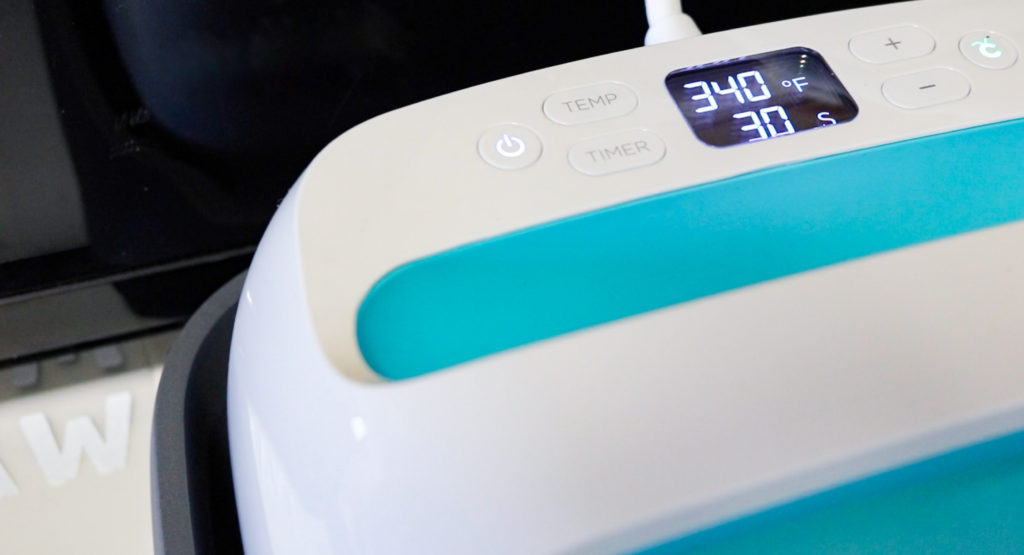
Now that you have weeded your image and text, it is time to adhere the Cricut Patterned Iron-On to your product of choice. In this case a t-shirt. This is my first time using the Cricut EasyPress and I LOVE it!!! It is so easy to use and you don’t have to worry about how long you should apply the heat to your surface. See the above settings image for temperature and time information for different substrates. Set the temperature using the settings noted above. Then set the timer. I preheated the t-shirt for 5 seconds or so and then followed the settings above.
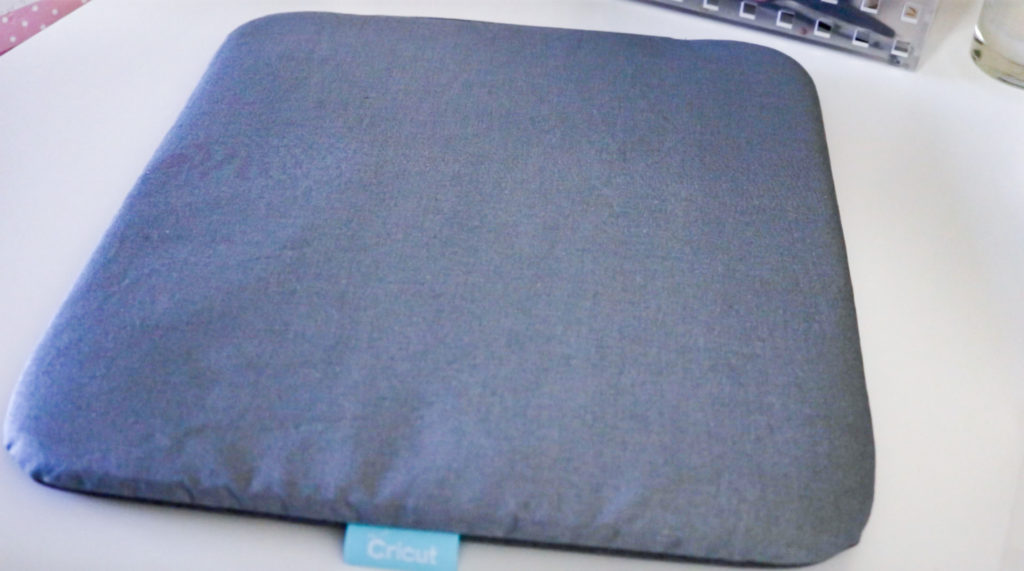
Place the Cricut EasyPress Mat under your tee to protect your work area.
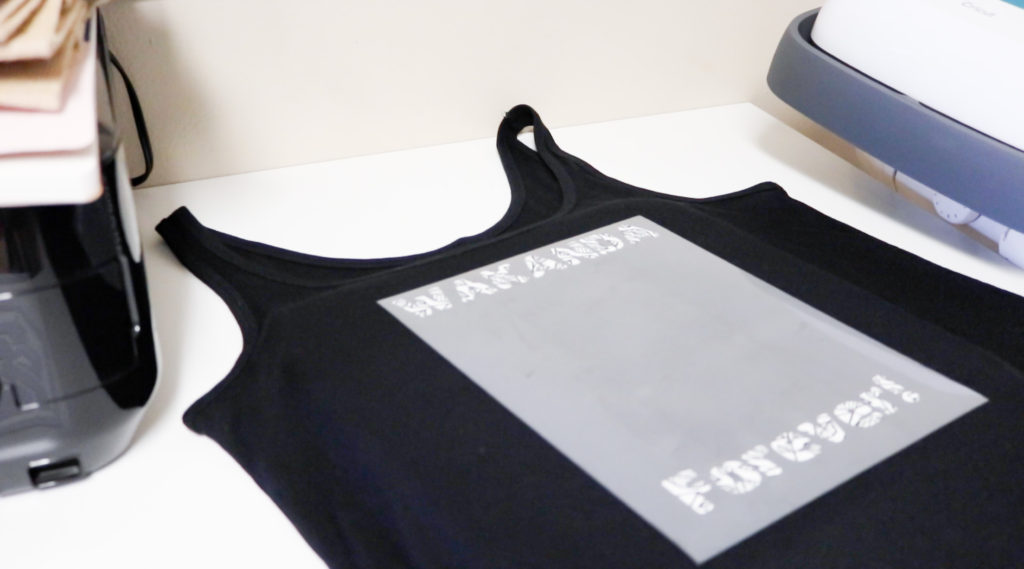
As I used two different versions of the Cricut Patterned Iron-on for this project, I laid down the text first.
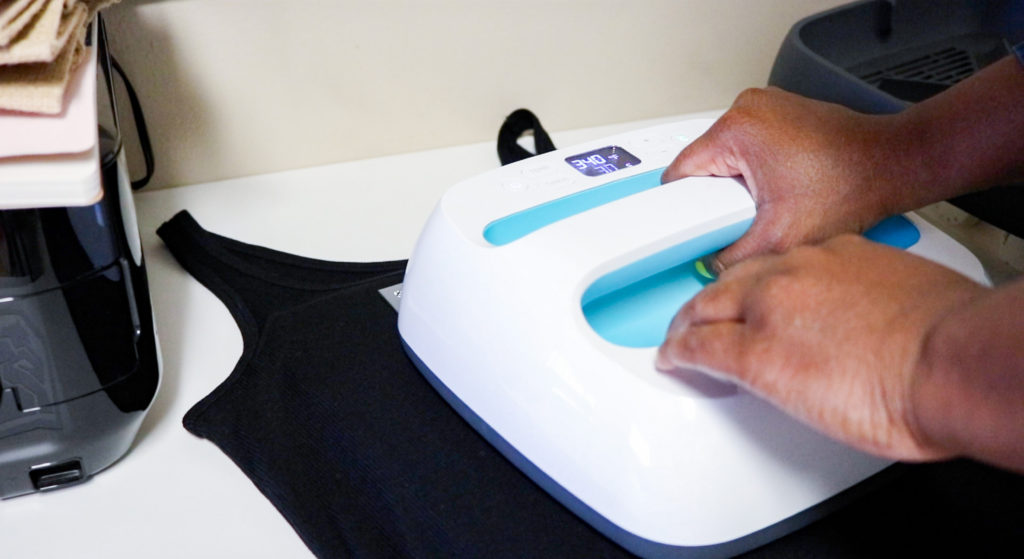
Follow the settings for Cotton/Polyester (as noted above) and be sure to flip the t-shirt over and apply heat as well.
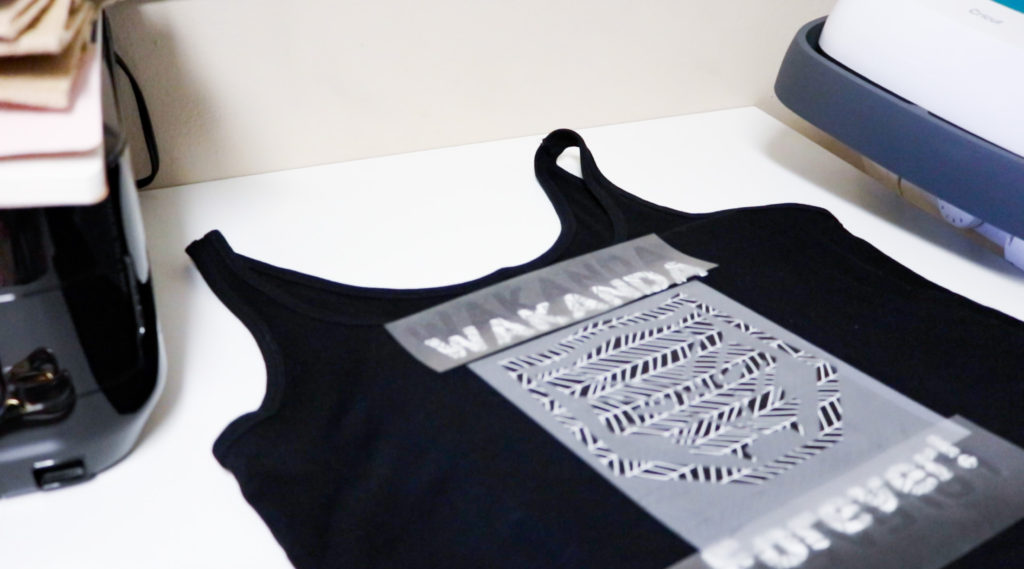
Next lay the second layer down. Cricut does not recommend overlapping the Patterned Iron-On. Cover the Patterned Iron-On text that was already adhered before you apply heat to the panther image. Use the same settings as above for the image. Cricut Patterned Iron-On is a cold peel. So, let the project cool before peeling off the transfer paper.
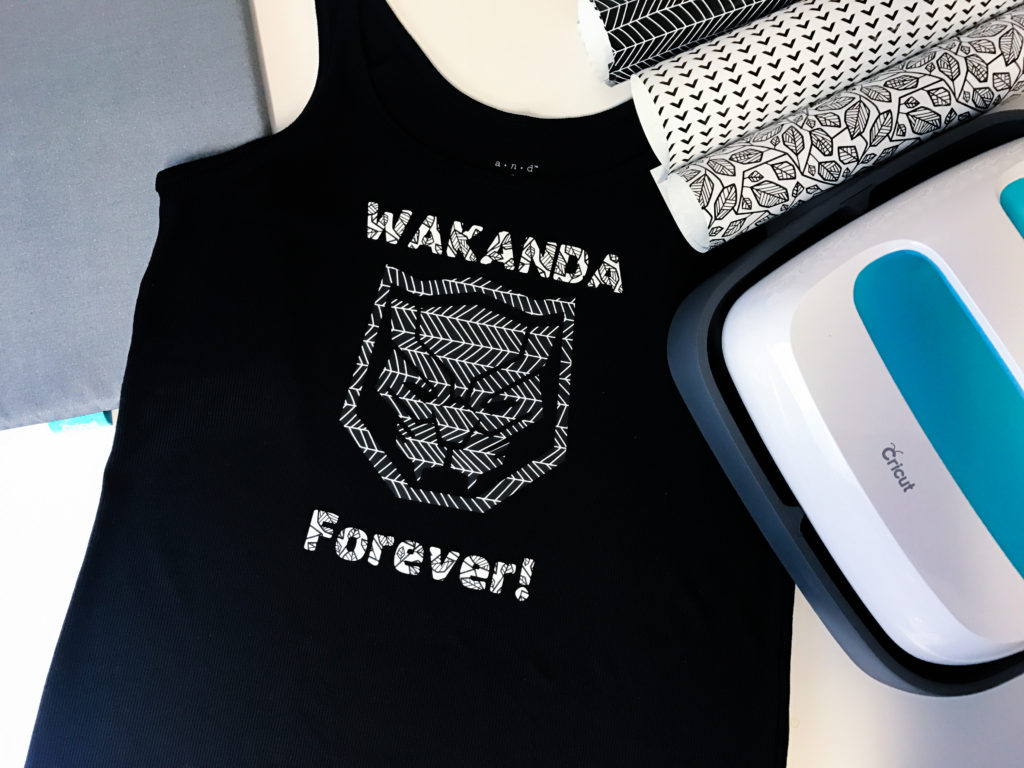
Now you have an AMAZING new tee to rock to school, work or just because – Wakanda Forever!
Be sure to let me know if you try this tutorial. Use #TheDivaIncMagazine
Email The Diva Inc. Magazine at info@thedivainc.com or snail mail us at: PO BOX 1353, Palo Alto, CA 94302.
This is a sponsored conversation written by me on behalf of Cricut. The opinions and text are all mine.


2 comments
This is so cool!
Thank you Love! This was definitely a fun one to make. 🙂