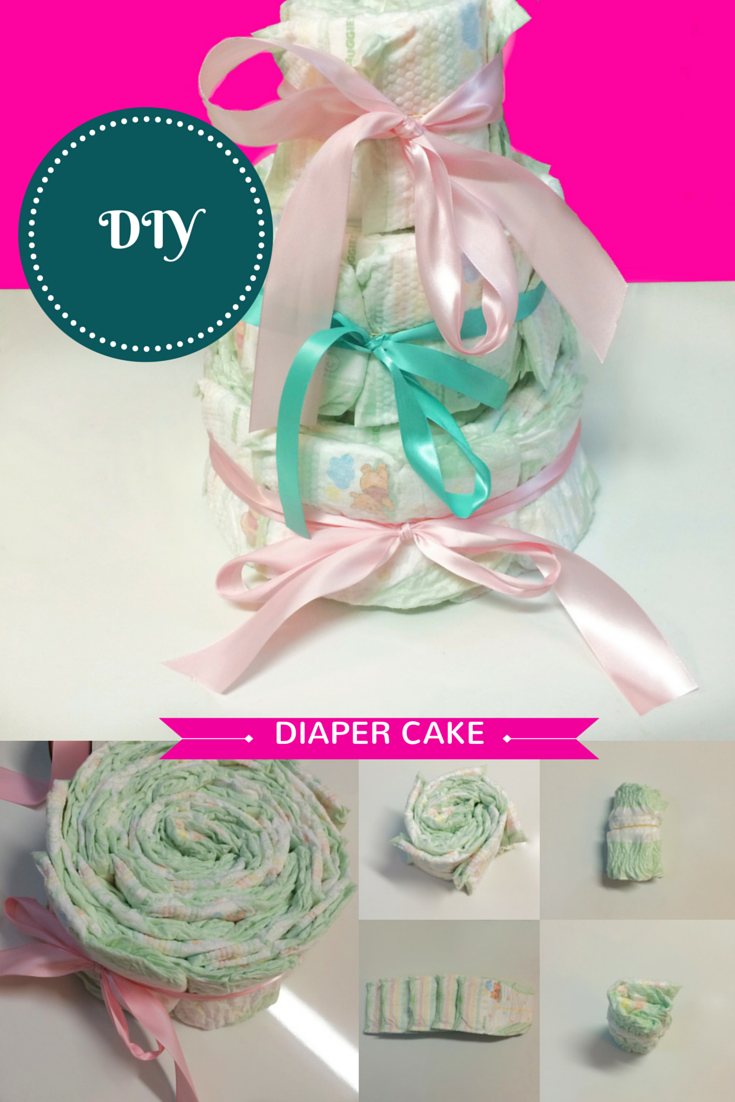
Hi Loves! I’m back with the March installment of the Create with Cricut Challenge. If you haven’t already you can read the tutorial of what I made for February using a Cereal Box here. January was a bust. 🙂 At some point, I will come back and conquer my felt crafting fail. But, until then, here is March and the material is burlap.
This is my first time working with burlap. I decided (since I love iron-on so much) that I would design an iron-on graphic in Cricut Design Space for this project. You can access this project here if you would like to follow along.
What you will need:
- Cricut Explore Air
- Cricut Design Space
- Cricut Iron-on (Glitter Lipstick/Pink)
- Cricut Iron-on (Gold)
- Cricut BrightPad (for weeding)
- Burlap Tote (I got the one I’m using from JoAnn)

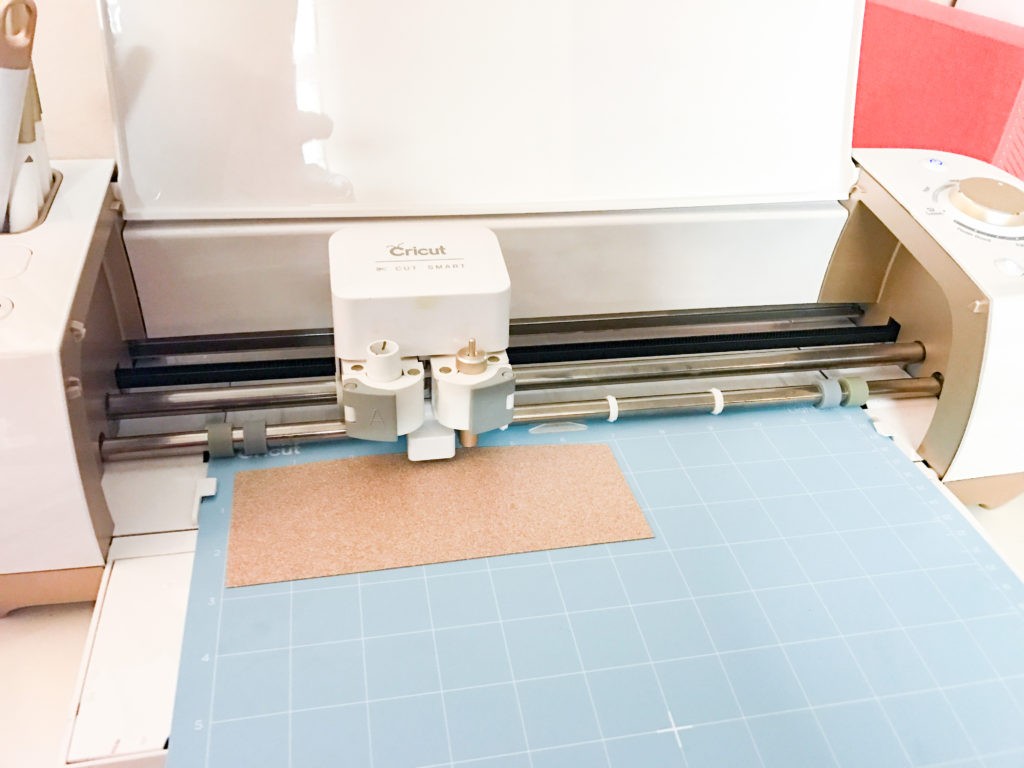
This is what the project looks like in Cricut Design Space. I worked with the image to make sure that it was properly sliced where necessary (to avoid overlapping the glitter iron-on) and that the text was flattened so that the layout would come out properly. Once you are ready to begin then click, “Make It.” The Cricut will give you on screen prompts as well as prompts on the machine.

When you place the glitter iron-on onto the Cricut cutting mat, make sure that you place it shiny side down and turn the dial one stop passed Iron-on. I find that this makes sure that the Cricut cuts through the glitter but leaves the transfer paper in tact. I used the Glitter Lipstick (Pink) color for the text as well as the lipstick color.
Follow the same directions as above for the gold glitter. I used the gold for the lips as well as the lipstick container.

One of the most fun parts of this project is using the Cricut BrightPad to weed the materials once they are all cut out. The BrightPad makes it SUPER easy to see the shapes as you weed the images.

Since this was my first time using burlap, I preheated the tote bag. *Note: You may want to put a cloth inside the bag so that it won’t glue itself shut. The film on this side of the bag began to adhere to itself. I put an ironing cloth on the inside and it was fine after that.
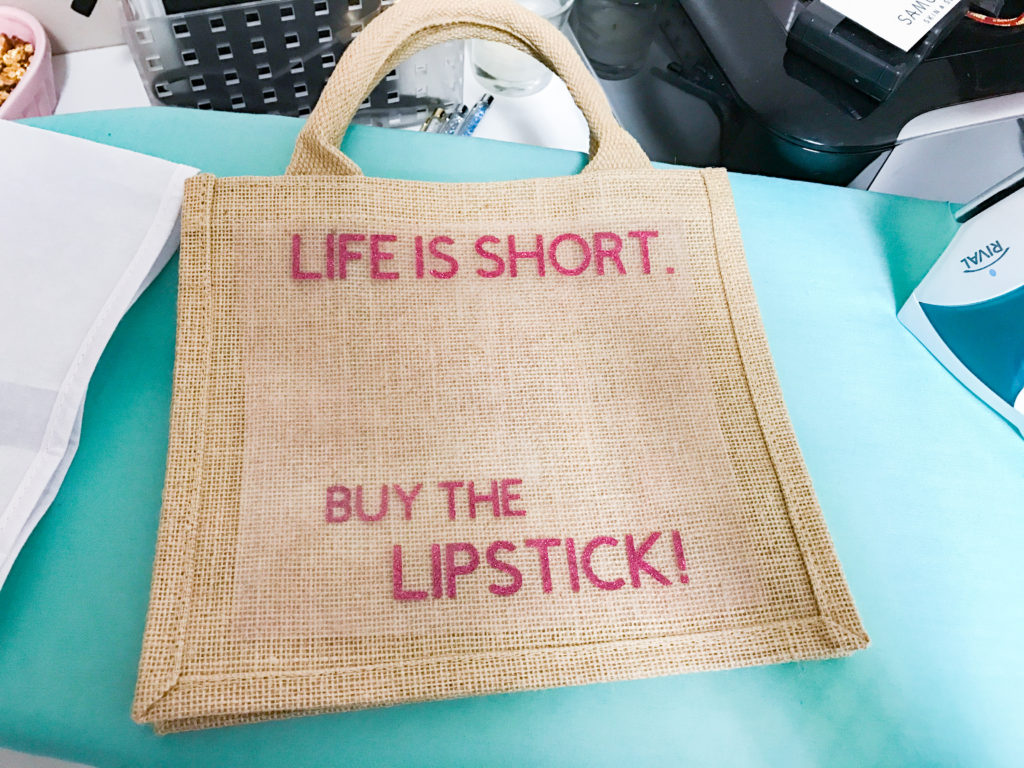
The first thing you will want to place is the text. Once you have it placed as you like it, you can start to iron the glitter down to the burlap tote. I used a lot of heat to do this because I wanted to make sure that it was going to stay. My iron setting was turned to the highest setting possible. I cannot wait to try something like this with the Cricut Easy Press. 🙂

With my iron turned on the highest setting, I covered the bag with a cloth and began my usual iron-on strategy. Press the iron down in one spot for 20 seconds then lift and move to the next spot. Repeat this as necessary to make sure the iron-on is adhered to the material. Then lift the cloth and iron directly on the burlap to make sure that the letters are sticking.

I followed the same iron-on strategy to place the lips. Since I sliced the image, there was a spot for the lipstick color to fit into without overlapping the lips. I placed the lip color and then ironed it onto the burlap. I followed this same strategy to iron on the lipstick container.
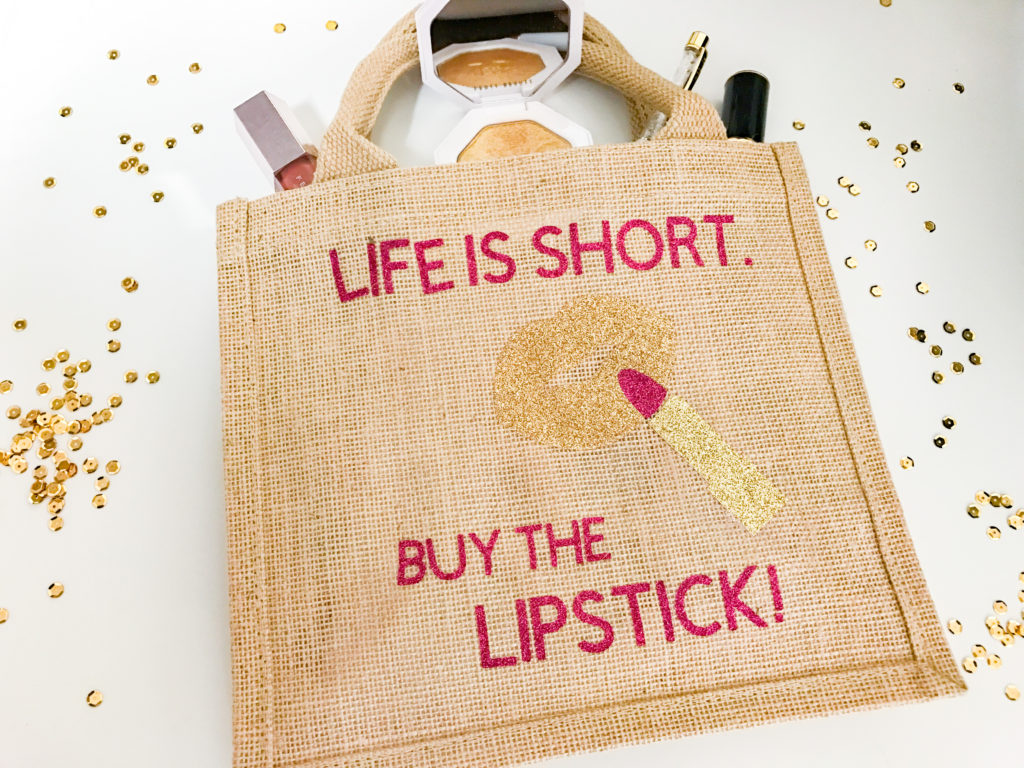
What do you think?
Email The Diva Inc. Magazine at info@thedivainc.com or snail mail us at: PO BOX 1353, Palo Alto, CA 94302.
This is a sponsored conversation written by me on behalf of Cricut. The opinions and text are all mine.