This is a sponsored conversation written by me on behalf of Cricut. The opinions and text are all mine.
I’ve been desperately trying to organize my life especially my home. A cluttered home is a cluttered mind. As you all know, I live in a tiny studio apartment. It is imperative that everything have a place to go in my home. Which is tough because in this space I have a growing craft supplies area/home office that is filled with paper, stickers, craft equipment and of course all my Cricut supplies and machine.
Imagine my surprise when Cricut announced the new Cricut EasyPress Tote in all three sizes!! If you are not familiar with the Cricut EasyPress/Iron-on process, I just wrote an article that will help you: 5 THINGS TO KNOW ABOUT THE CRICUT IRON-ON PROCESS.
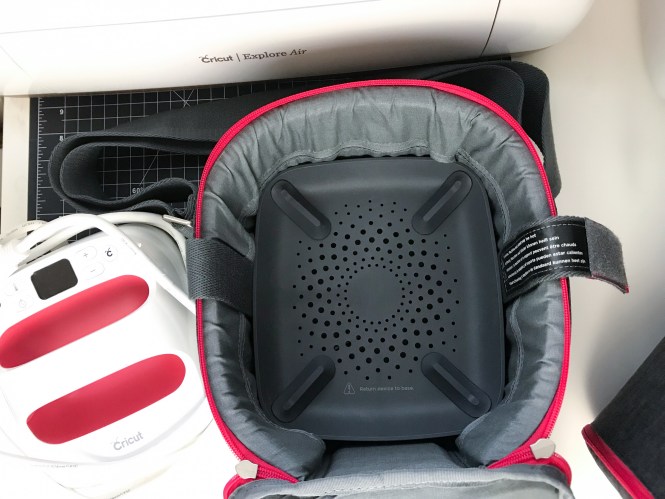
This tote is an amazing addition to the Cricut storage product line for those who love to travel with their Cricut supplies for crafting on the go. But for me, this tote means that I have a place to store all three of my Cricut EasyPress machines while they are not in use. This will not only save space in my tiny apartment, it will also protect my EasyPress machines while not in use. The tote also has pockets to store my EasyPress Mat and small weeding accessories.
I also love the fact that it stylish so I can leave it on display as a part of my craft area decor. The heat resistant material means that I can place my EasyPress 2 inside the tote once I am done with my project.
How to store your EasyPress in the EasyPress Tote Bag
First, determine the size EasyPress you have.
- Small Tote fits Cricut EasyPress 2 – 6″x7″
- Medium Tote fits Cricut EasyPress 2 – 9″x9″
- Large Tote fits both Cricut EasyPress 2 – 10″x12″ and the Original Cricut EasyPress
Next, unzip your tote.

Add your EasyPress base to the tote first.

Then, place your EasyPress 2 inside and wrap the cord around it.

After that, zip your tote and add the EasyPress Mat and/or small accessories to the back pocket.


