This is a sponsored conversation written by me on behalf of Cricut. The opinions and text are all mine.
I’ve received so much love on my Cricut videos and I appreciate each one of you for liking, sharing, and commenting on them. I read every comment and many of you have had so many questions about Cricut and Cricut Iron-on and I want to address some of them in this post. As you know, I love Cricut and most of my projects are iron-on projects. I find the iron-on to be an easy-to-use material that will help you get to know your Cricut better.
So let’s jump right in with the question I get the most.
How many washes can you get out of Cricut Iron-on?
I am amazed at the quality of Cricut Iron-on. I’ve washed my projects dozens of times and not only does it still adhere to the surface (t-shirts mostly), but the glitter iron-on especially looks like new even after all of the washes. Many of the Cricut Iron-on materials have the StrongBond™ Guarantee noted on them. That basically means that if you use the material as instructed, you will be happy with the results or Cricut will replace the material. Trust me, you will be extremely happy.
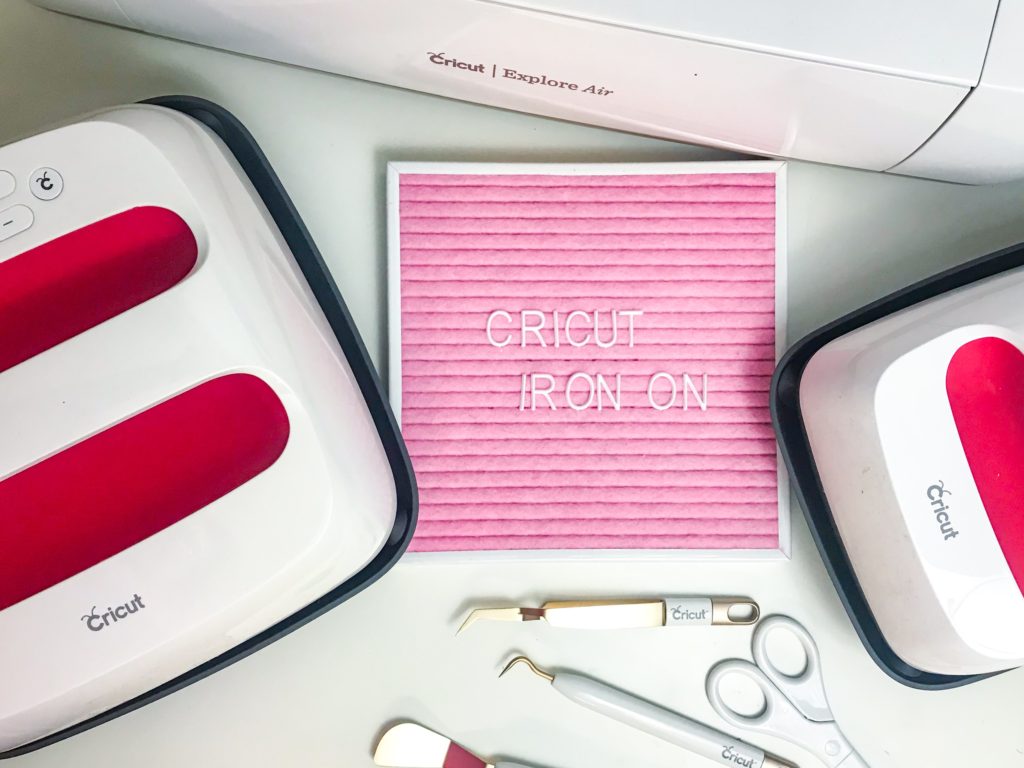
Some things to note about the Cricut Iron-on process:
- Make sure you are using even heat to adhere the iron-on to your surface.
- Use a flat surface (tabletop, craft surface)
- Wait at least 24 hours before washing
- Do not use bleach with Cricut Iron-on
- Set the temperature as directed
How do I know what temperature to use?
If you are using another brand material iron-on, please refer to that brands guidelines. For Cricut materials, there is a great tool that will help you decide what temperature to use based on the material you are using. You can find a link to this feature here. Use the drop down menu to choose your iron-on material and base material. Your base material is the material you will be adhering the iron on to. For example: Cotton if it is a t-shirt or canvas if it is a makeup bag/pencil case.

What do I use to adhere the iron-on to my surface?
I’ve only ever used my iron, Easy Press or EasyPress 2 to adhere my iron-on. Both the iron and the EasyPress/EasyPress 2 are portable and fit into my tiny less than 500 sq. ft. apartment. The iron worked great in the beginning because it was something I already owned and I didn’t have to rush out and buy something to start my Cricut journey. However, I prefer the EasyPress 2 for a few reasons:
- The EasyPress 2 covers my entire project with an even distribution of heat. Whereas my iron had to be manually moved to cover the surface of my project and it did not heat evenly. Even heat is critical to the success of any iron-on project.
- Since I’m crafting in a small space, it is imperative that I am as safe as possible. The iron, unlike the EasyPress 2, has to sit up when not in use and if this accidentally tips over it could cause burns to my skin or materials. No good!
- If for some reason I forget to turn off the EasyPress 2, it will auto shut off after 10 minutes.
- The EasyPress 2 comes in three different sizes: 12″x10″, 9″x9″, and 6″x7″. This gives you the ability to choose the right EasyPress 2 for your project.
- The EasyPress 2 heats up super fast! When I’m ready to use it, it takes seconds to get to the desired heat setting. Which means I can keep my project moving instead of having to wait for an iron to heat up.
How do I protect the tabletop or craft surface I’m using from heat?
The EasyPress Mat insures that your craft surface isn’t damaged from moisture or heat. Like the EasyPress 2, the EasyPress Mat comes in three different sizes: 8″x10″, 12″x12″ and 20″x16″. Using the mat that is larger than the heating plate on your EasyPress 2 is best. Note: The EasyPress Mat is sold separately from the EasyPress 2.
Which size EasyPress 2 should I get?
My expert opinion is that you should get them all. 🙂 LOL However, if you must choose to get one to start consider what size most of your projects are. For example, if I have a large image that I want adhered to a t-shirt, then I will likely choose the 12″x10. This is because I’m typically going to wear the shirt myself and I wear an XL size shirt. Conversely, if I am using the iron-on for a makeup bag, then I will choose the 6″x7″ EasyPress 2. You want to use the heating method that covers your image fully but doesn’t extend over it too much or is not too small causing you to have to perform multiple presses over the image. Again, if you are like me and you DIY projects of all different sizes, then it will be beneficial to purchase all three. Especially, if you have the storage space. 🙂
I hope this helps answer some of your Cricut Iron-on questions! Don’t see your question here? Send an email to: info@thedivainc.com.
XOXOXO!


1 comment