Now that you have an idea of how easy it is to create an iron-on t-shirt using Cricut’s images in Cricut Design Space, we are back with a follow-up tutorial on how to use a custom image with the Cricut. Missed the first iron-on tutorial? No worries. We have you covered! Click here to read the Cricut Iron-On Tutorial for Beginners article.
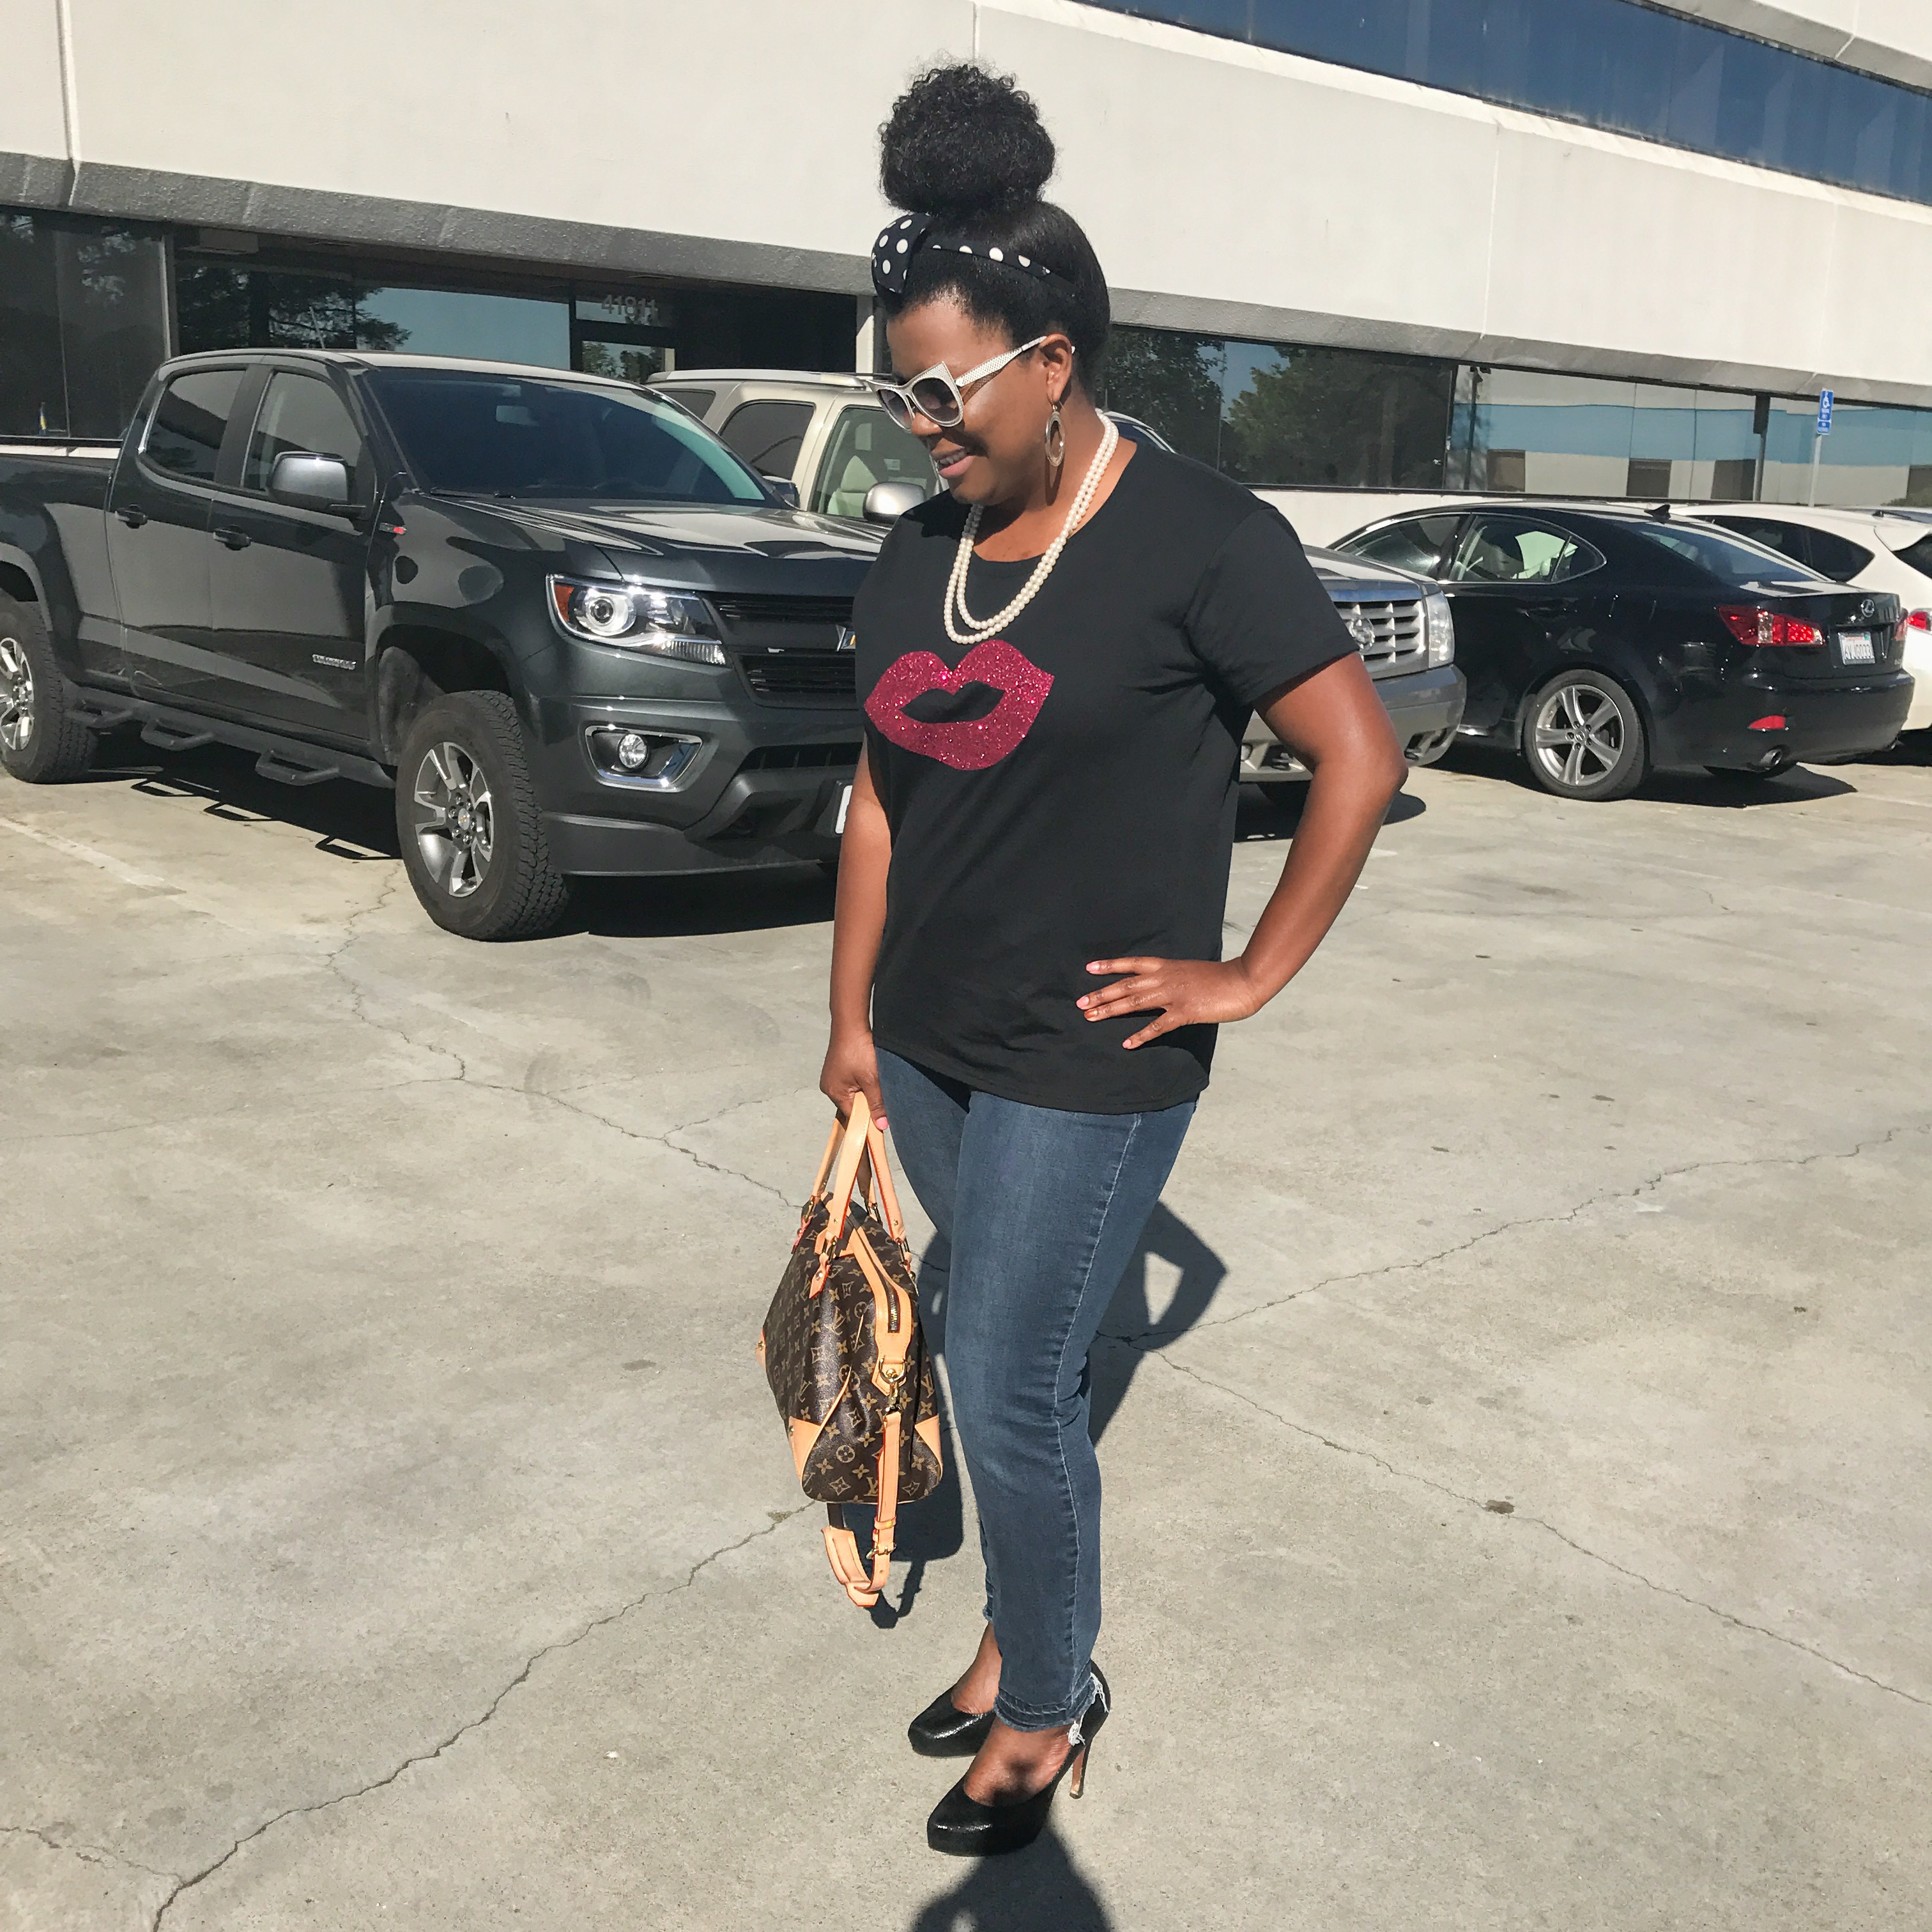
In this tutorial you will learn how to upload your custom image to Cricut Design Space and how easy it is to cut it out and iron it onto your favorite t-shirt. Plus, we are giving you the .svg file of the lips we used so you can follow along. Sweet!
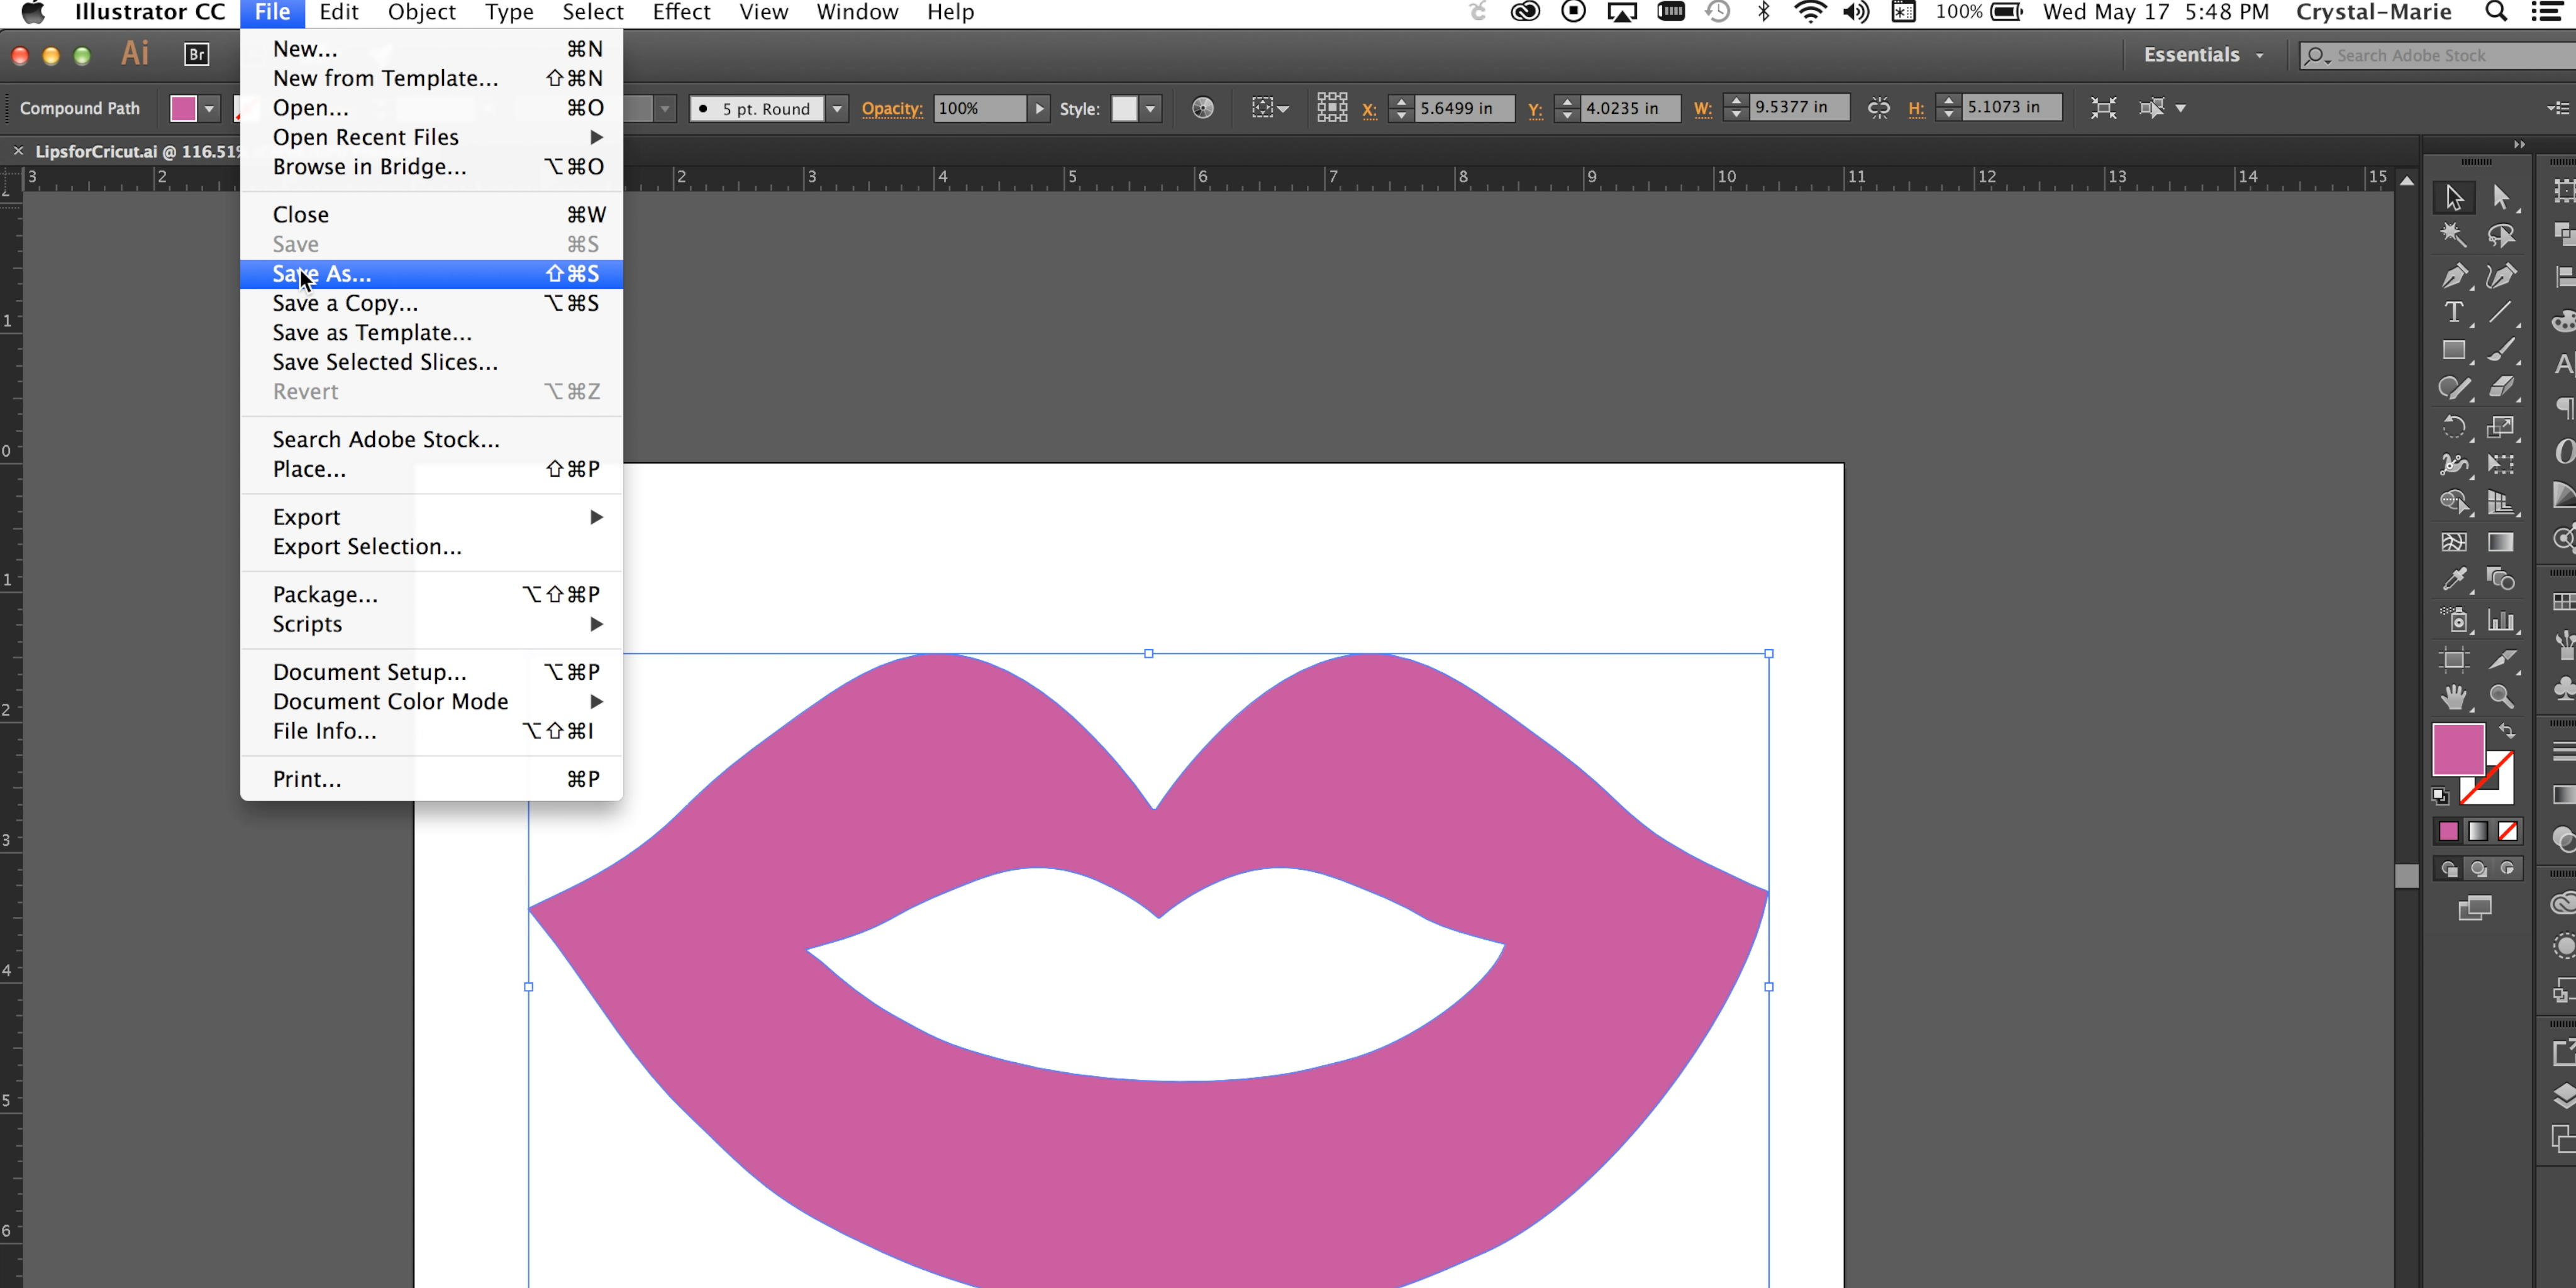
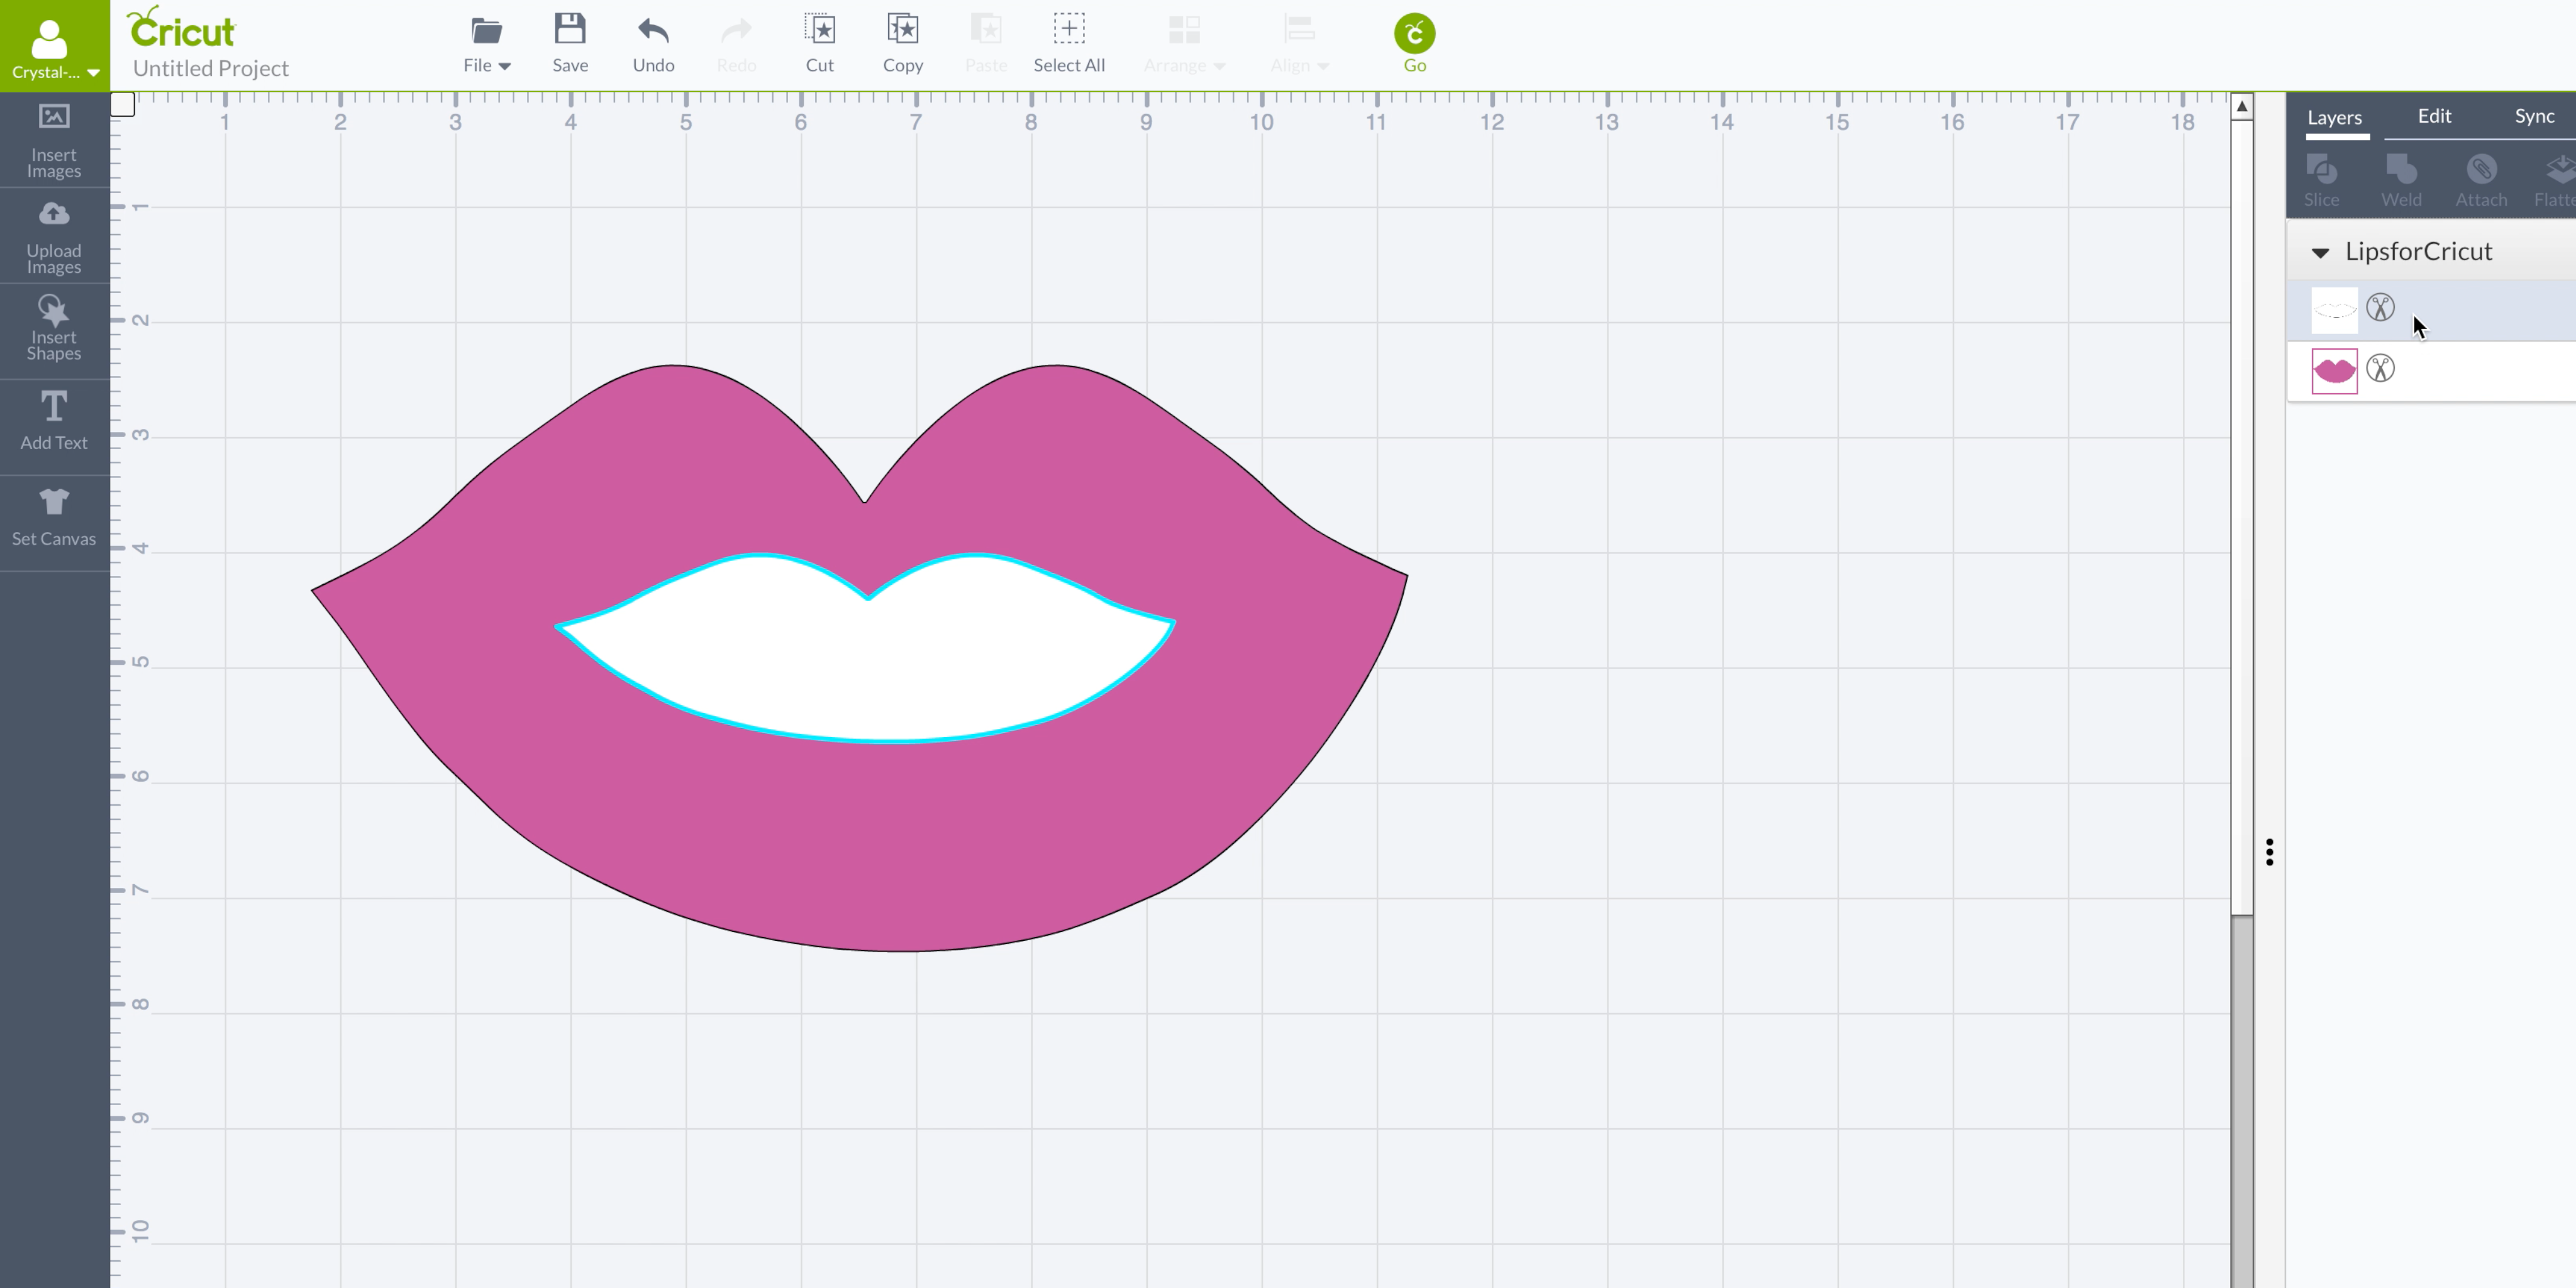
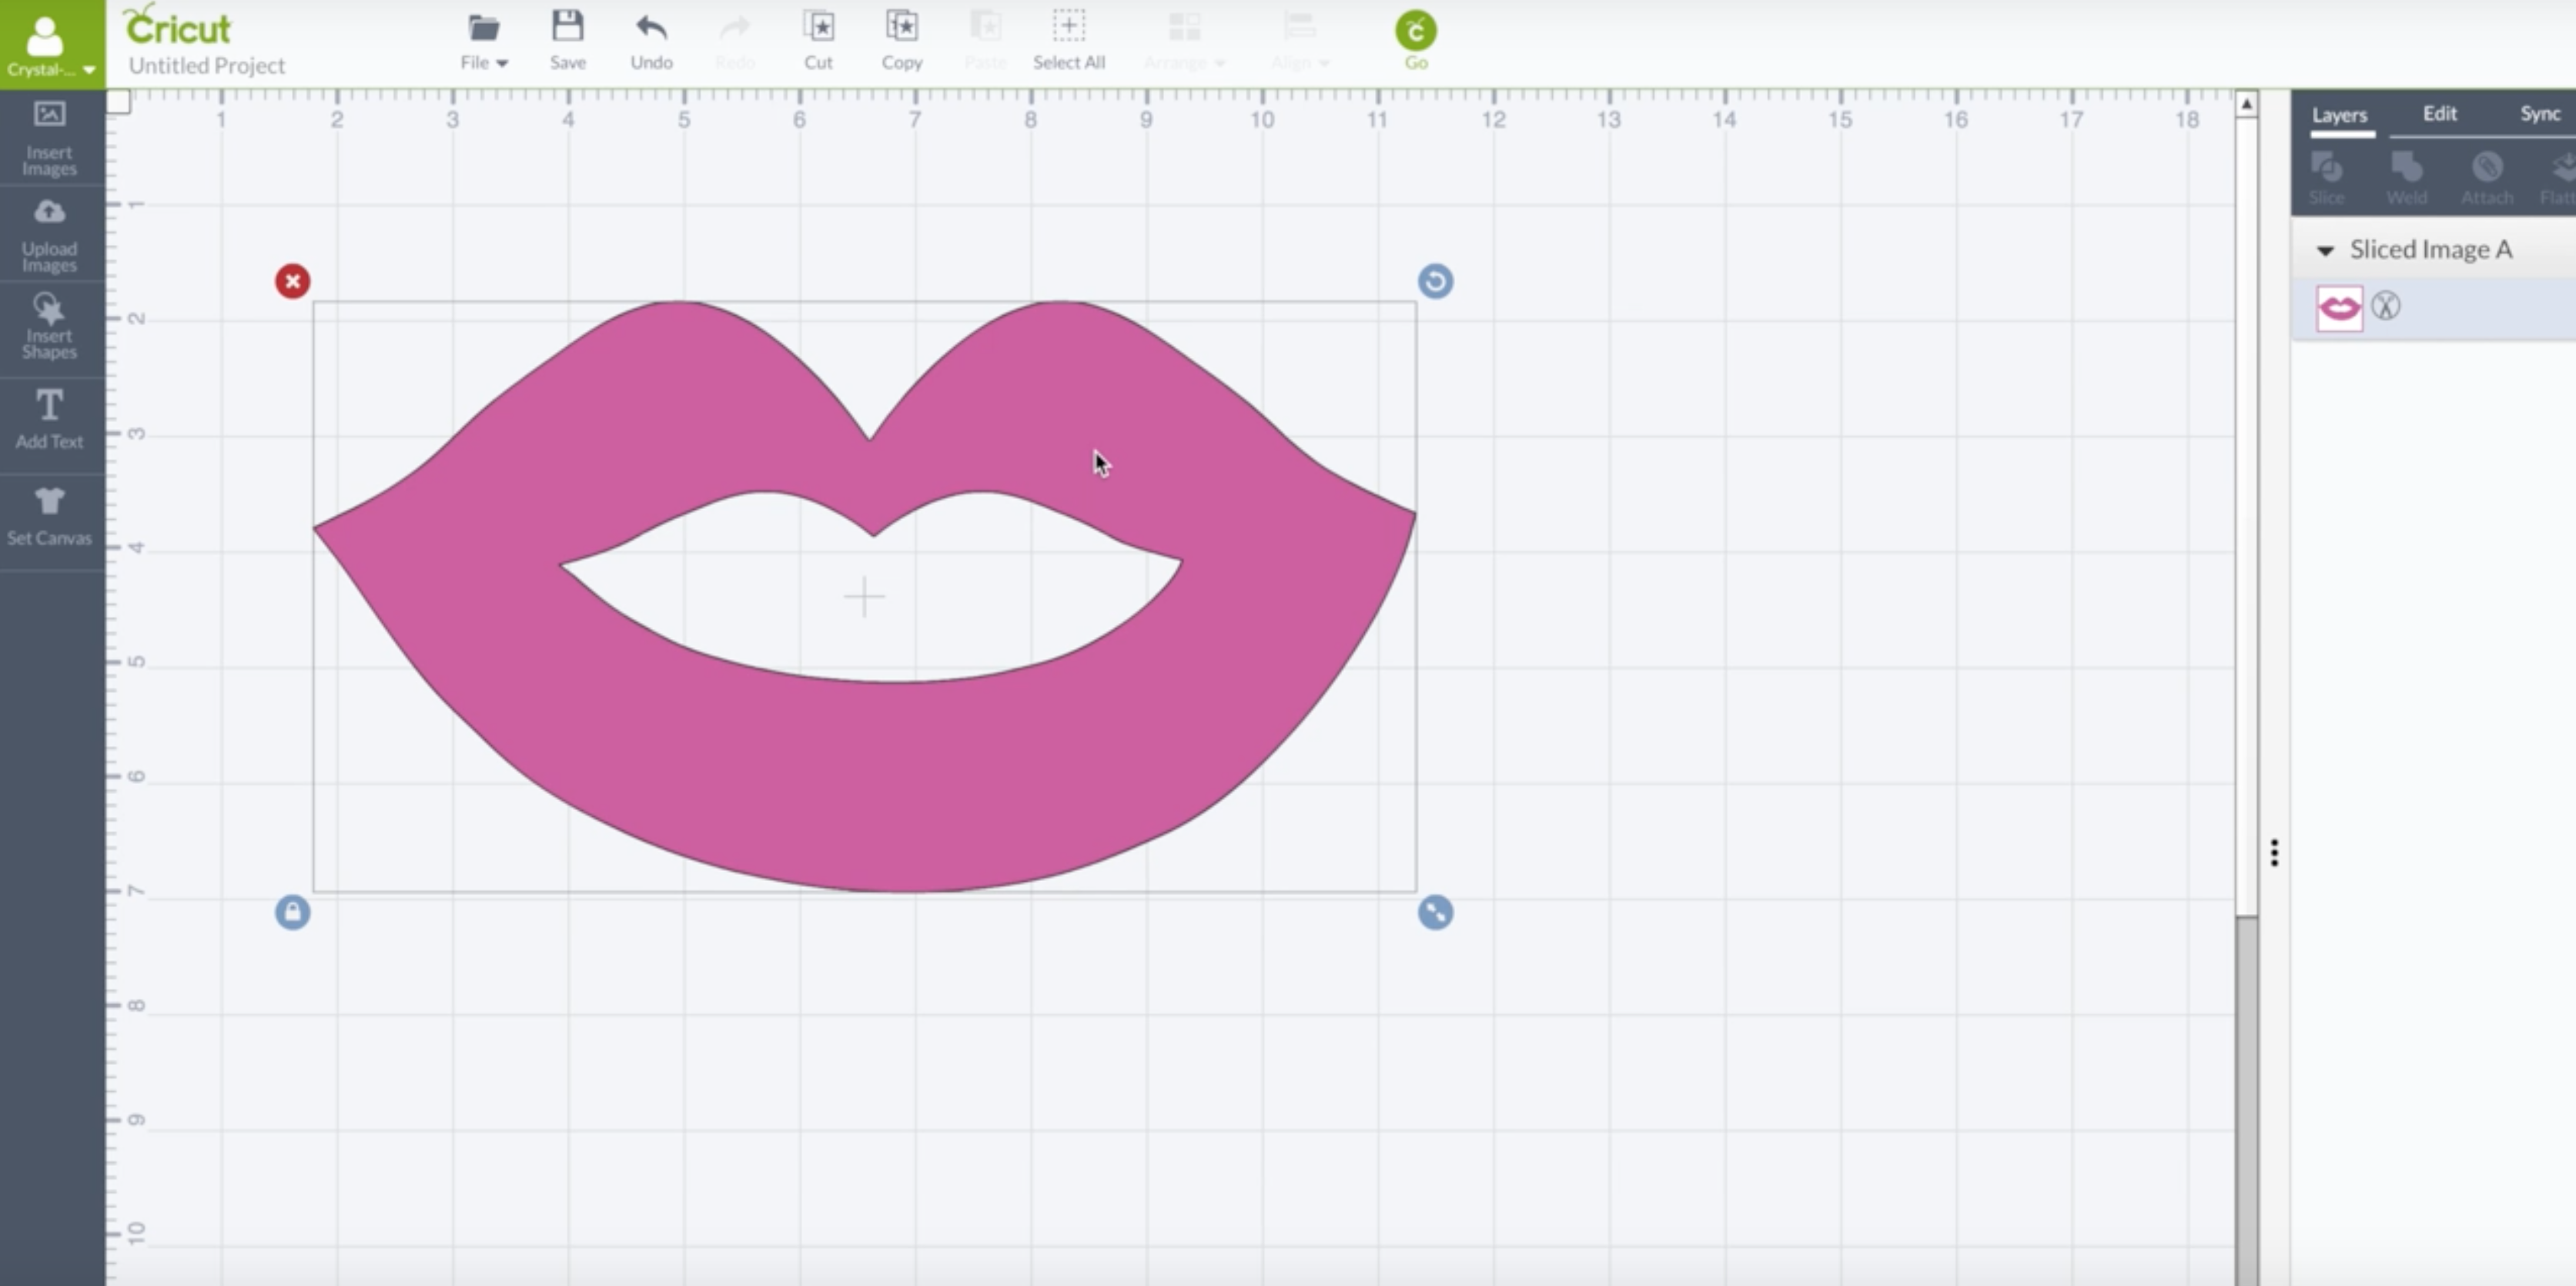
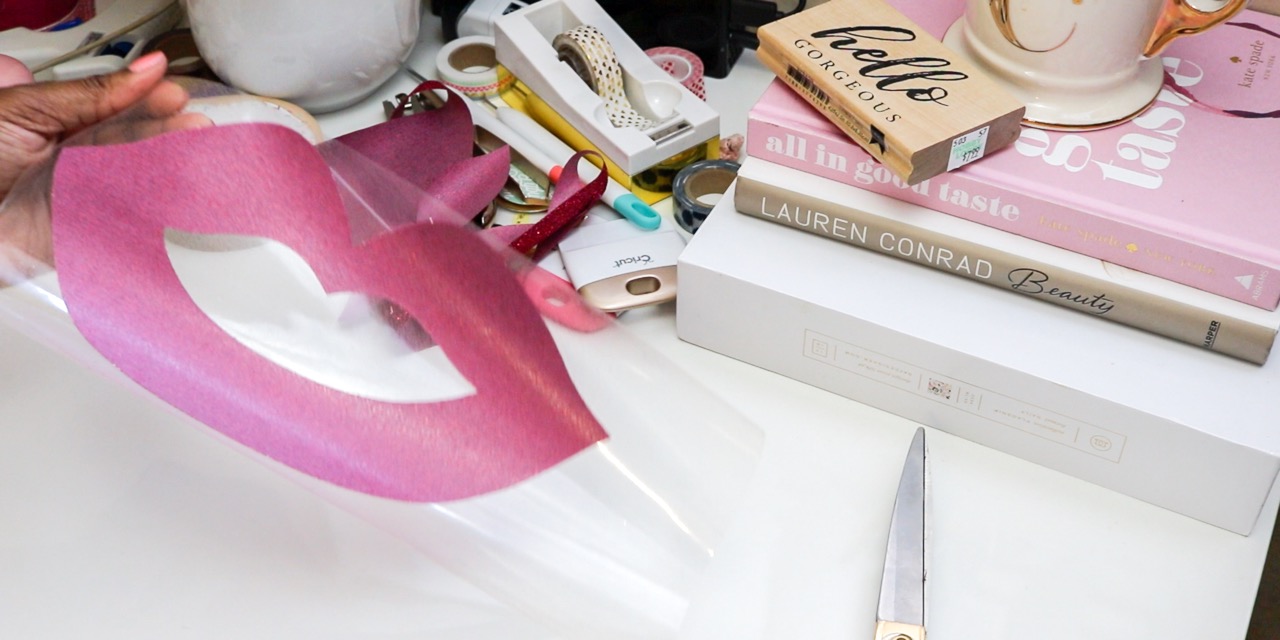
First you will design your image using a software that you are comfortable with. Then save the image. You can upload .jpg, .gif, .png, .bmp, .svg or .dxf files. For this tutorial we used a .svg file. If you have another machine such as the Silhouette this file will work as well.Next, open your image in Cricut Design Space (CDS). Once you have signed in to CDS, click the new project button. Then click “upload image” on the left side bar. You can upload an image (i.e. the lips) or choose one that you have previously uploaded.Once you see the image on the canvas in CDS, highlight the image and click “Slice” on the top right hand corner of the screen.Click on the inner part of the lips and move them to the free space on the canvas. Delete the inner part of the lips. Be sure to watch the video to see this process in action. The slice tool will remove the inner part of the lips so that the t-shirt color will come through on the inside of the lips.Once you have designed the lips and added them to CDS, you are ready to cut. Click “Go” on the top menu bar in CDS and follow the prompts on screen as well as on the machine.
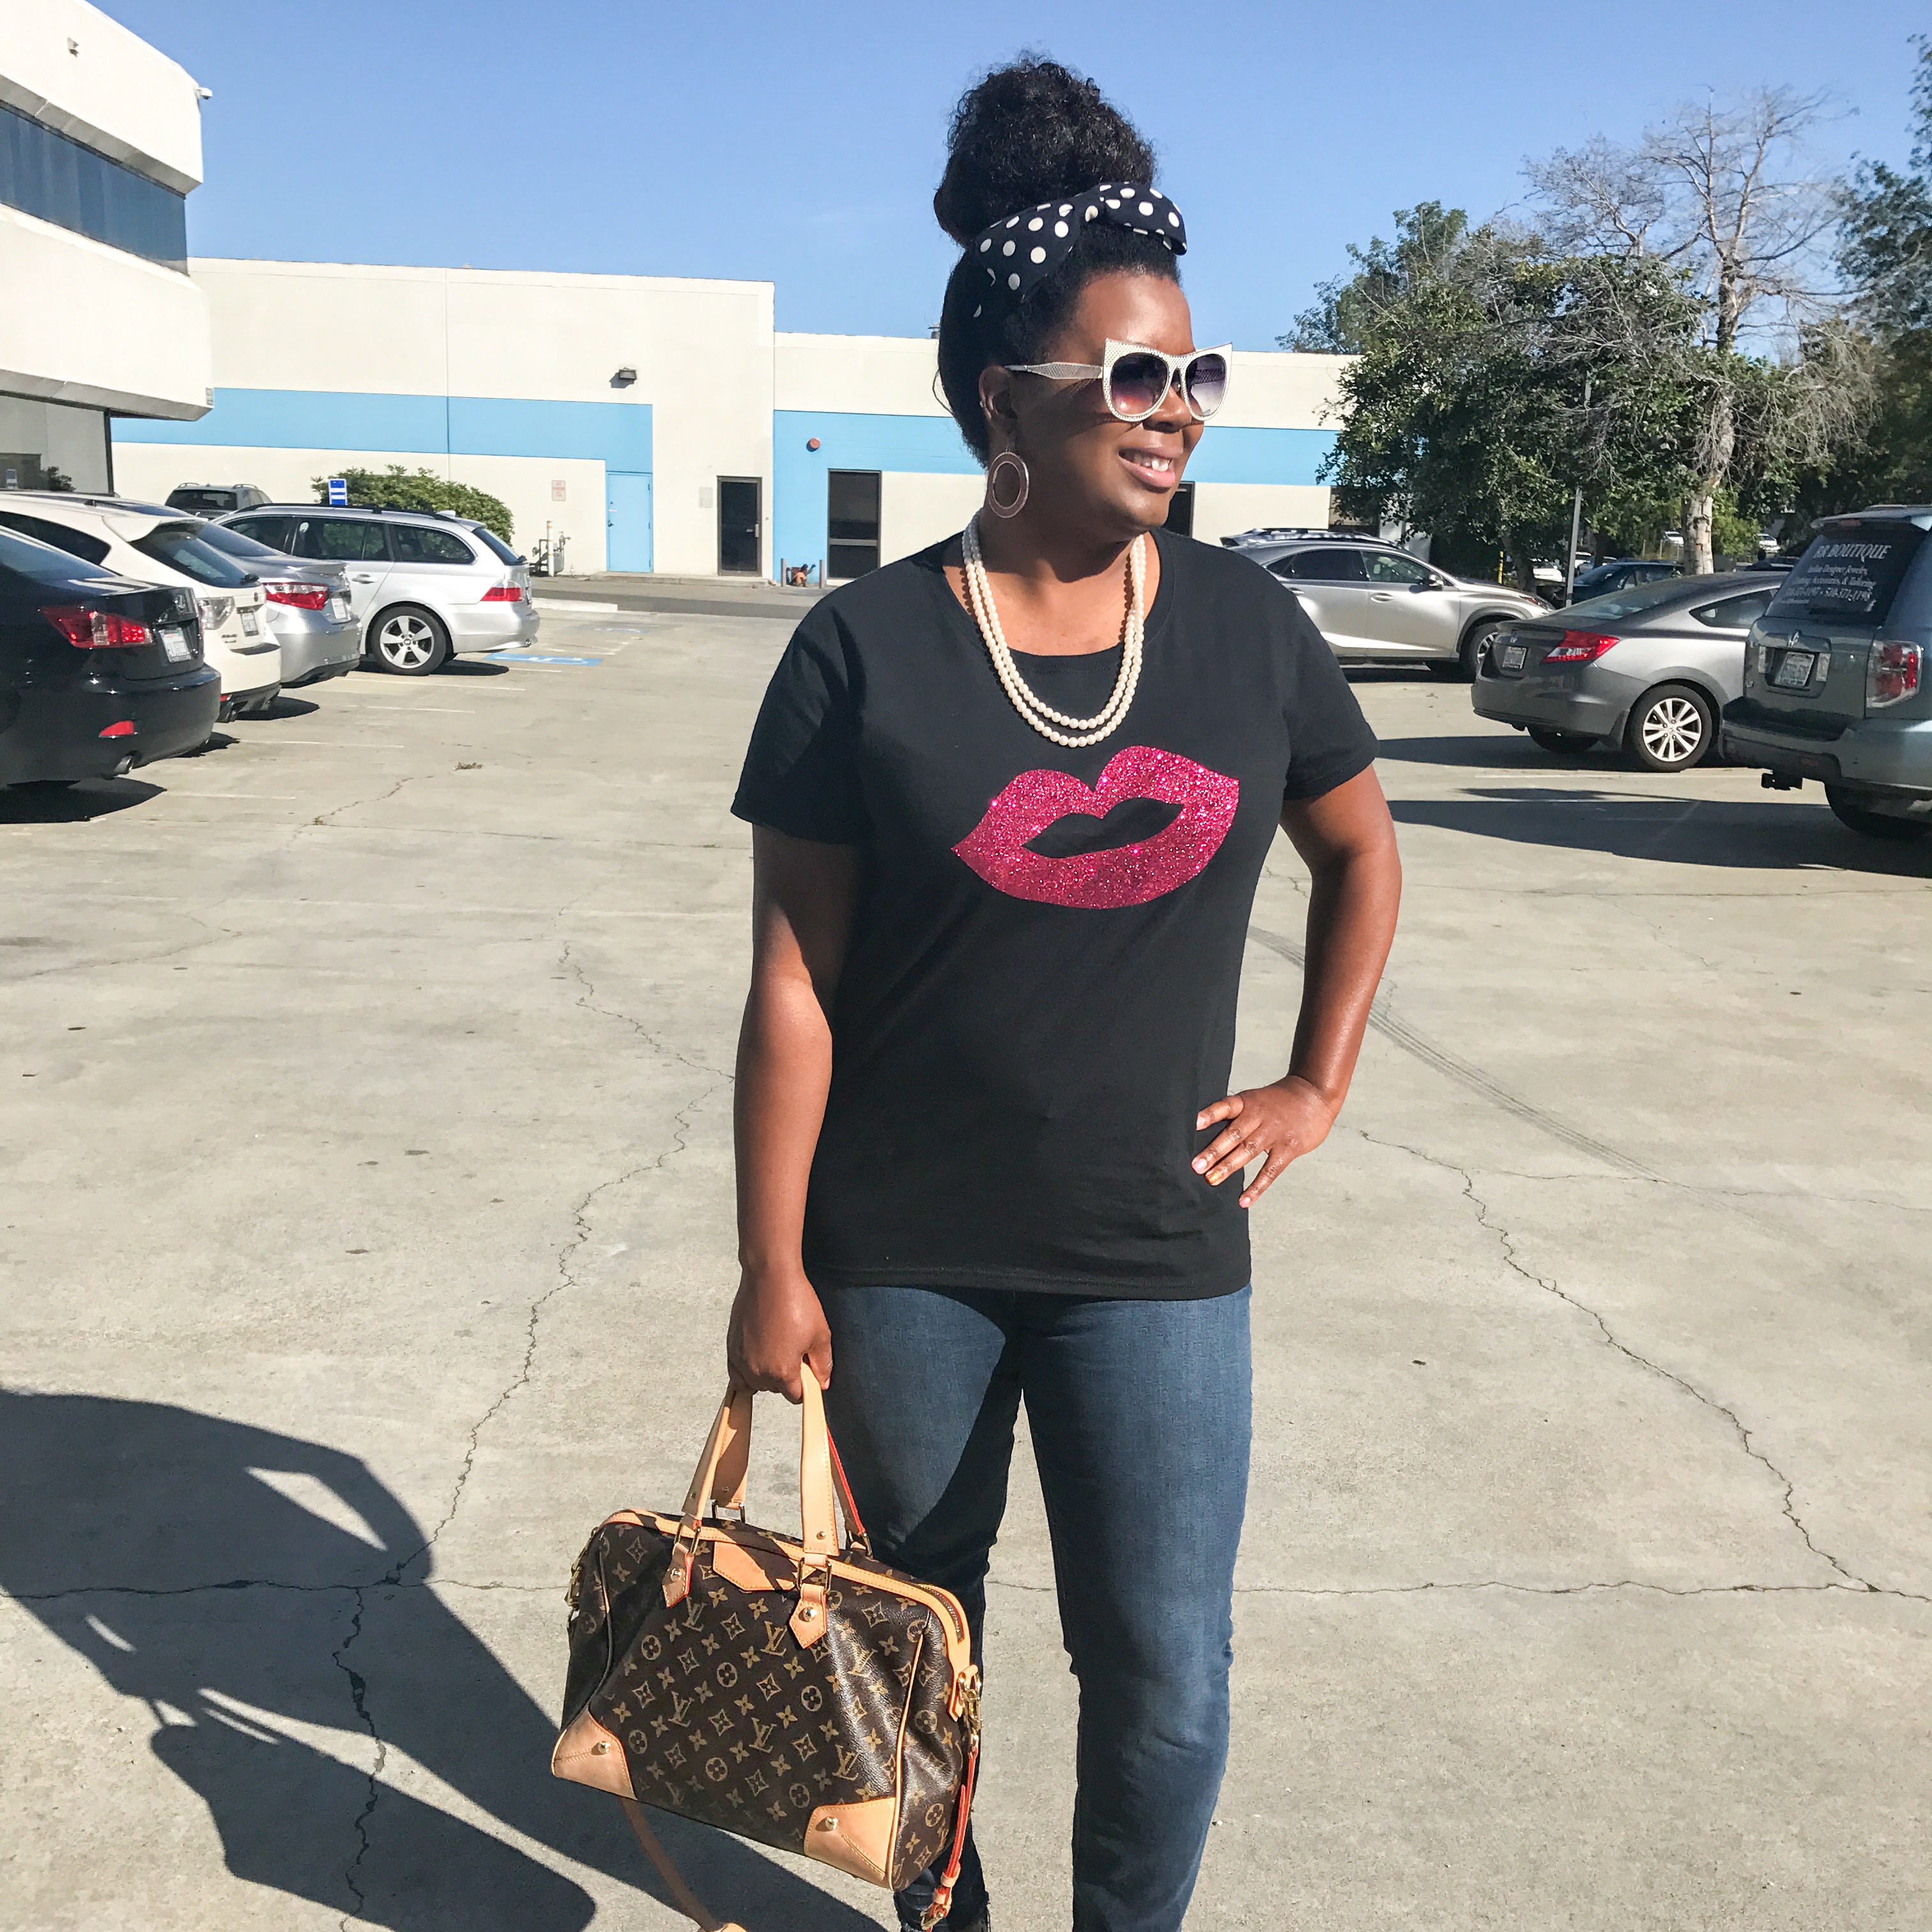
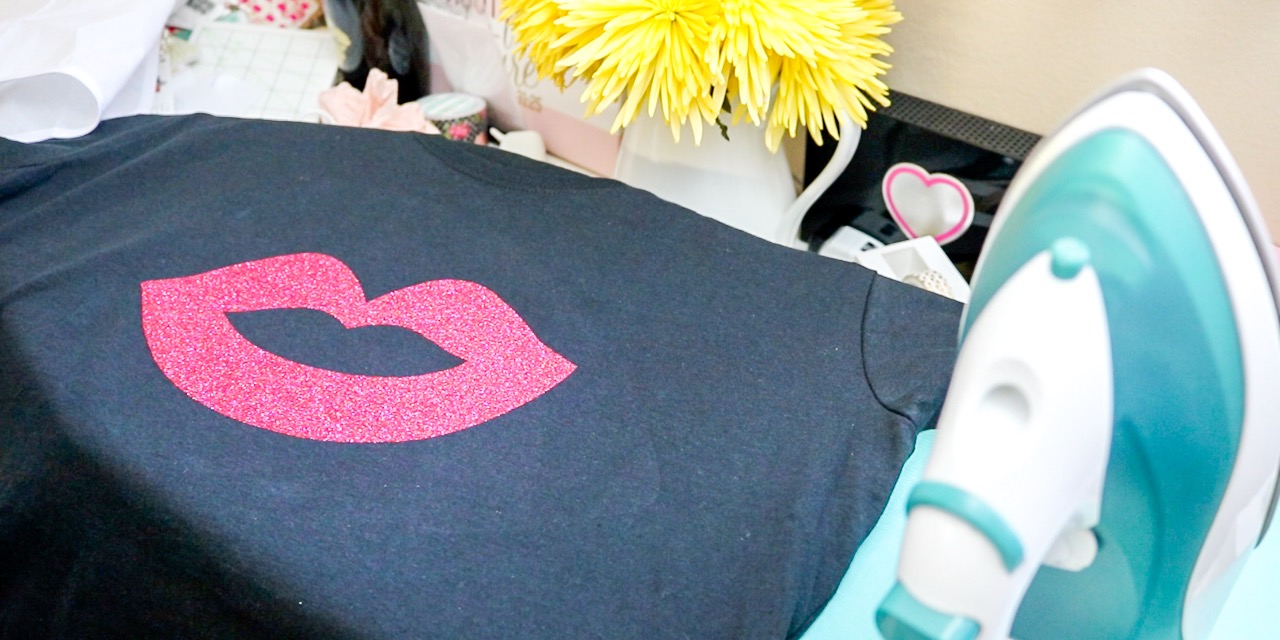
After the Cricut is done cutting the lips, you will weed the image. Weeding is a process of removing the excess material from the image so that you will reveal the image that is to be placed on the t-shirt or surface.Lastly, you will iron the image onto your surface. In this tutorial we are using a black t-shirt from JoAnn Fabrics. Make sure the iron is set to Linen or it’s hottest setting. No steam. Then place a clean cloth over the image and press the iron down. Lift the iron up to move it and then press down. Repeat these steps until you have ironed the entire image onto the shirt or surface. See this step in action in the video below.
Want to see this process in action? Watch the video!
What do you want to see next? Email us at info@thedivainc.com
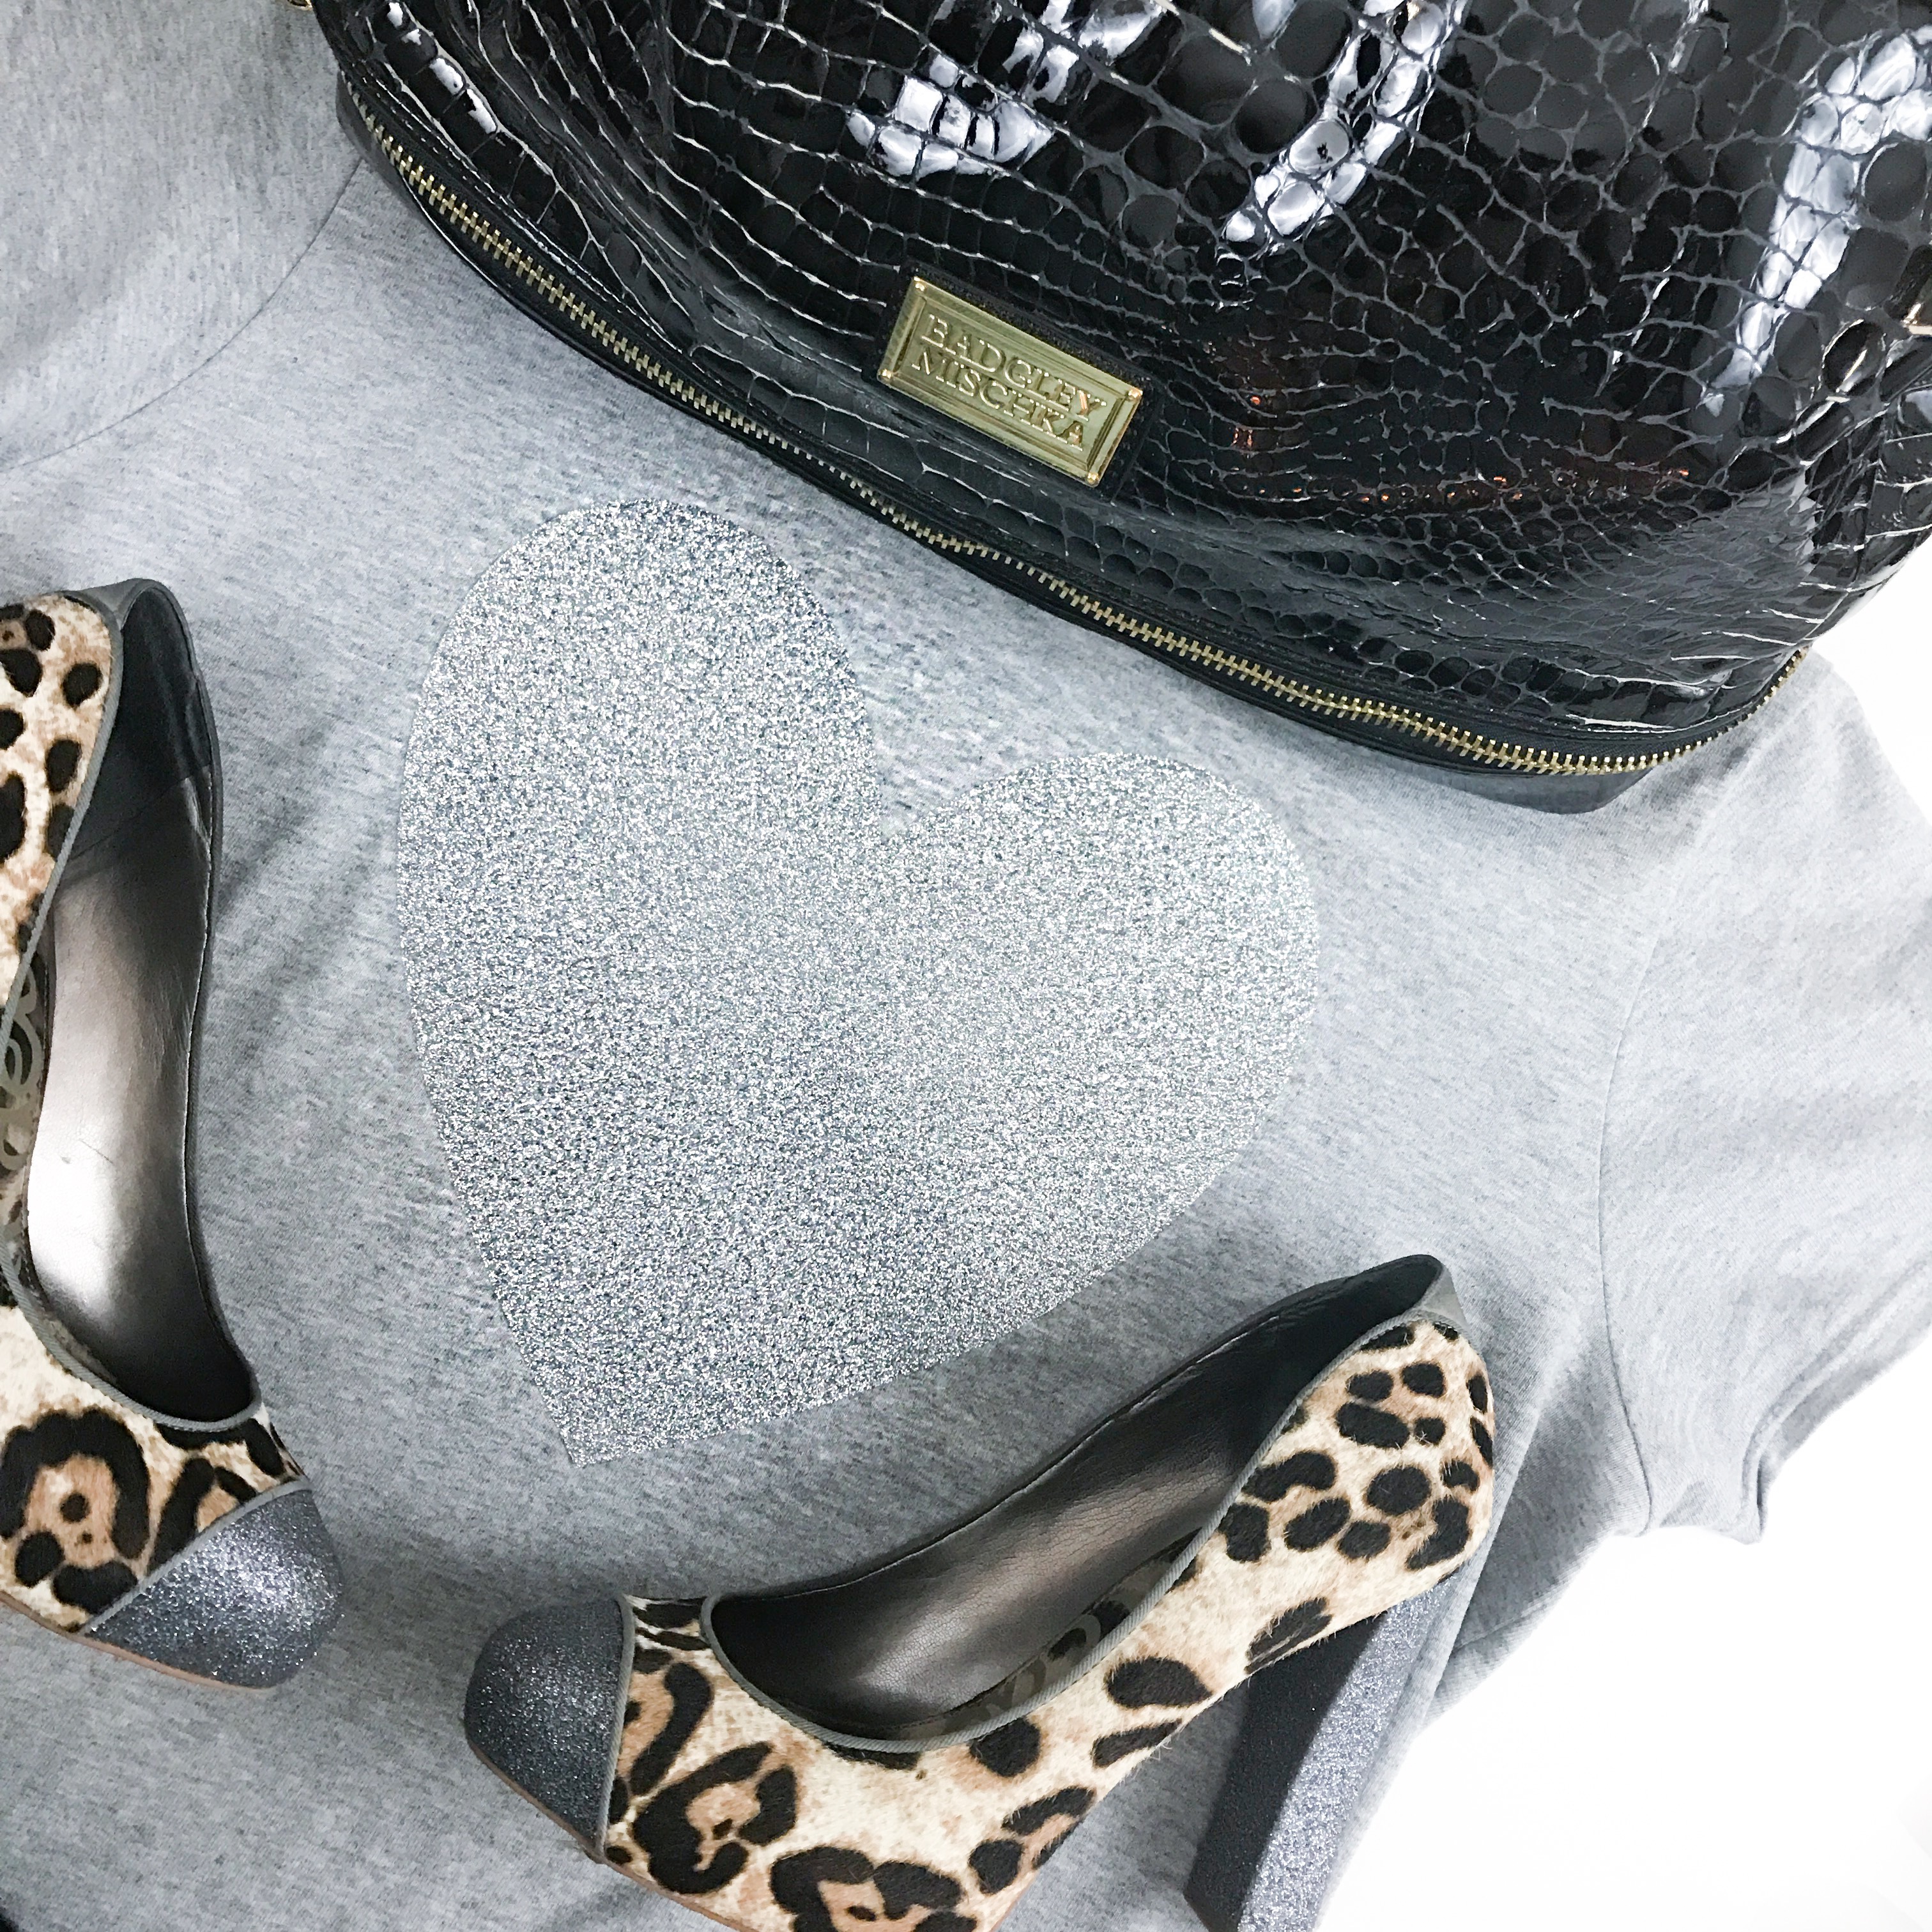
Here is another cool link to a similar project you can create from Cricut Design Space.
This is a sponsored conversation written by me on behalf of Cricut. The opinions and text are all mine.
Crystal-Marie Mitchell is an Entrepreneur + Writer + Designer + Historical Korean Drama Lover from the Bay Area. She started The Diva Inc. Magazine as a blog when the economy was rough and she needed an outlet to share her story. Since then she has turned what started as a personal blog into a thriving brand built on encouraging women through tough seasons. She published her first book in 2015 called, The Diva Diaries Living Through Tough Seasons. Crystal-Marie and her writers offer beauty and fashion tips, along with life lessons and words of encouragement to girls and young women, trying to find their way in the world. General Inquiries + Questions + Comments + Love: info@thedivainc.com.


1 comment