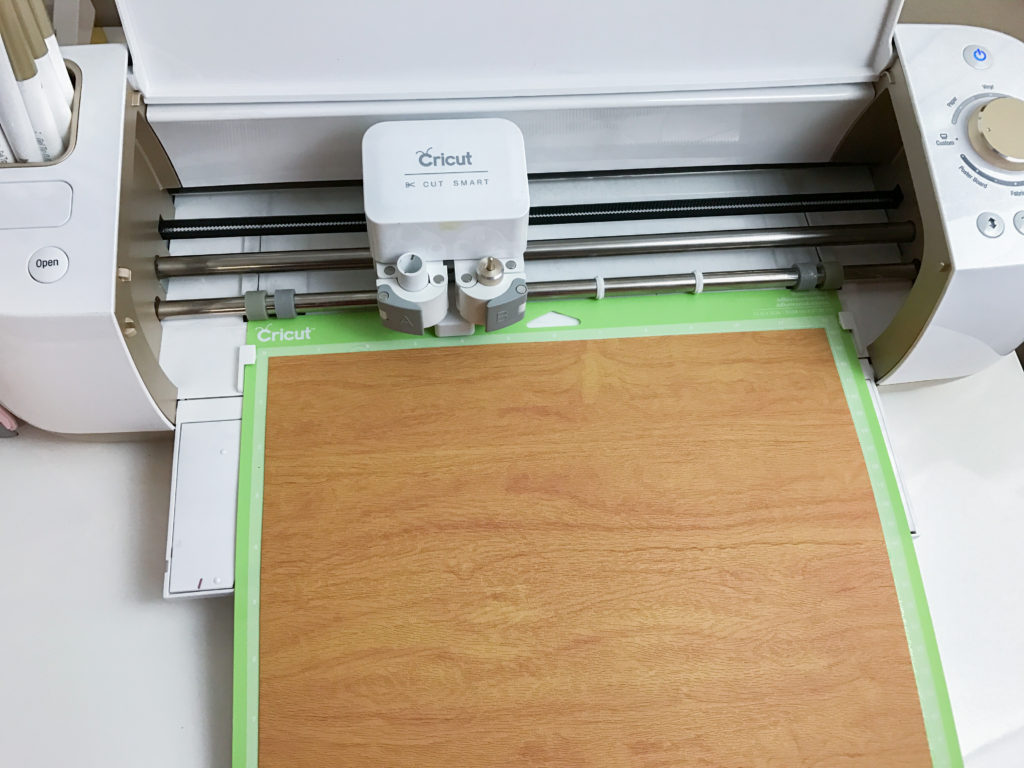
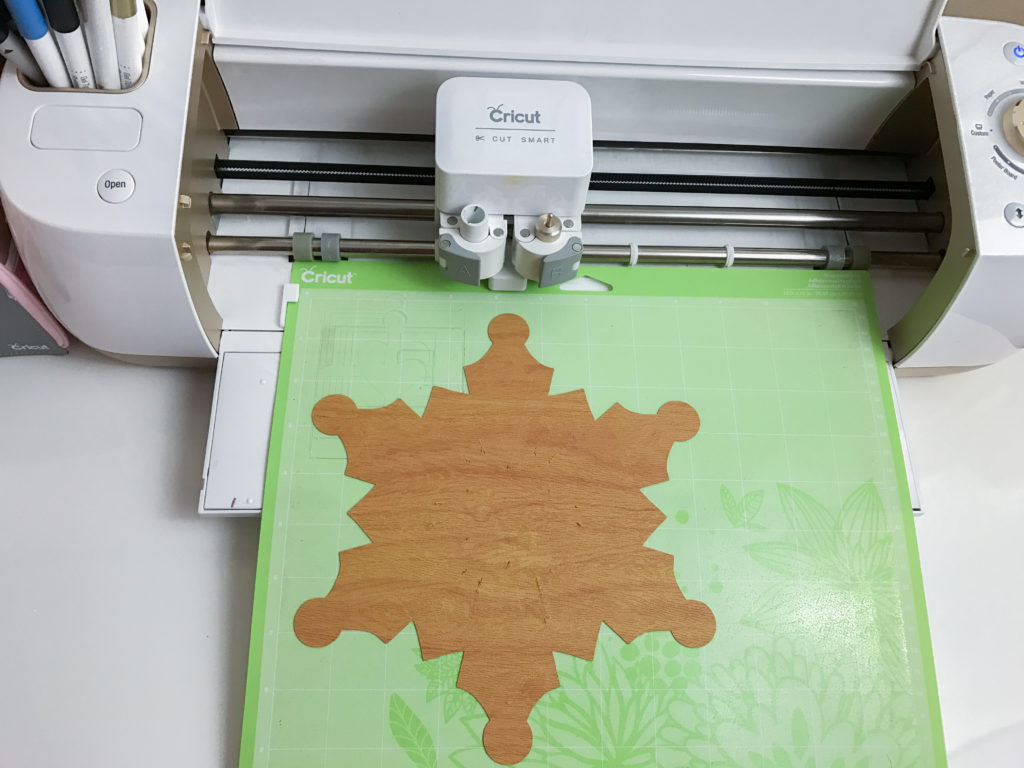
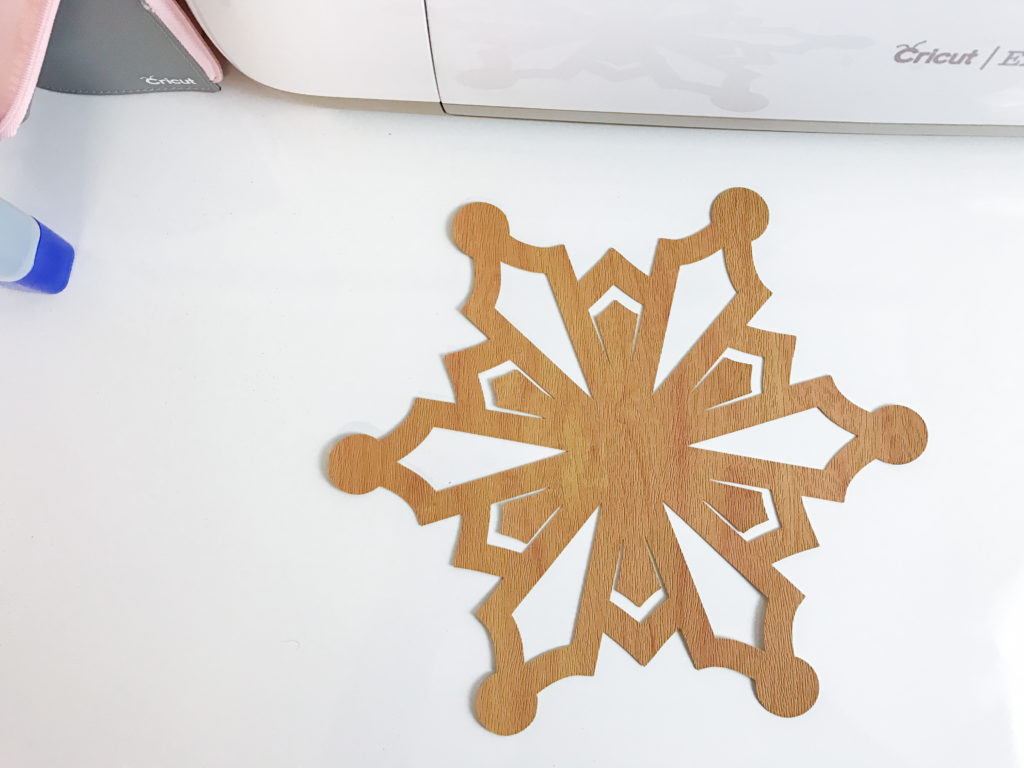
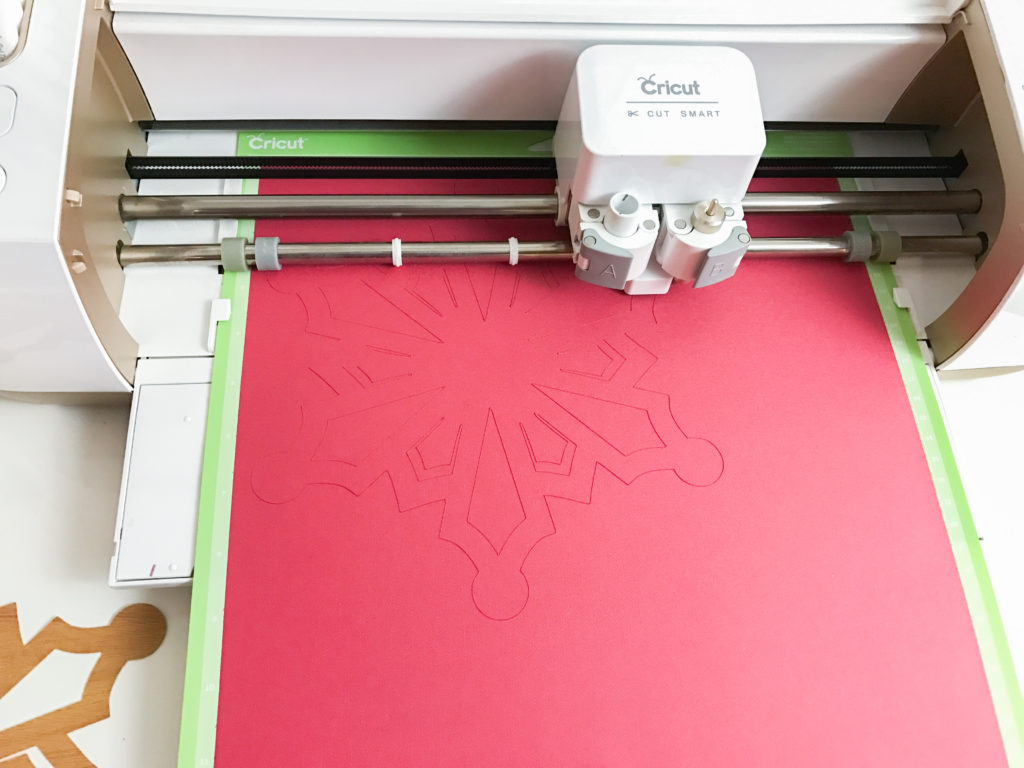
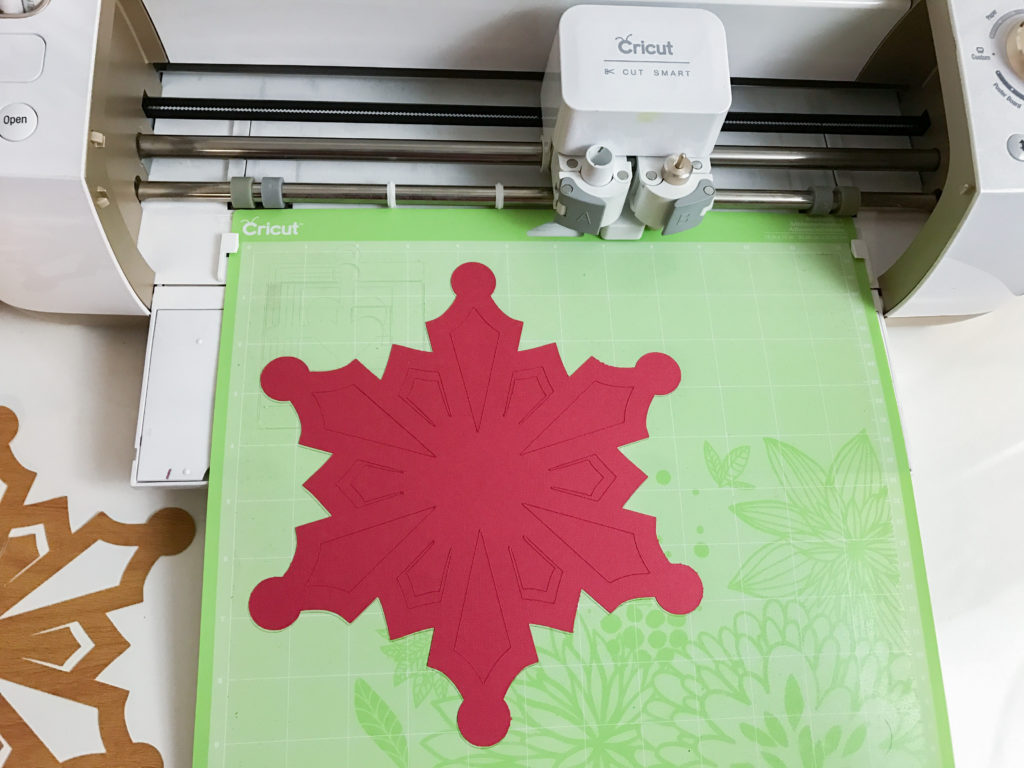
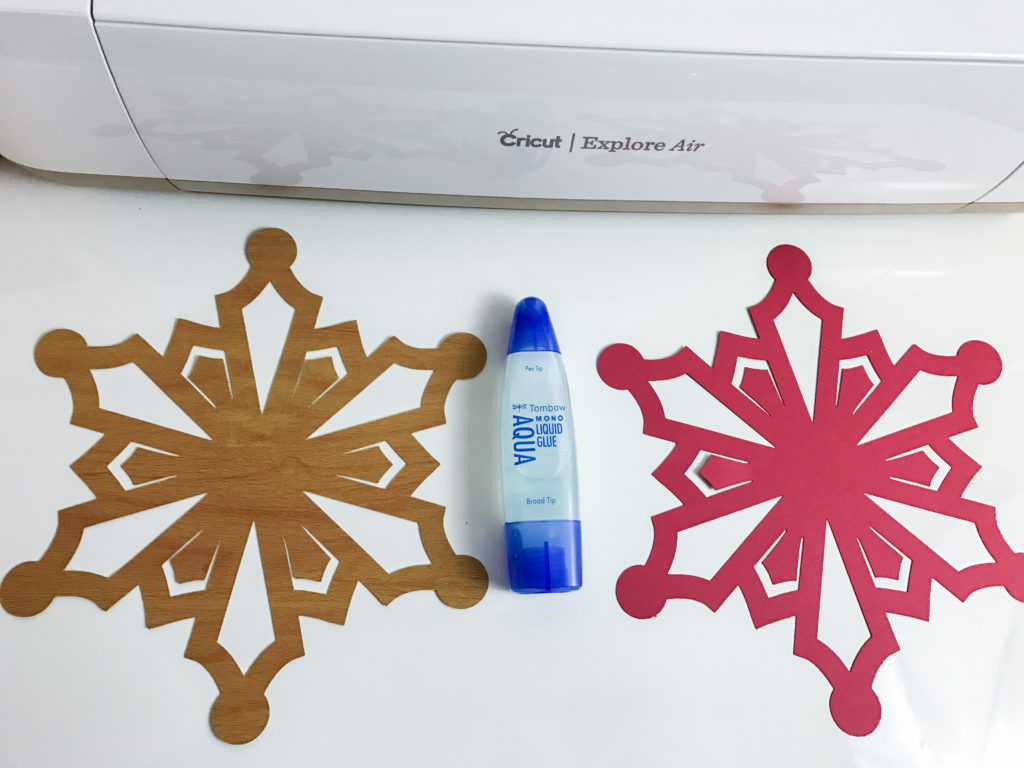
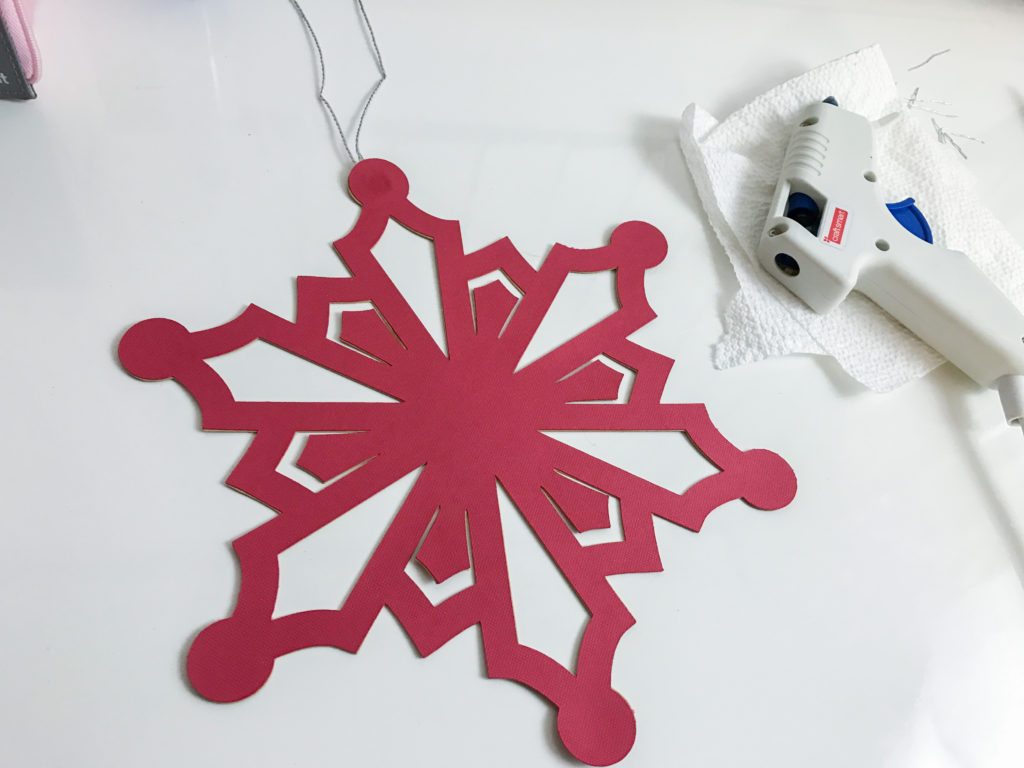
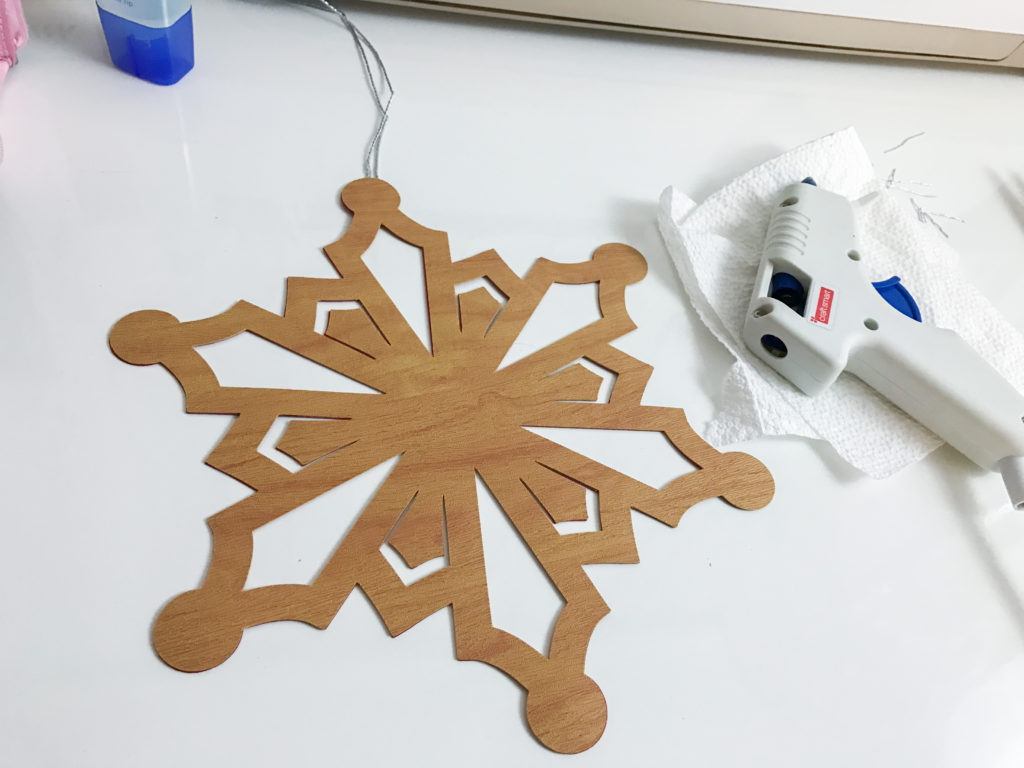
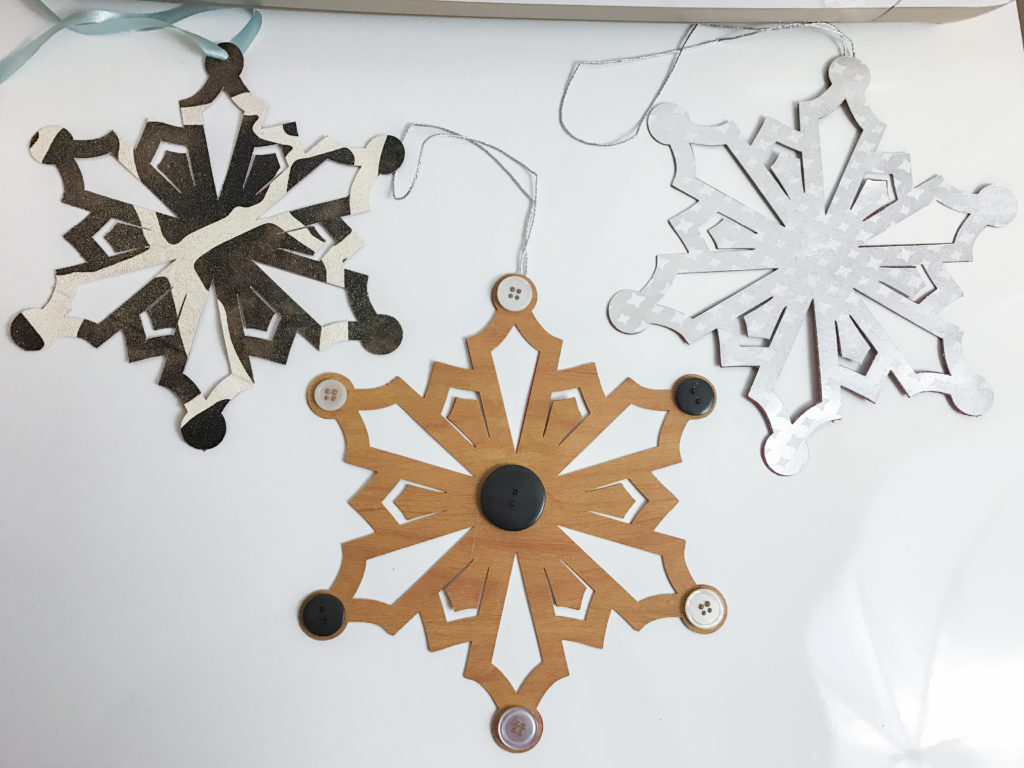
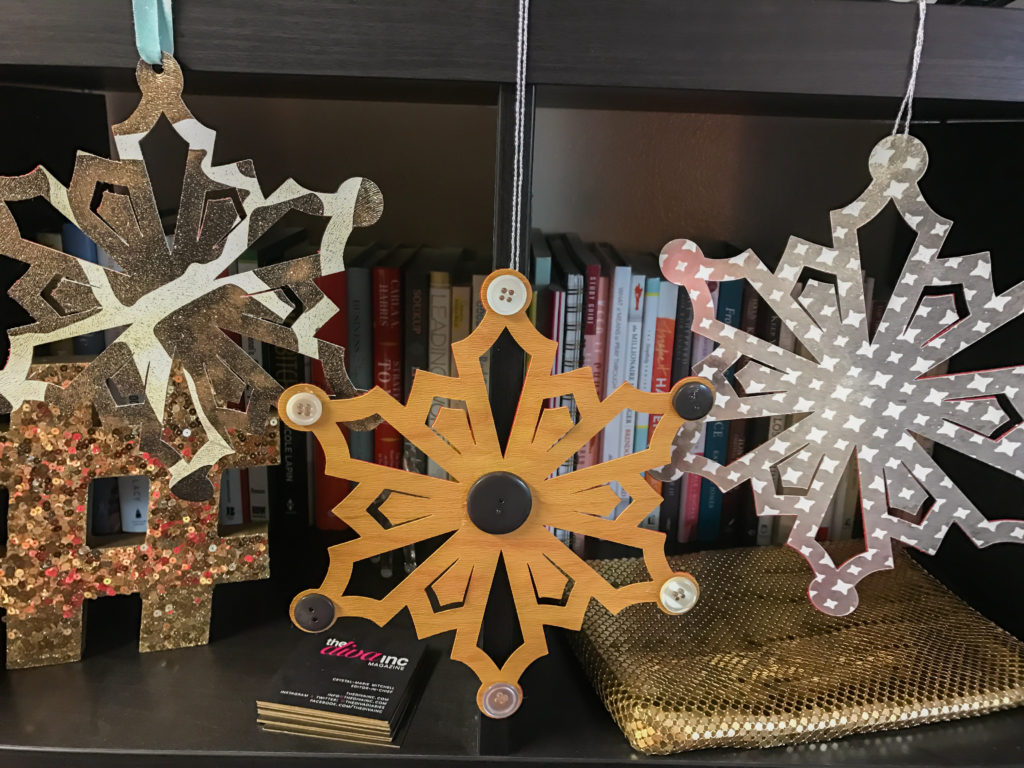
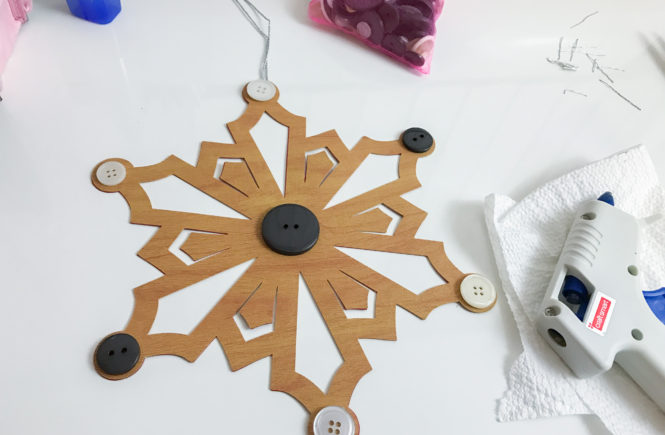
It’s Holiday time! Which means Holiday projects galore! The Holiday season is my FAVORITE time of the year. I’ve been having so much more fun this year because I am creating so many crafts that I adore. This tutorial is another one of the AMAZINGLY fun Cricut tutorials I’ve shown you this year. I’ve really concentrated on beginner tutorials this year because so many of you were concerned about the Cricut’s ease of use. As you can see, it is so EASY to set up and get started. You can check out some of my previous video tutorials here. For this tutorial, I’m creating a DIY Christmas Ornament using Cricut Images, Cricut Faux Leather, and Cricut Card stock to show you just how simple it is to create fun projects using Cricut.
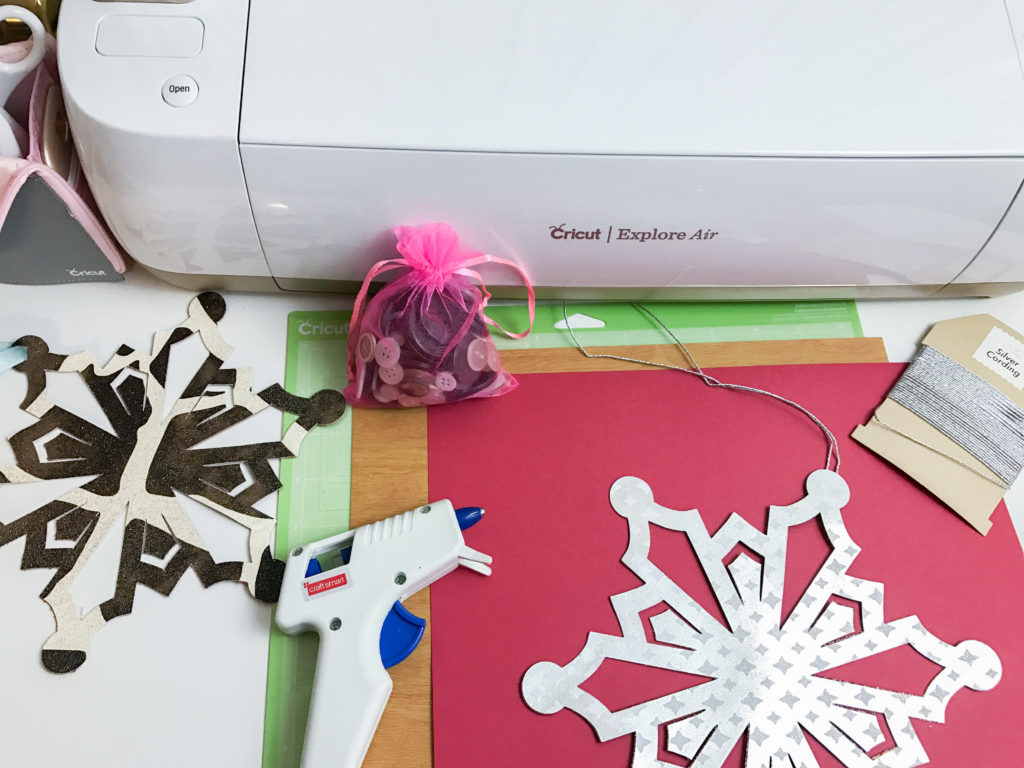
What you will need:
- A Cricut Machine
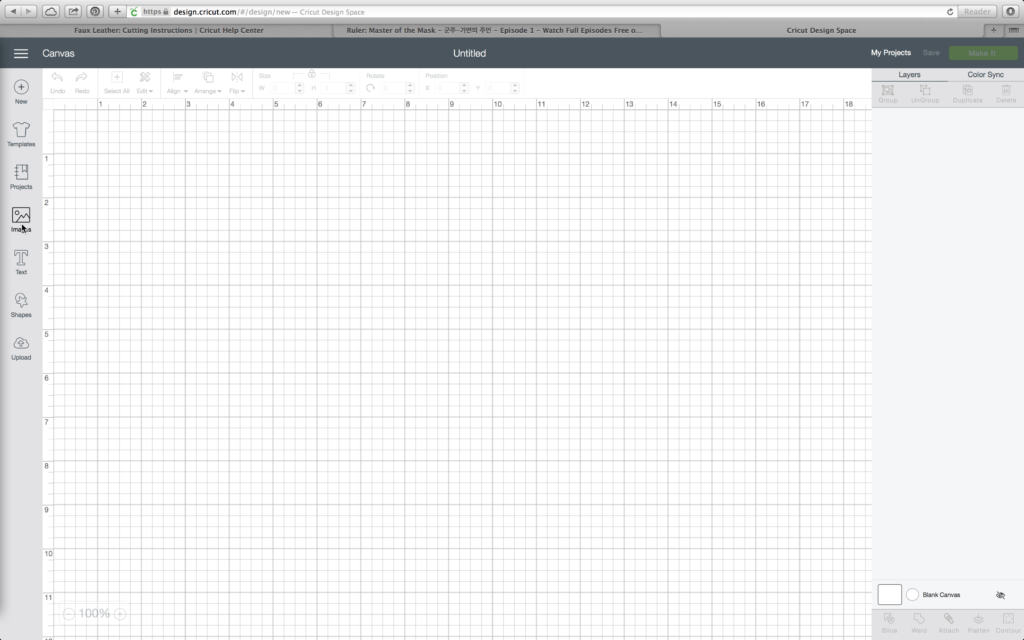
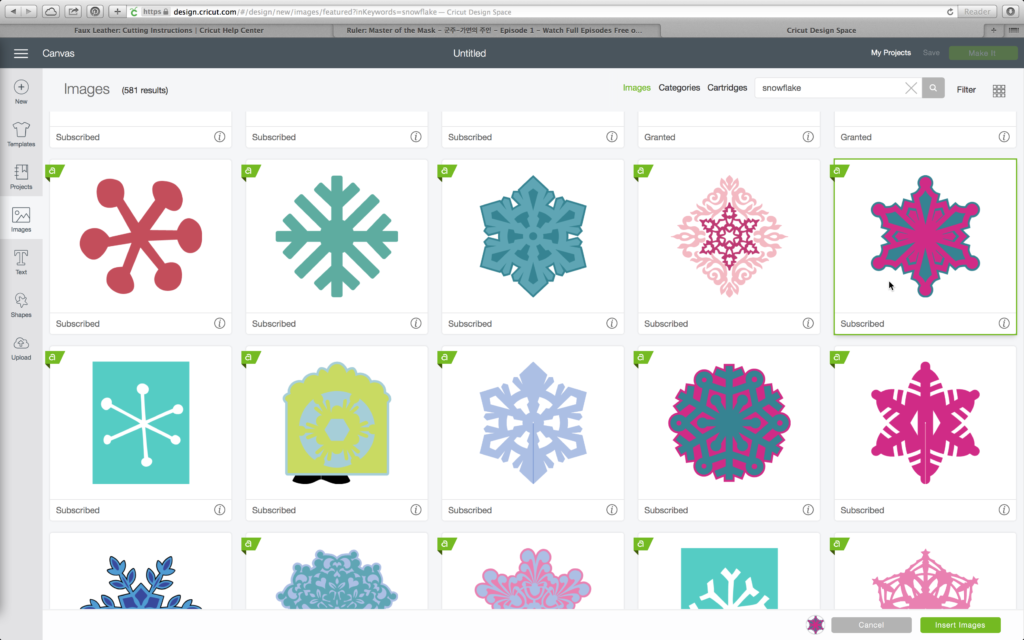
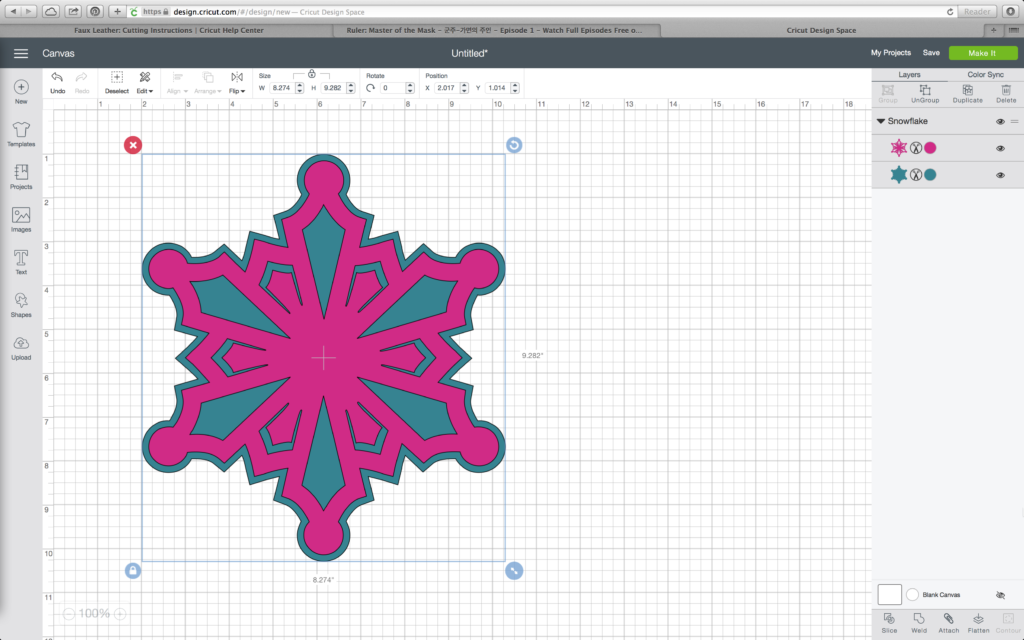
- Cricut Design Space
- Cricut Faux Leather Woodgrain – one 12×12 sheet
- Cricut Cardstock 12×12, Holiday Sampler – one 12×12 sheet
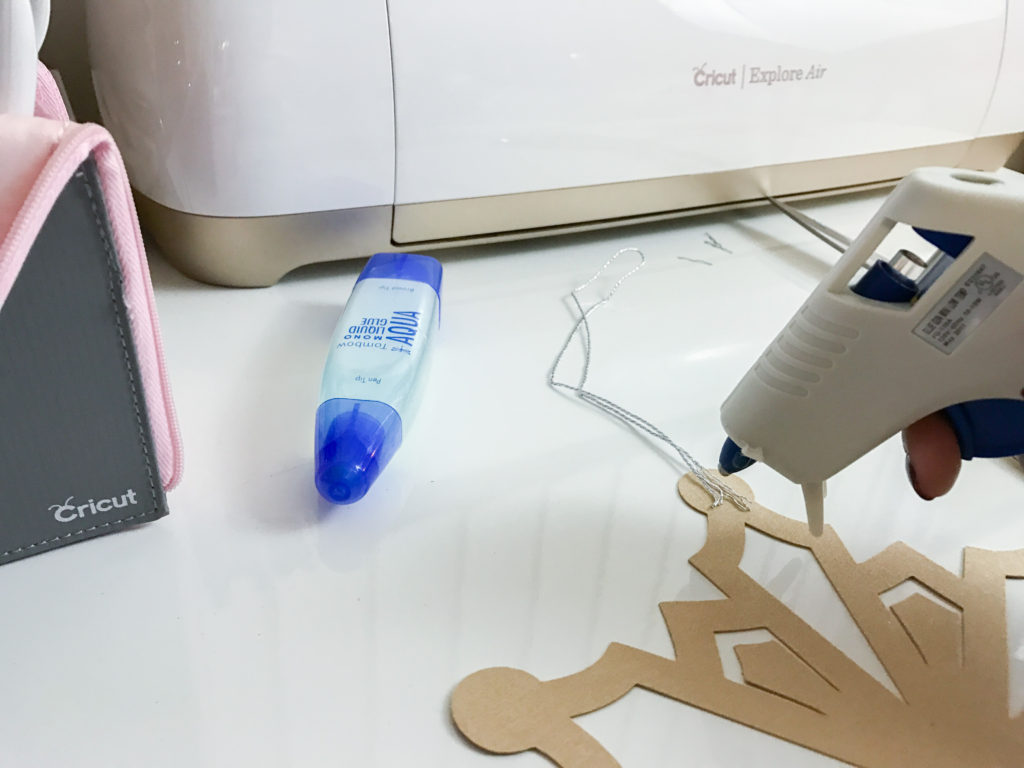
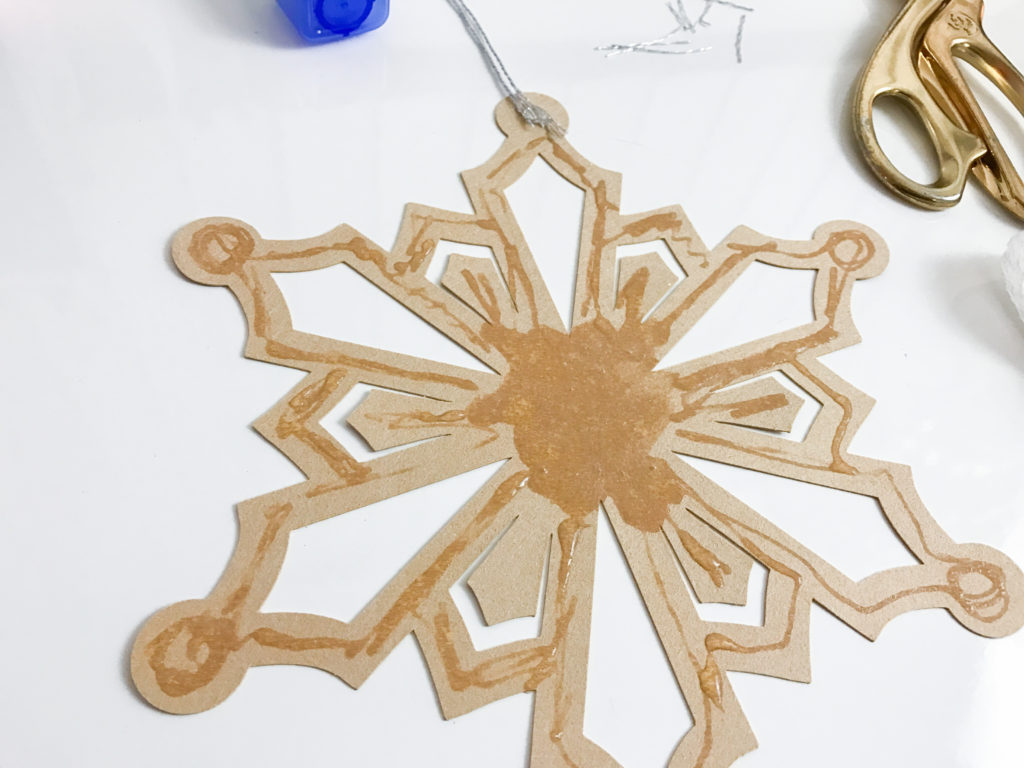
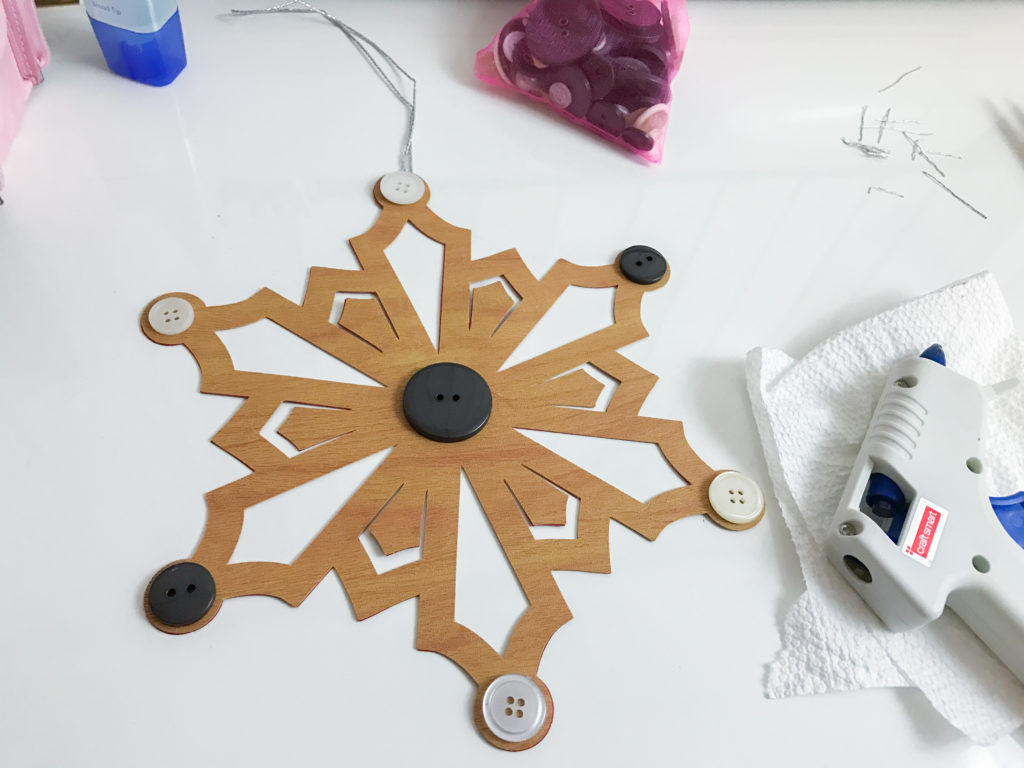
- A Glue Gun (Optional)
- Embellishments – Buttons (Optional)
- Liquid Glue (Tombow)
- String
If you want to skip the set up process, I have included a link to the snowflake ornament in Design Space here.
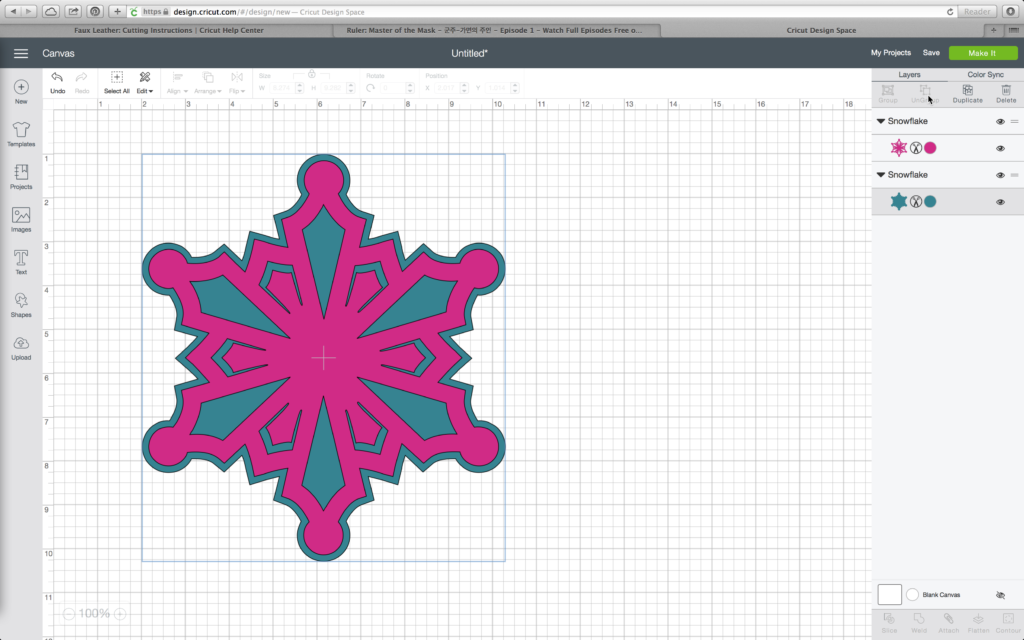
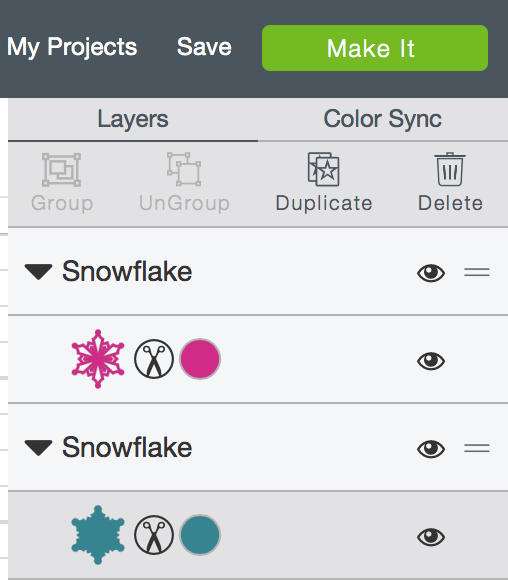
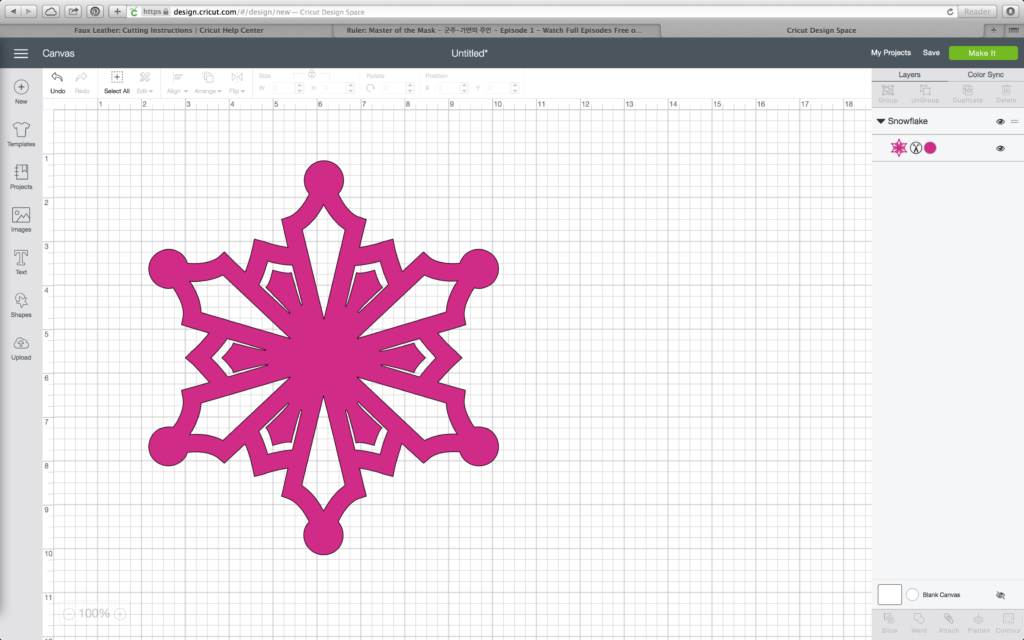
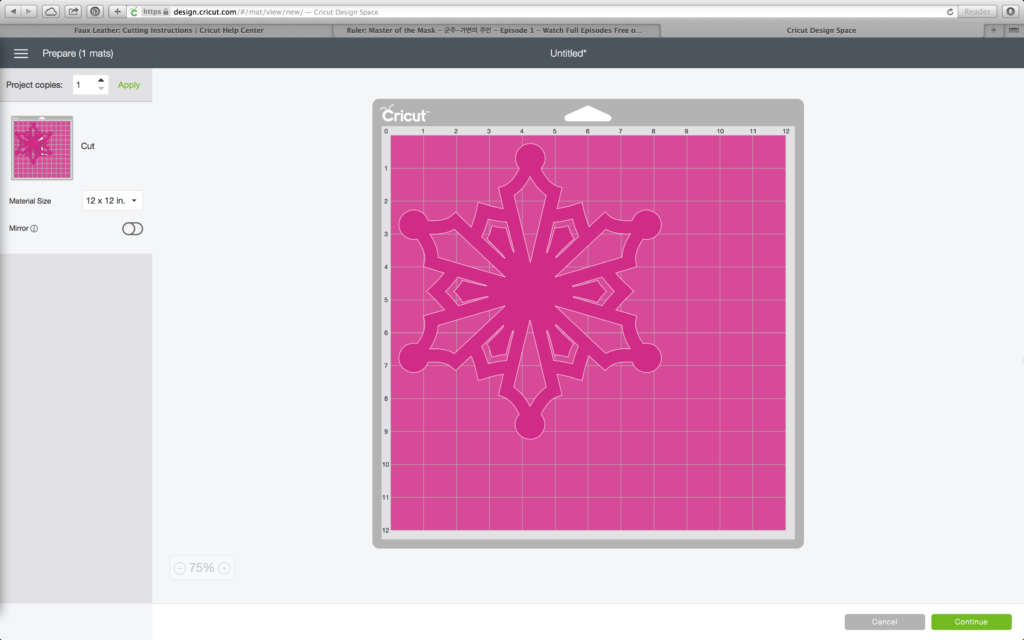
*This is a sponsored conversation written by me on behalf of Cricut. The opinions and text are all mine. Some links may be affiliate links and I will be compensated if you click on the and/or purchase. Thank you in advance!


2 comments
I love the snowflakes! It’s so fun to see them in different materials.
Thank you and Yes it is! I’m trying to think of the materials in a different way and not use them for something they would typically be used for. So this was a fun experiment that turned out better than I imagined. And I love the touch the buttons added to the ornament. 🙂 Thank you for stopping by. XOXOXO