I’ve been having some difficulty with patience lately. I’m three months into 34 years old and I’ve been internalizing where I am in life. Of course, I am not where I want to be. I’ve come a long way, but I have so much more that I want to accomplish. I sat down with someone recently to get some clarity on how I am feeling and they gave me a bible verse that is really resonating with me.
“Little by Little I will drive them out before you, until you have increased enough to take possession of the land.” ~Exodus 23:30
In context, this verse is talking about how God will deliver the land to His people. But he will do it, “little by little,” so that they are prepared to inhabit it. This is something that I have to remember. Even with all the goals I set for myself, God is only going to give me what He has adequately prepared me for. So even though I think I am not where I am supposed to be, God is preparing me little by little. And that isn’t exactly where I’m supposed to be.
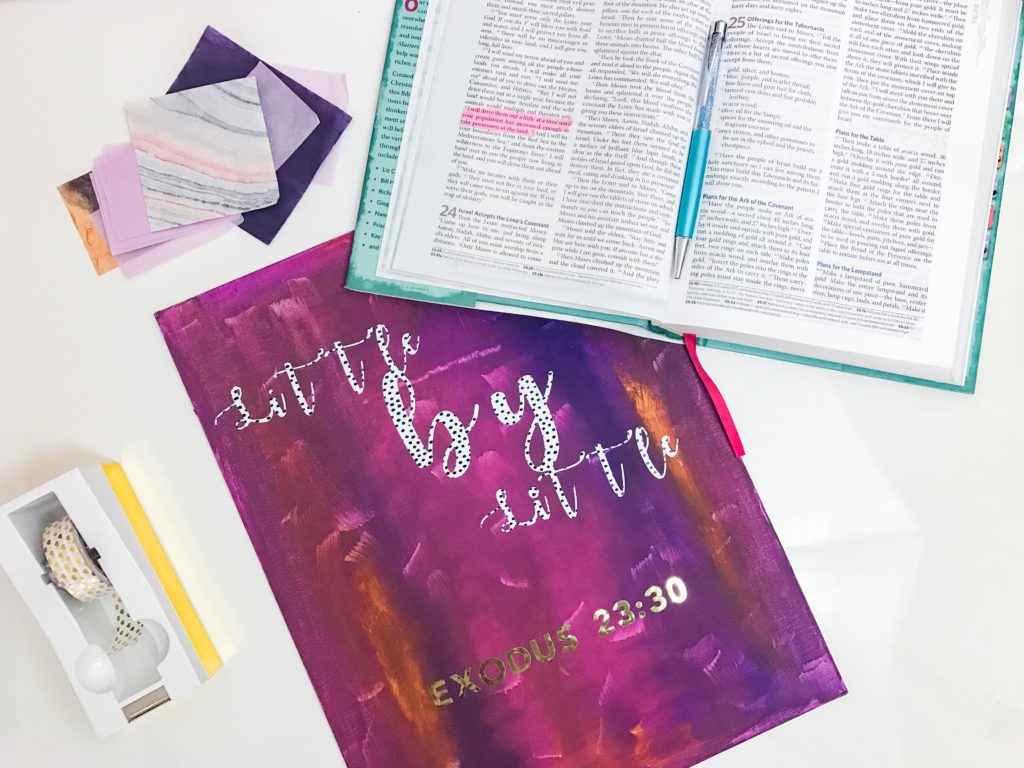
To remember this concept, I designed a vinyl on canvas wall decor using watercolor and my Cricut Explore Air. And I have made the stylized version of the text public in Cricut Design Space so that you can use it to remind yourself of the little by little concept. Keep reading for the step by step tutorial on how to make a DIY Inspiration Canvas with Cricut. Click here to access the text in Cricut Design Space.
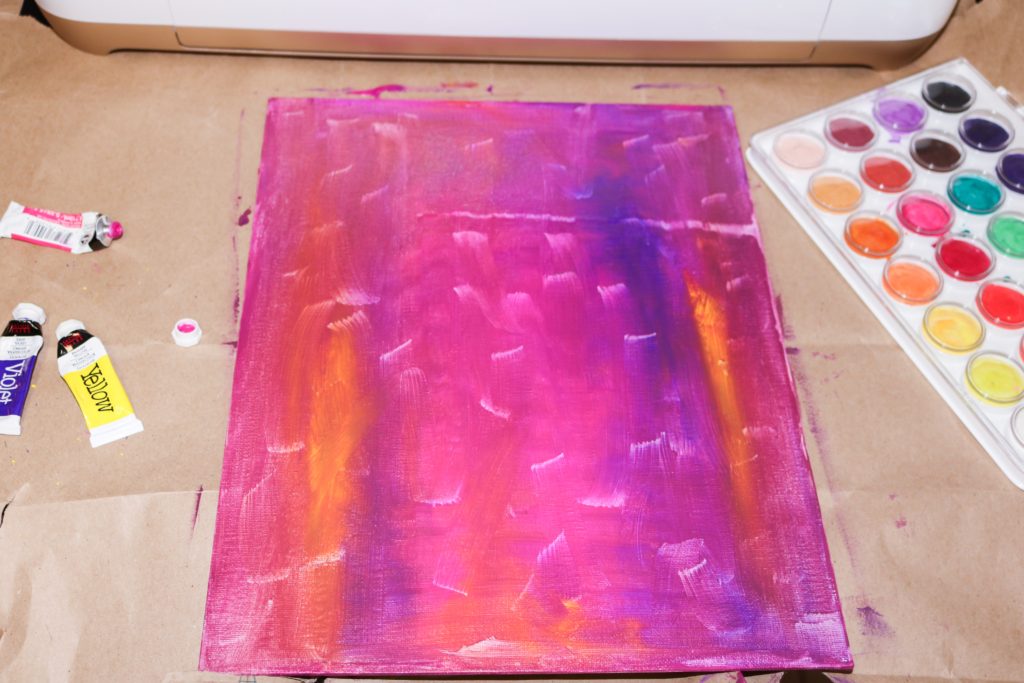
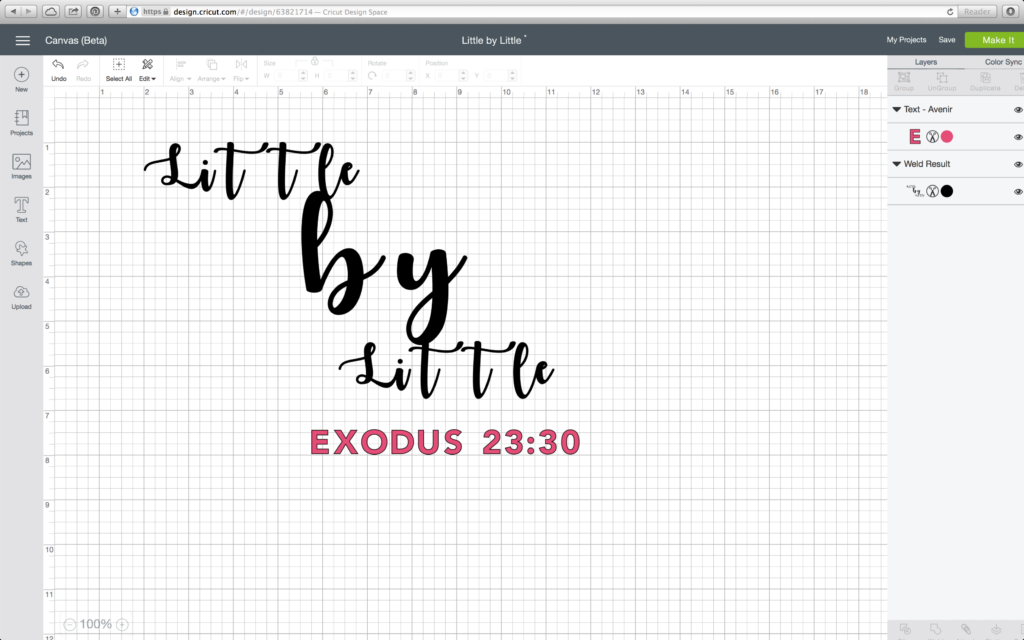
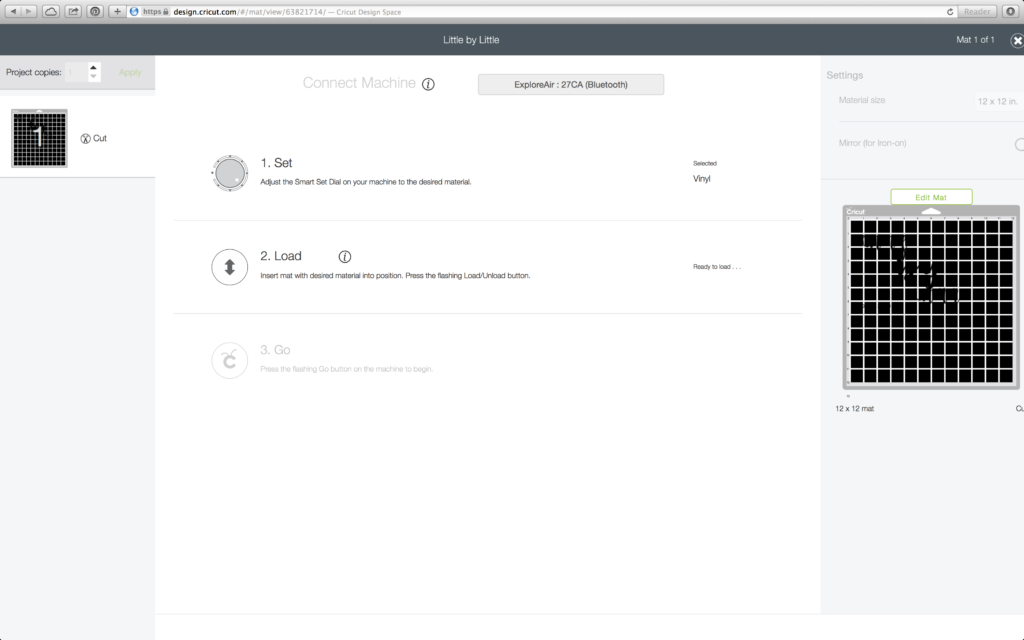
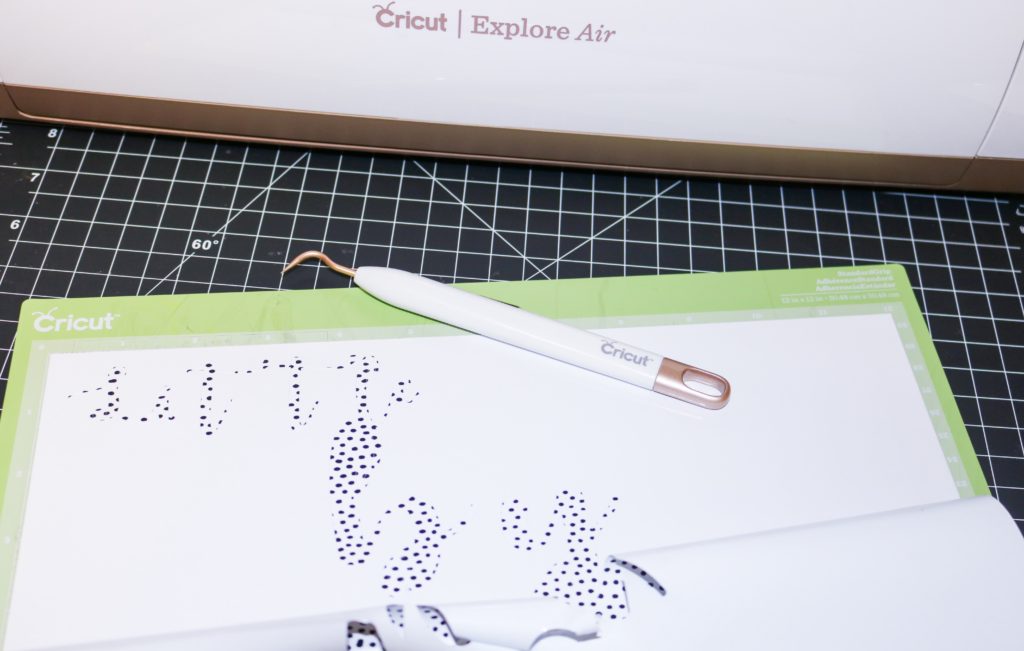
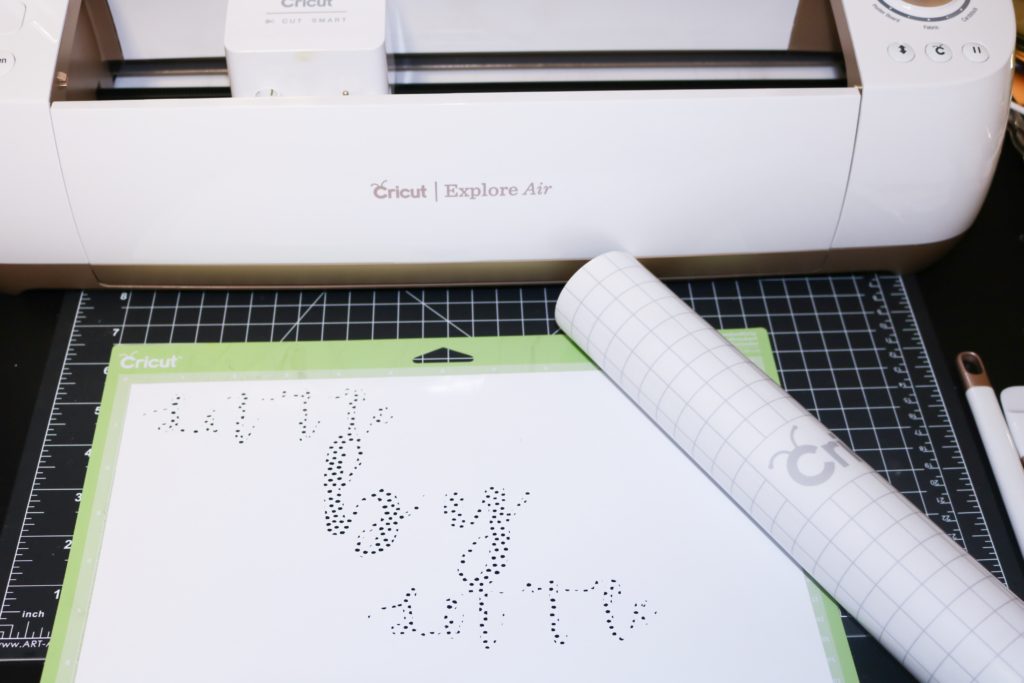
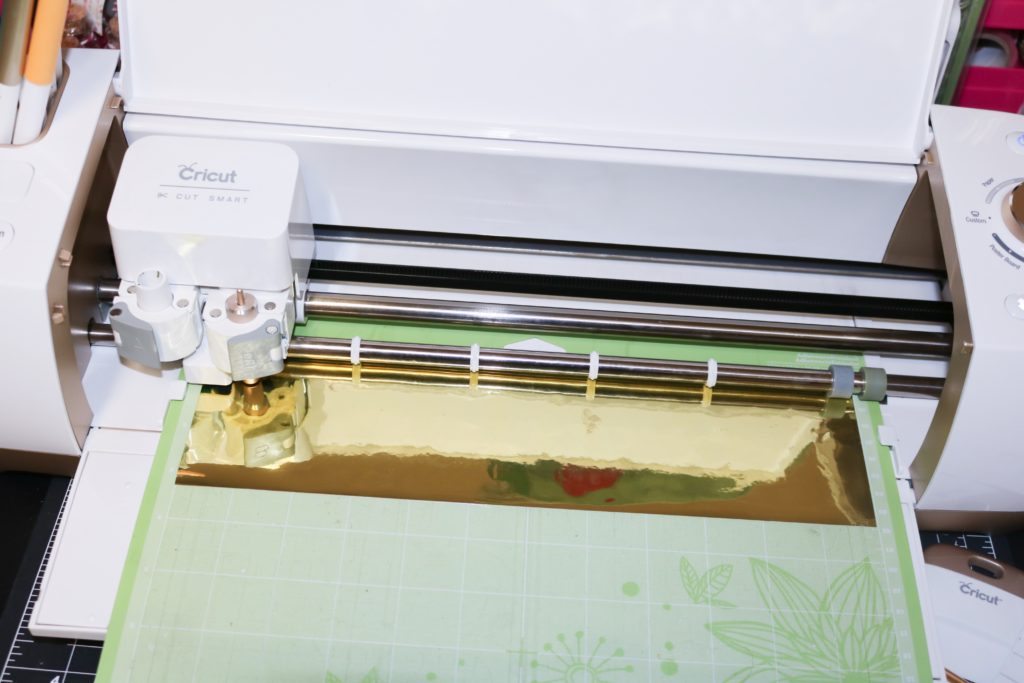
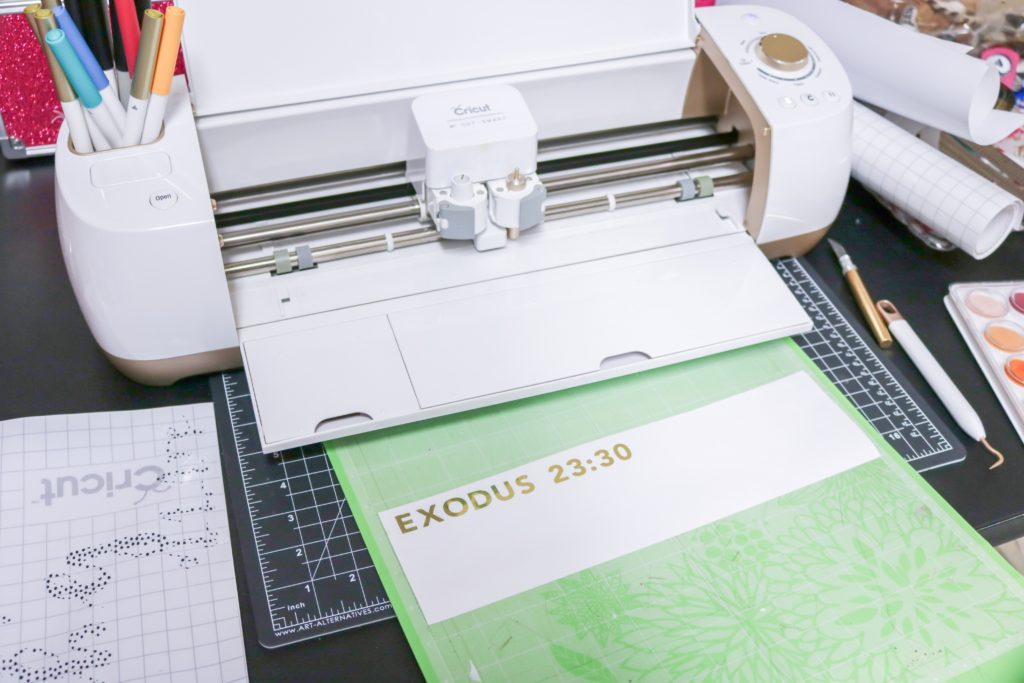
First, prepare your canvas and watercolors.Have fun with this part. I placed a few colors on the canvas (Magenta, Yellow and Violet). Of course, I used more Magenta because I LOVE pink. You can customize the colors to compliment the vinyl you will be using.I put my paint brush in the water and then mixed the colors that were on the canvas using up and down strokes with my brush. Then, I made sure to cover each edge with watercolor. To give it some texture I began to shorten my brush strokes and lift the brush off the canvas to give it the white marks you see. You can experiment with the look you want.While the canvas is drying, you can move on to Cricut Design Space and stylize your letters. Click here to access this design in Cricut Design Space. When working with vinyl material you are going to have to transfer to another surface, you will want to make sure that the image (in this case the letters) are large enough. Small letters may give you a hard time in the weeding process. For these letters I wanted them to touch a bit. Once I placed them together I clicked on “weld” at the bottom right hand of the screen.Once you have your letters the way you like them, click “Make it Now” in the new Cricut Design Space.Load your mat.Click the “Go” button on your Cricut.Isn’t this yummy paper? I chose this because I wanted the contrast of the Dalmatian print against the pink canvas. Once Cricut has finished cutting you will want to slowly peel back the vinyl from the backing. This process is called weeding and it takes some patience. 🙂I lost my weeding tool for a bit a while ago but as you can see I found it. This is very helpful in getting the letters to stay adhered to the backing while pulling the extra vinyl away from the backing.Once you have the text weeded properly then you will want to get the Cricut transfer tape and place it sticky side down on the text.Take your burnishing tool and make sure that the transfer tape is properly adhered to the vinyl.For the Bible chapter and verse, I chose to do this in the Cricut Gold Foil. You can keep it the same as the text print or change it up a bit. If you choose to change the look of the chapter and verse then you will repeat the process of weeding and transfer tape. Practice makes perfect.
Peel back the transfer tape from the vinyl and gold foil backing and carefully position your letters on the canvas. Use the burnishing tool to make sure that the letters adhere to the canvas.Voila! You have a DIY Inspiration Canvas with Cricut that you can place on your desk at home or at work to remember that it is okay to make progress “little by little.”
*This is a sponsored conversation written by me on behalf of Cricut. The opinions and text are all mine. Some links may be affiliate links and I will be compensated if you click on the and/or purchase. Thank you in advance!
Crystal-Marie Mitchell is an Entrepreneur + Writer + Designer + Historical Korean Drama Lover from the Bay Area. She started The Diva Inc. Magazine as a blog when the economy was rough and she needed an outlet to share her story. Since then she has turned what started as a personal blog into a thriving brand built on encouraging women through tough seasons. She published her first book in 2015 called, The Diva Diaries Living Through Tough Seasons. Crystal-Marie and her writers offer beauty and fashion tips, along with life lessons and words of encouragement to girls and young women, trying to find their way in the world. General Inquiries + Questions + Comments + Love: info@thedivainc.com.


1 comment