For the bride who loves DIY, we designed this simple and elegant wedding invitation that works with any budget. Invitations can be quite costly but, thanks to Cricut Explore Air, you can make your own in no time. *Note: This article may contain affiliate links.
Enjoy our step-by-step how-to of this invitation.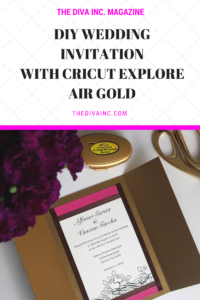
What you will need:
- Cricut Explore Air
- Gold Card Stock from Paper Source 8.5×11″ or 12×12″ *Note: You can substitute each paper color to match your wedding colors.
- Pink Card Stock 8.5×11″ or 12×12″
- Cream Card Stock 8.5×11″
- Glue/tape
- Ribbon
- Printed wedding invitation text (home printer works great + you can use Adobe Illustrator or Pages to design)
- Cricut cutter (table cutter)
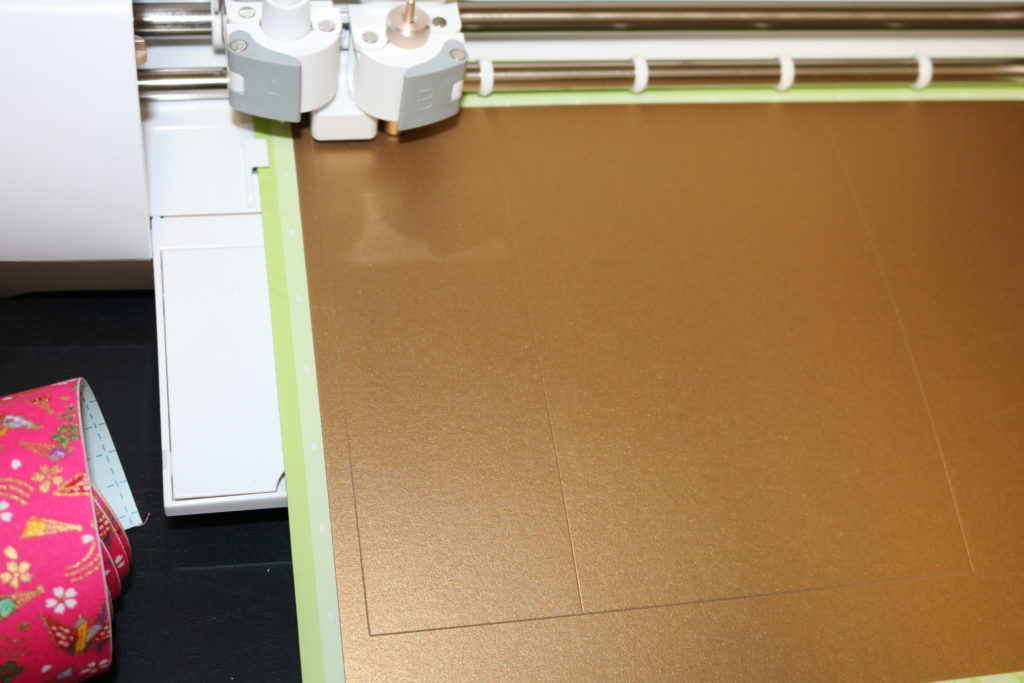
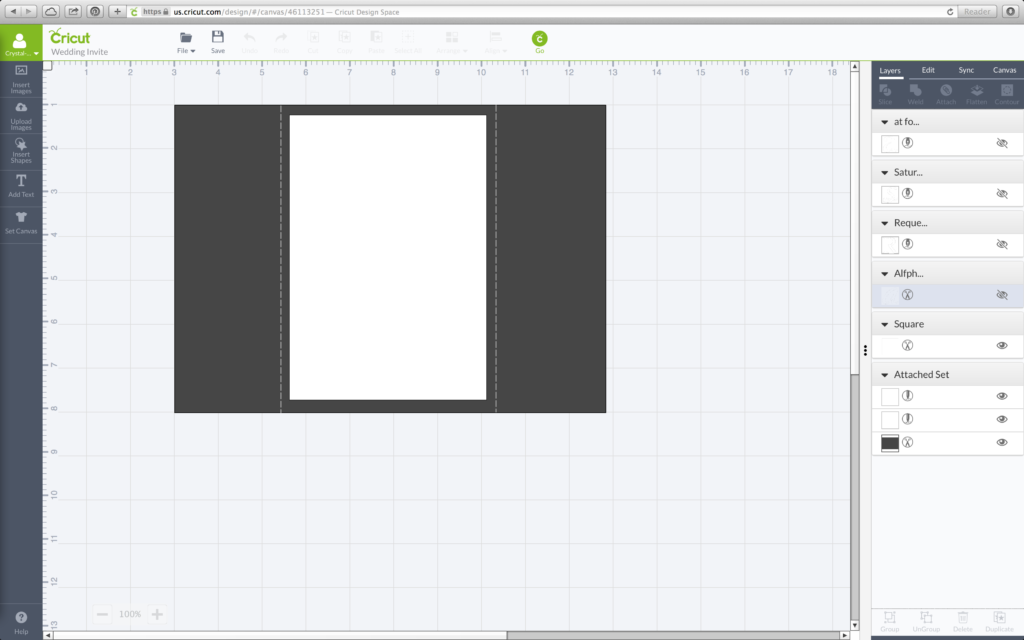 Step one: Set up your design using the Cricut Design Space. In our wedding design we created a rectangle 10w x 7h (grey rectangle shown above). Place a score line 2.5 inches from the left and one score line 2.5 inches to the right. Create another rectangle 4.5w x 6.5h. *Note: The final size of this card will be 5×7 inches. When you have your project set up, click GO in the Cricut Design Space. This will activate your machine to begin the cutting.
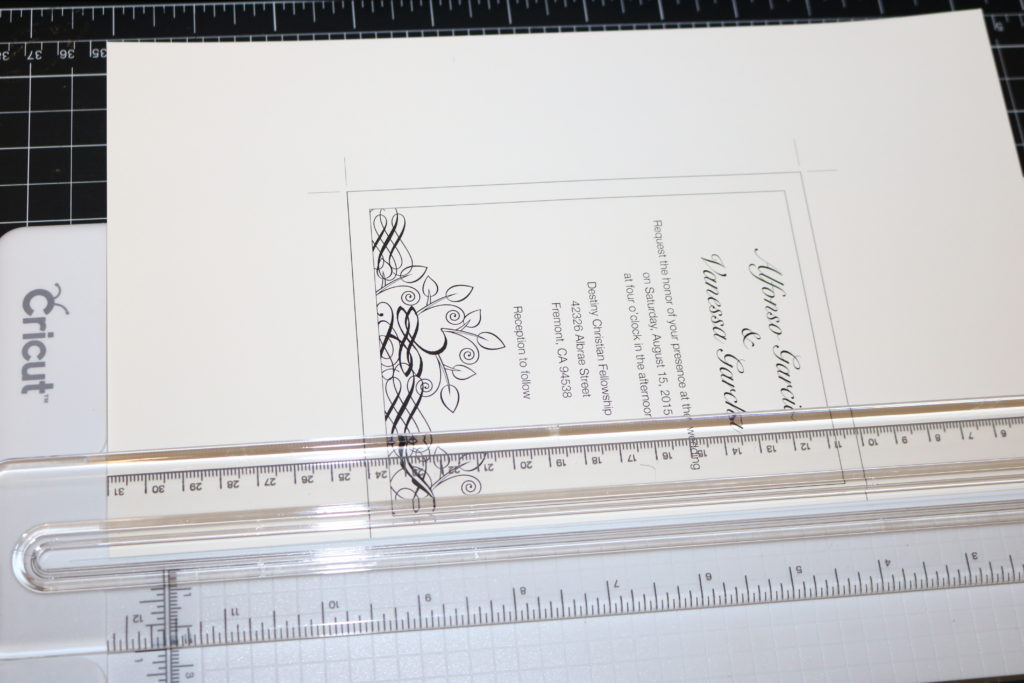
Step two: While your machine is cutting the gold card stock, print out the text you will use for the inside of the invitation. We used Adobe Illustrator to design and print our text. Cut out the design to size using your cutter. We are using the Cricut cutter.
Step three: Follow the directions on the Cricut Design Space screen. After it is finished cutting the gold card stock, it will ask you to load the pink card stock. The pink card stock is going to serve as a contrasting color for our gold background. Yummy!
Step four: Once cutting and trimming are complete, prepare to glue. Glue the text onto the pink card stock first.
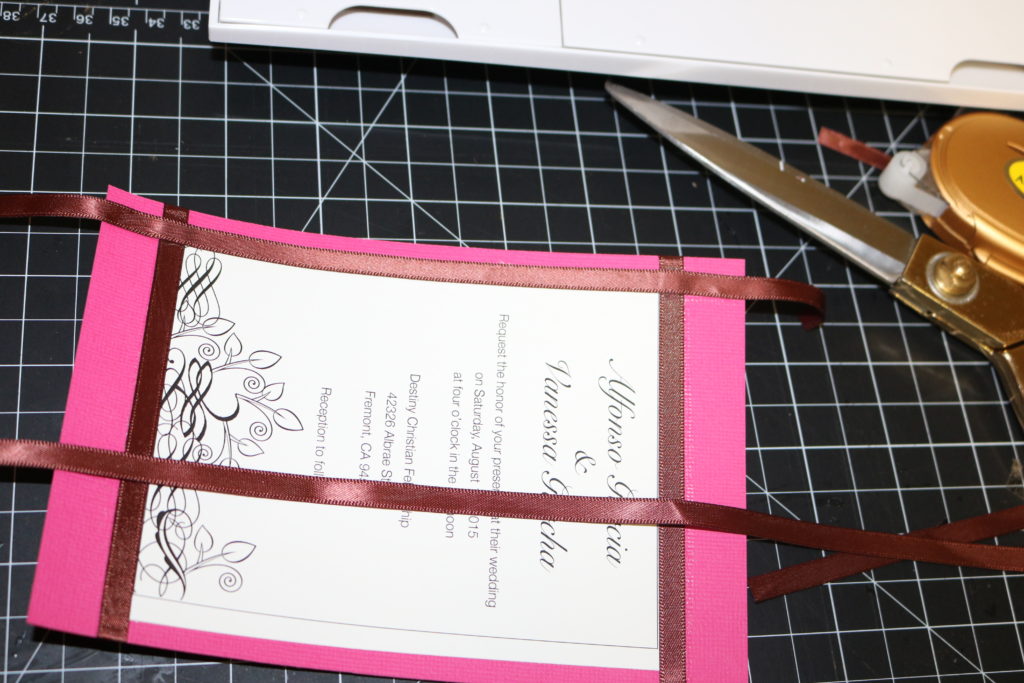
Step five: After you have glued the text (cream paper) onto the pink card stock, prepare to outline the cream paper with ribbon. We are using brown ribbon we picked up from Flax Art and Design.
Glue the paper where you intend on placing the ribbon. Place one strip of ribbon on the top and one strip of ribbon on the bottom of the invitation. Then, place one strip on the left and one strip on the right of the invitation. Flip the invitation over + glue any excess ribbon to the back of the invitation.
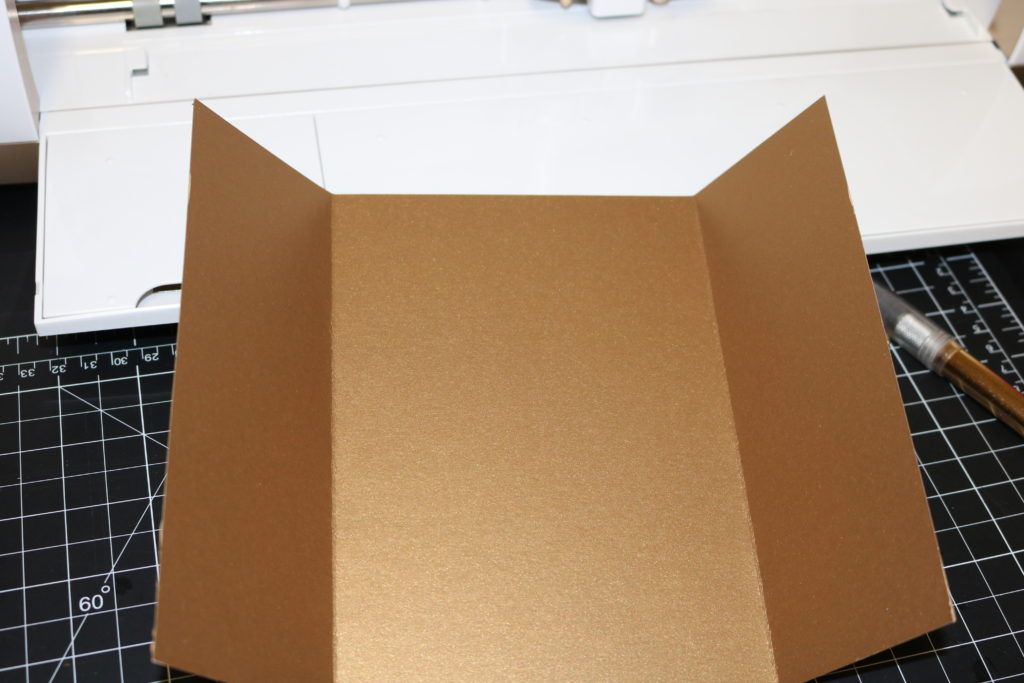
Step six: Now that the card stock has been cut and scored by the Cricut Explore Air, gently pull the paper off of the mat + fold the corners in, as seen below. This will give us our gate fold look.
Glue the pink card stock to the middle of the gold card stock.
Voilá! You have a simple + elegant wedding invitation designed by you in less than 10 major steps.


