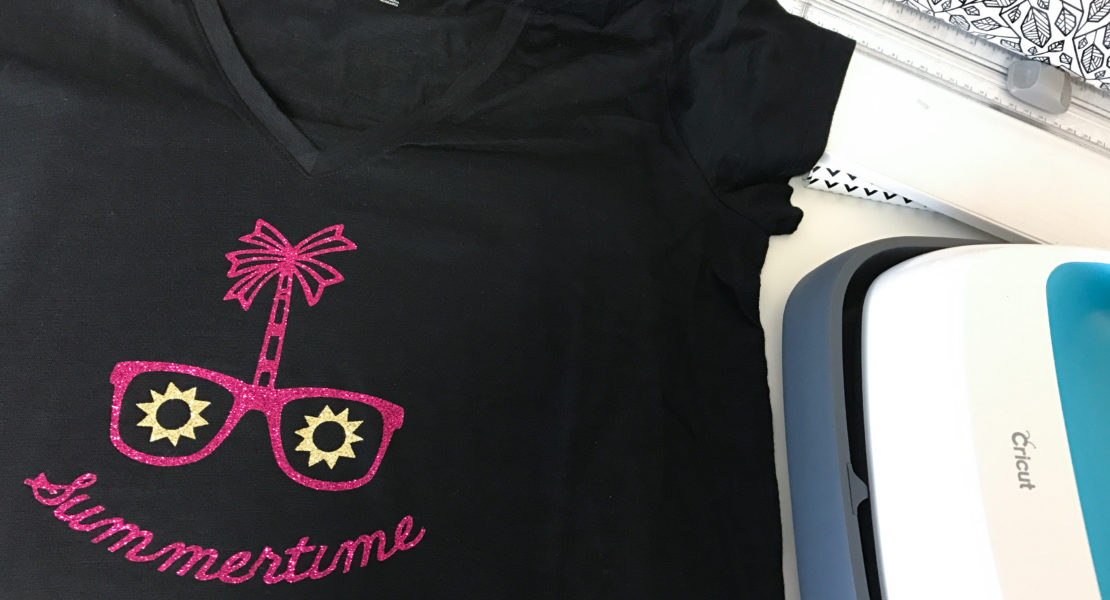
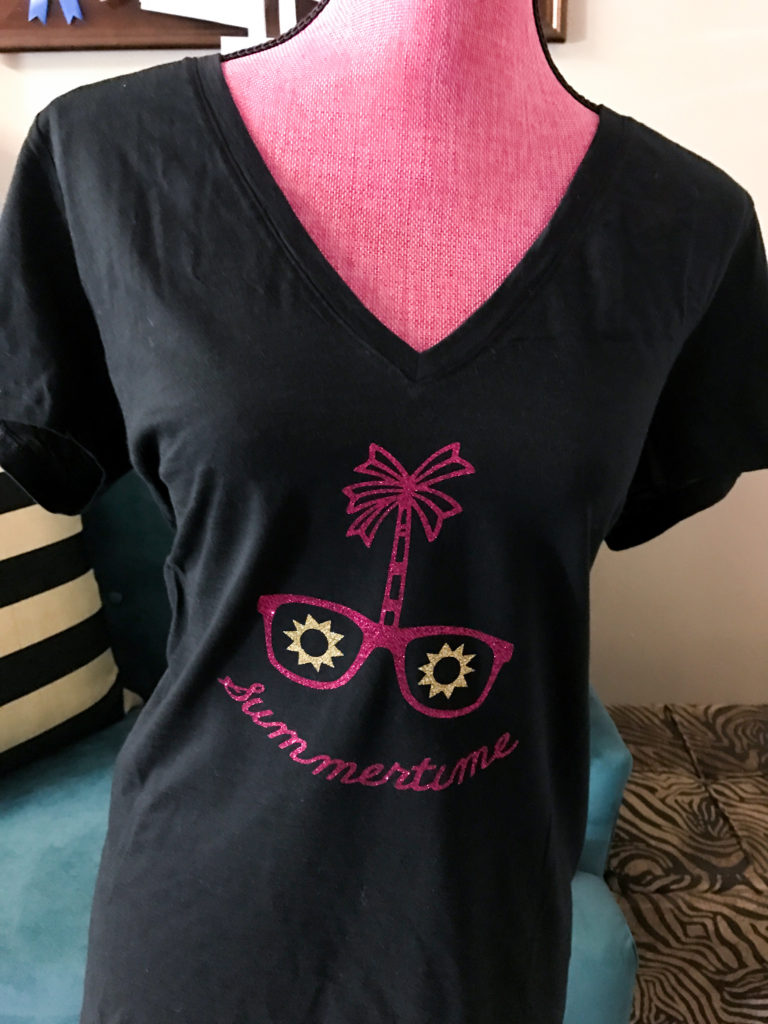
Summertime is upon us and that means the end of the school year is coming. If you need a cute gift idea for your favorite teacher or educator, look no further. This cute summertime tee will be sure to warm the heart of your child’s favorite teacher all summer long.
What you will need:
- Cricut Access Fonts
- Cricut Explore Air
- Cricut EasyPress
- Cricut Iron-on (Glitter Lipstick/Pink)
- Cricut Iron-on (Gold)
- Cricut BrightPad (for weeding)
- Cricut EasyPress Mat
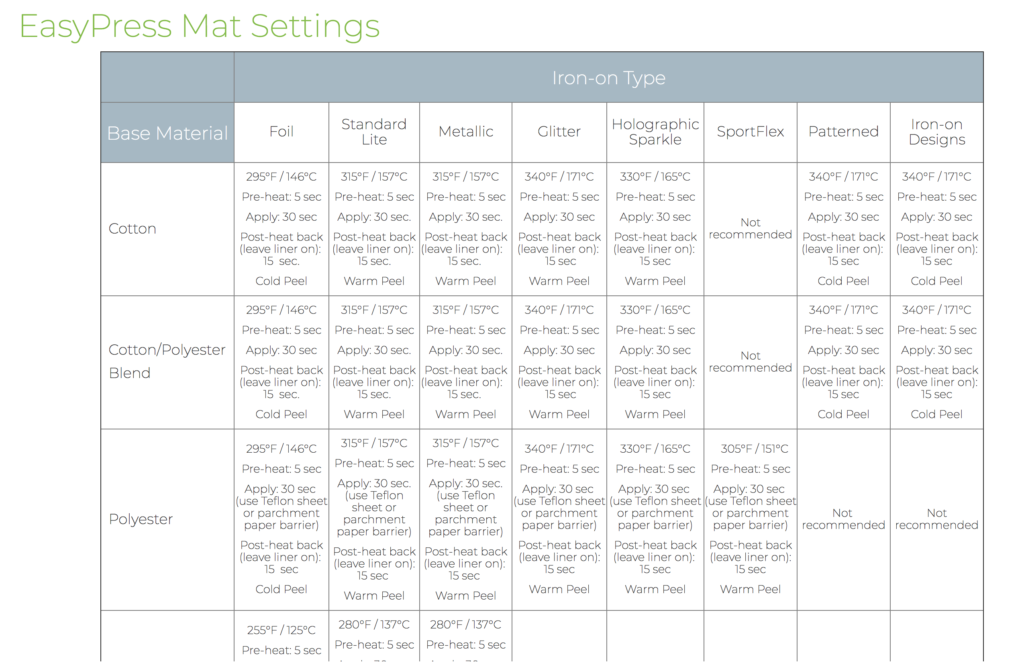
Before we get started with the tutorial, we will be using the Cricut EasyPress and Cricut EasyPress Mat. Take a look below at the recommended settings. We are using the settings for Glitter Iron-On and Cotton/Polyester.
To access this project in Cricut Design Space, click here.
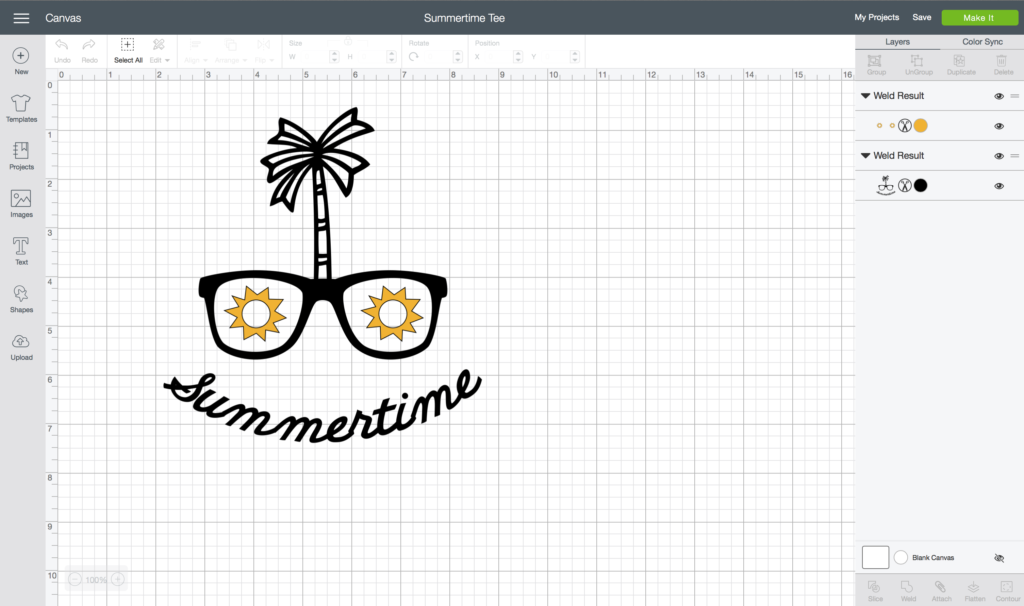
The project has been set up in Cricut Design Space so that you can just click, “Make It” to begin.
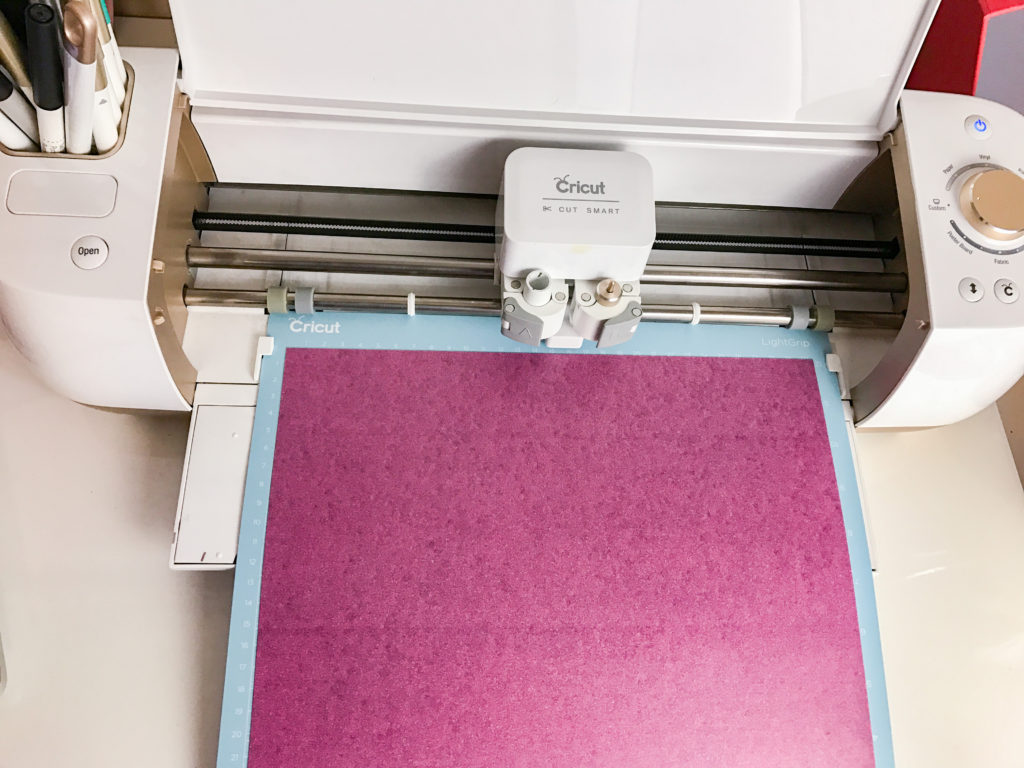
Load your Cricut Iron-On Glitter Lipstick (Pink) into the mat first. This is what we are using for the part of the image that is black. Make sure that before you cut, you choose the mirror function. This makes sure that the words and images are cut correctly before you iron them on your tee. Follow the prompts on screen as well as on the Cricut Explore Air to cut.
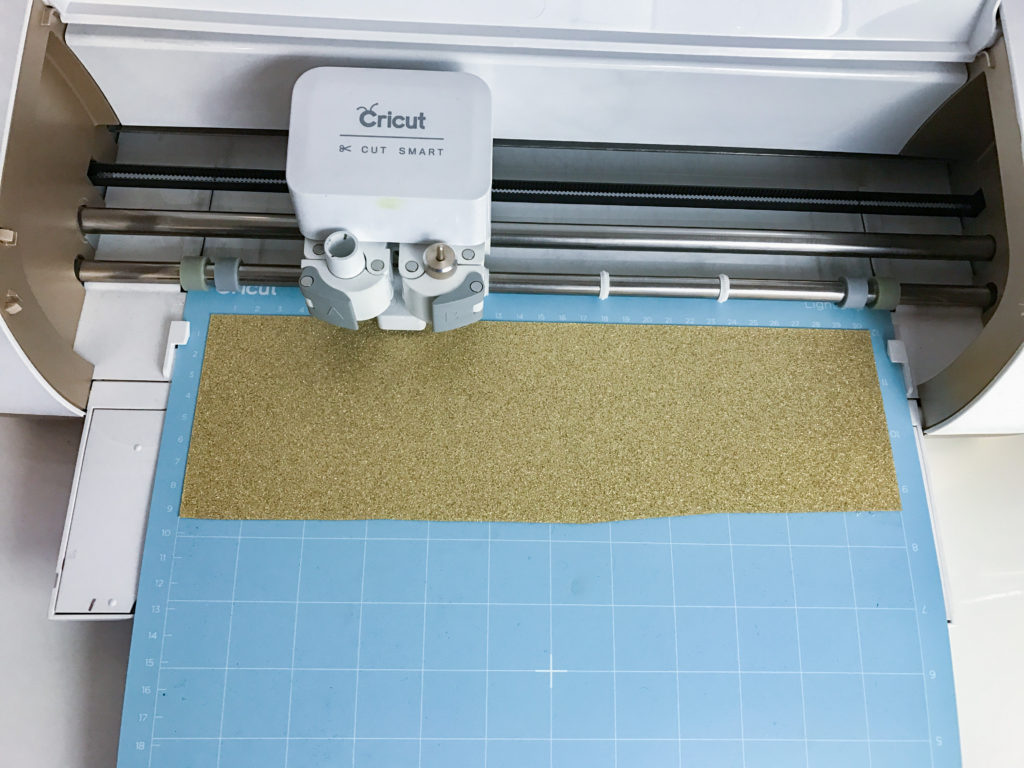
Follow the same directions as above to load your Cricut Iron-On Gold. This is what we will be using as the sun image in the glasses.
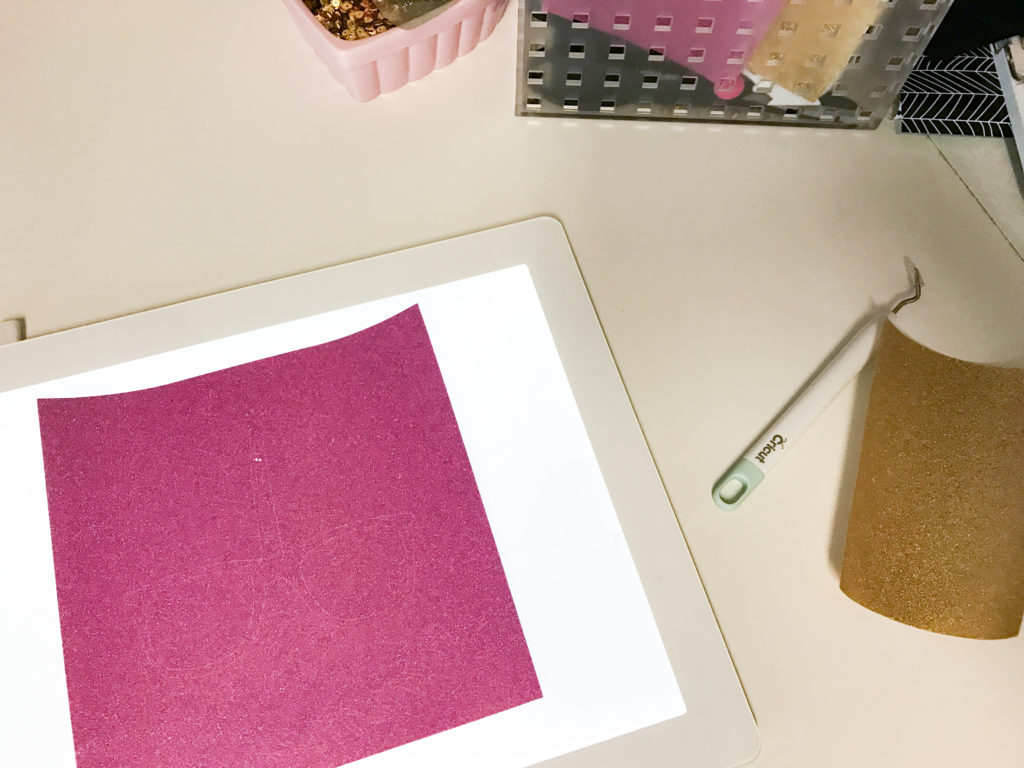
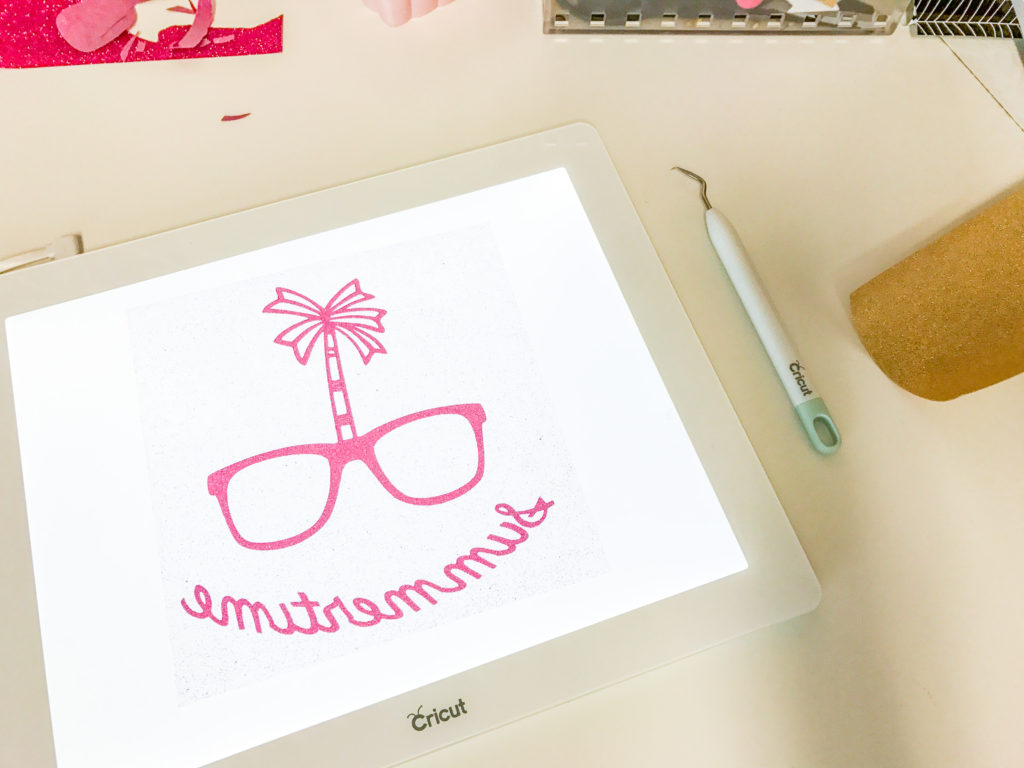
Once the image is cut, use the Cricut BrightPad to weed your image. Make sure to weed the word, “summertime” so that you can see the “e’s” properly. Weed the sun so that the middle circle is removed.
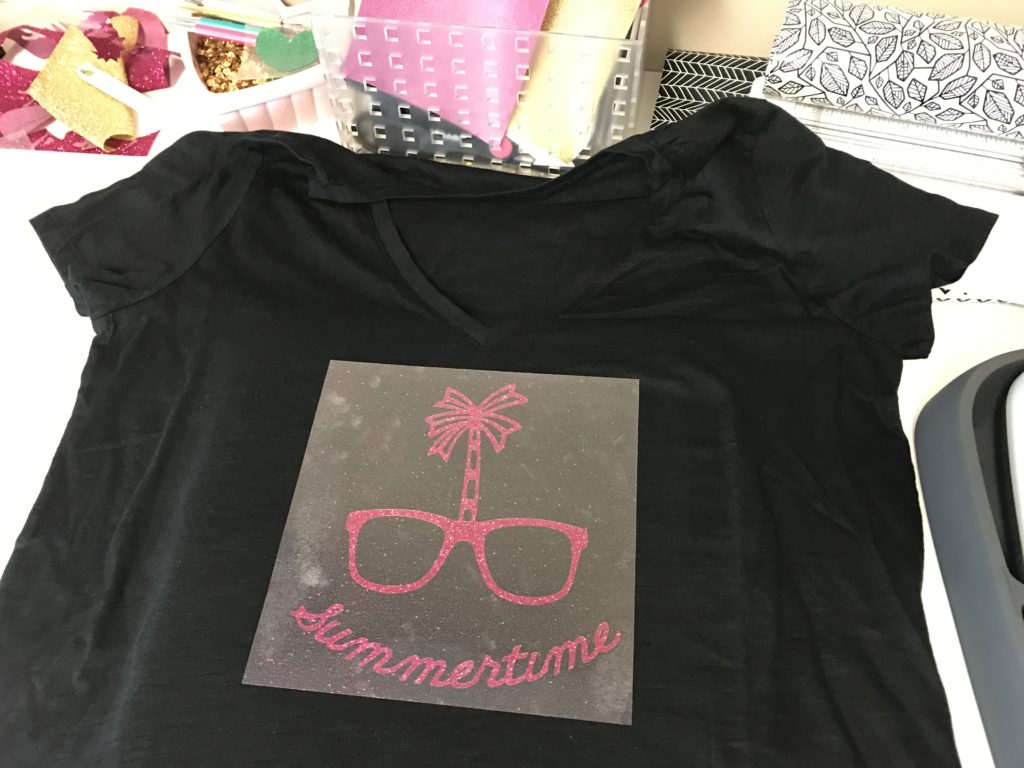
After you have properly weeded the image, preheat your t-shirt for five seconds using the Cricut EasyPress. Then begin to place layer one on the shirt. This is the pink layer. Once you have it placed as you like it, use the Cricut EasyPress to iron-on the image.
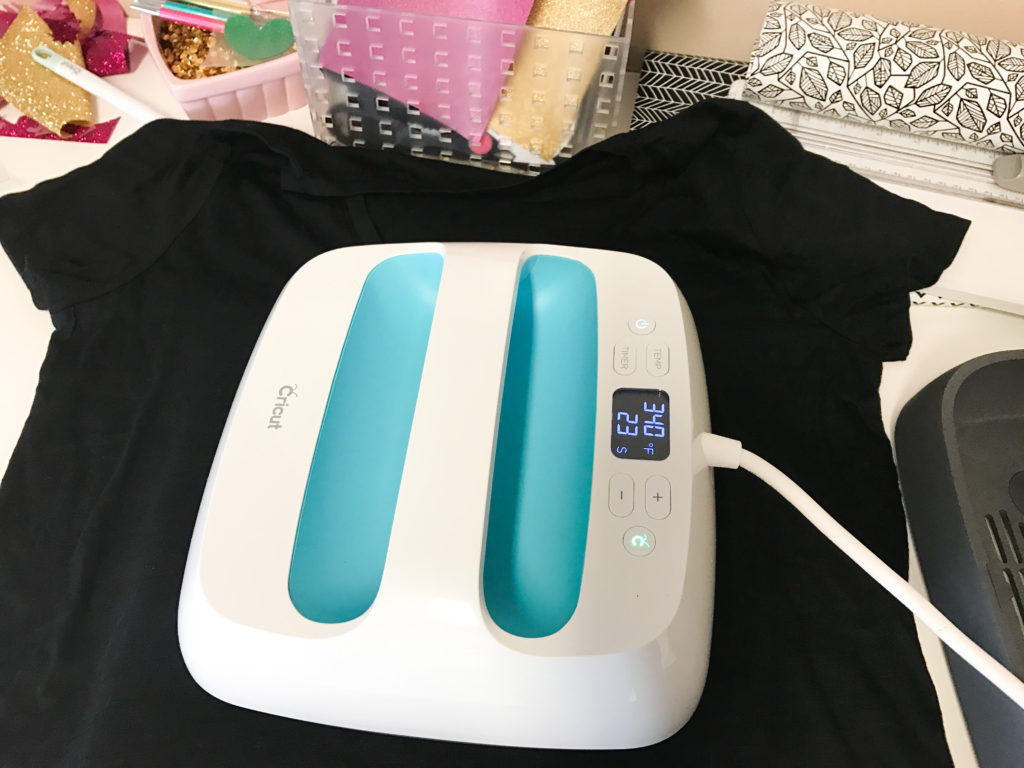
For this project we have it set to 340 degrees F and the timer is set to 30 seconds. Once the front of the shirt has been heated, flip it over and heat the back using the recommended settings above.
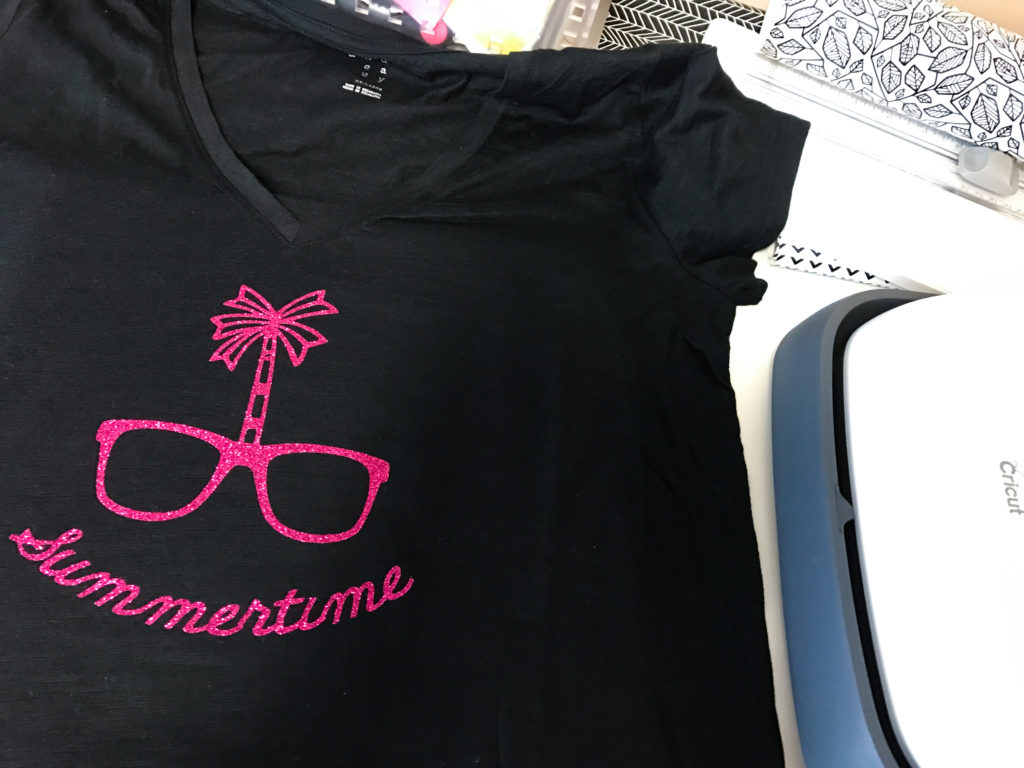
Cricut Glitter Iron-on is a warm peel. So you can peel the protective layer right off after you have used the Cricut EasyPress. Now we are ready for layer two.
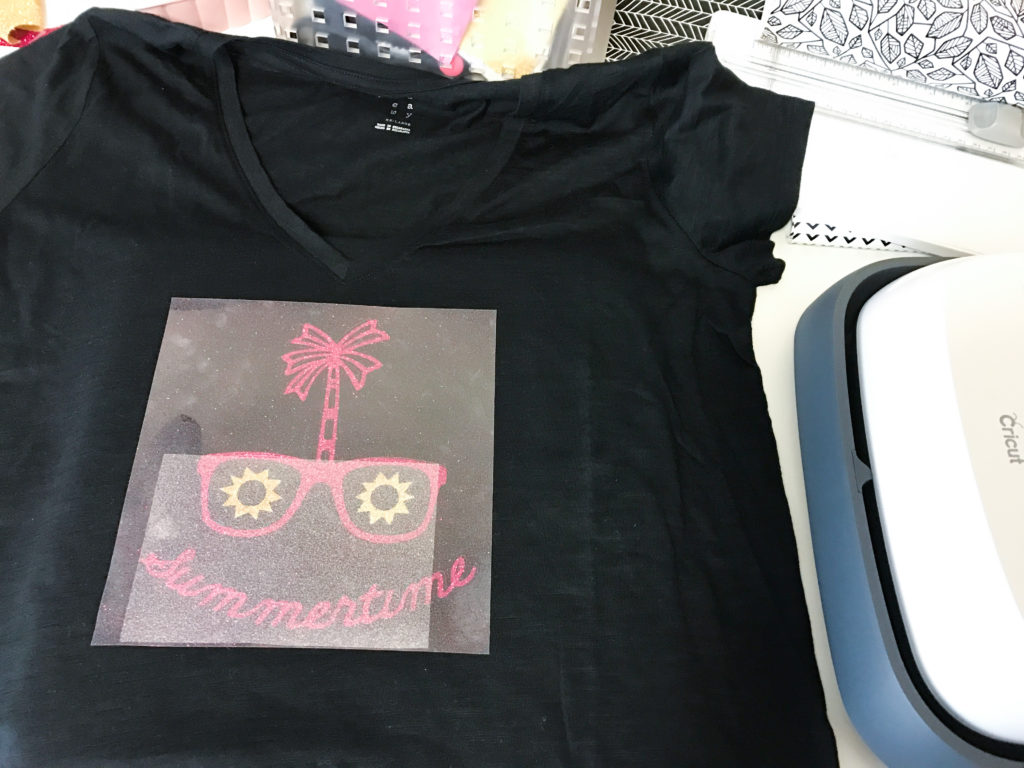
Once you have placed layer two inside the glasses, then cover the entire image again with the protective covering. Next, use the same Cricut EasyPress settings as above to adhere the suns to the shirt.
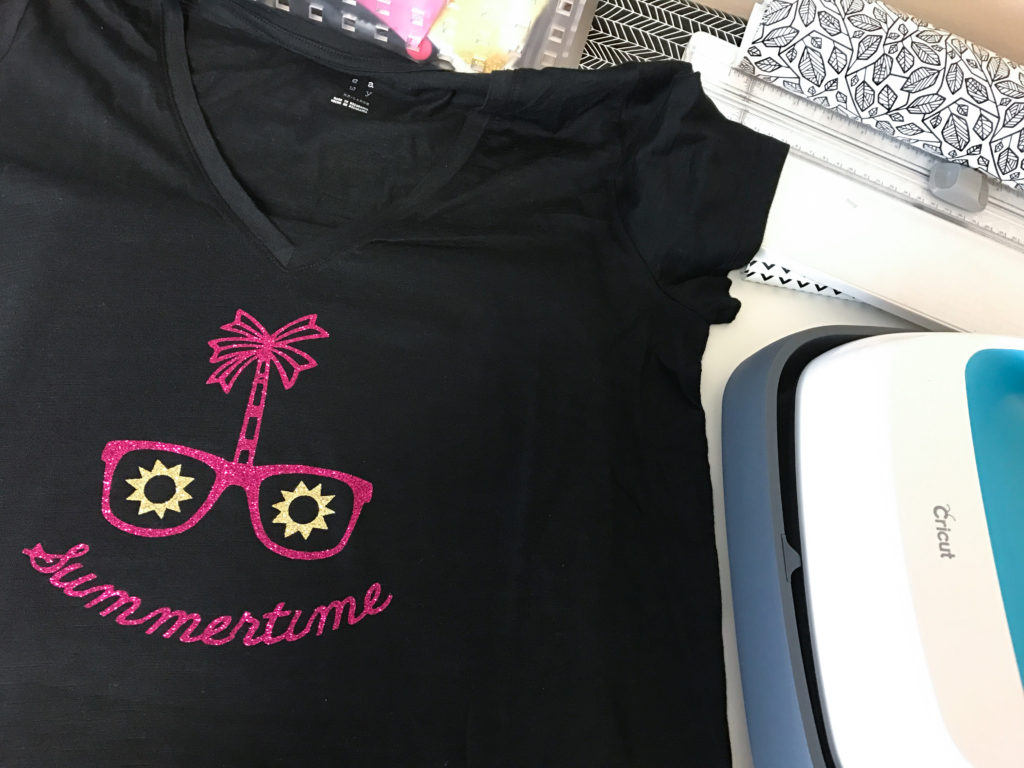
Such a cute gift for the teacher in your life! If you want to give this to a male teacher you can adjust the colors and style of the shirt.
What do you think?
Email The Diva Inc. Magazine at [email protected] or snail mail us at: PO BOX 1353, Palo Alto, CA 94302.
This is a sponsored conversation written by me on behalf of Cricut. The opinions and text are all mine.

